Table of Contents
- The Minimal Pistol Trigger Installation Kit (and What to Skip)
- Unload and Verify: Safety Checks Before Any Pistol Trigger Installation
- Why a Gunsmithing Punch Set for Pistols Beats a Hardware-Store Punch
- Hammers, Mallets, and Drift Punches for Pin Removal and Alignment
- Holding the Frame: Pistol Bench Block and Vise Setup
- Drivers, Hex Keys, and Threadlocker for Grip and Trigger Guard Screws
- Pistol Trigger Installation Safety Checks and Function Verification
- Common Mistakes and When to Hand It to a Gunsmith
- Frequently Asked Questions
Last Updated: October 4, 2026
The Minimal Pistol Trigger Installation Kit (and What to Skip)
You do not need a wall of tools to swap a trigger. A focused pistol trigger installation kit comes down to punches, a soft-faced hammer, a way to hold the frame, and the right drivers.
At Polymer Pew, we build and sell drop-in trigger and safety kits, so we see what actually gets used on a bench. Most first-timers buy too much and still miss the one punch that matters.
Tools You Actually Need for a Trigger Swap
Start with a short list. These cover most striker-fired and hammer-fired pistols:
- Roll pin punch set in 1/16, 5/64, 3/32, and 1/8 inch
- Starter punch to break the pin loose without slipping
- Brass or nylon hammer for controlled strikes
That set handles pin removal, alignment, and reassembly. On a Glock-pattern pistol, a 3/32 roll pin punch is the workhorse.
Buy one spare of your most-used punch size. Roll pin punches bend or mushroom at the tip after heavy use, and a deformed tip is what scratches a frame.
Gear That Sounds Useful but Isn’t
Plenty of “gunsmithing” tools have nothing to do with a trigger job. Skip these unless you have another reason to own them:
- Sight pushers. Adjusting sights is a separate task.
- Bore guides and muzzle adhesives. These belong to cleaning and muzzle-device work.
- Trigger installation fixtures. Helpful for some platforms, but not required for a basic drop-in swap.
The trap is a giant kit where 80% of the tools never touch a trigger. Buy the four or five items you will use, then add as needed.
Unload and Verify: Safety Checks Before Any Pistol Trigger Installation
Before any pistol trigger installation, verify the firearm is unloaded and the chamber is clear. Remove the magazine, lock the slide back, and visually and physically check the chamber, every time, even if you “know” it is empty.
- Point the muzzle in a safe direction
- Keep your finger off the trigger
- Clear the chamber and confirm it twice
The NRA rules of safe gun handling put it plainly: treat every firearm as loaded until you have verified otherwise. Do that check before a single tool comes out.
Why a Gunsmithing Punch Set for Pistols Beats a Hardware-Store Punch
A gunsmithing punch set for pistols beats a hardware-store punch because the tips are sized and shaped for firearm pins. Hardware-store punches are too long, too soft, or too blunt.
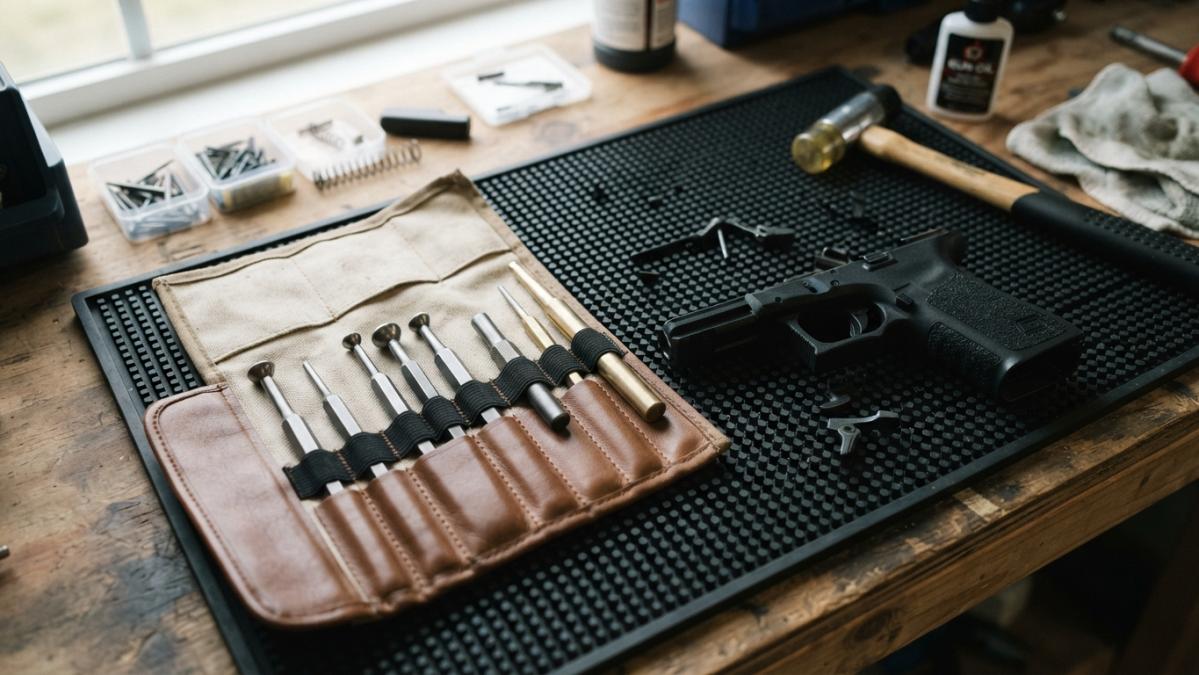
A proper set uses hardened tool steel, has a short body for control, and includes a hollow tip that cradles a roll pin. That hollow tip is the whole point.
Roll Pin, Starter, and Drift Punches: What Each One Does
Each punch has one job:
- Starter punch: has a small centered tip to seat the pin and break it loose.
- Roll pin punch: has a hollow, ball-shaped tip that grips the roll pin’s edges.
- Drift punch: a solid, tapered tip for driving pins through and aligning holes.
Use them in that order. Starter to break it free, roll pin punch to drive it, drift punch to align on the way back in.
Punch Sizes That Match Pistol Trigger and Hammer Pins
Size matters more than brand. Most pistol trigger and hammer pins fall in a narrow range:
| Punch Size | Common Use |
|---|---|
| 1/16 inch | Small retaining pins, some trigger housings |
| 5/64 inch | Light pins, spring retention |
| 3/32 inch | Glock-pattern trigger and hammer pins |
| 1/8 inch | Larger frame and roll pins |
Measure your pin before you strike it. Too small a punch peens the pin; too big will not seat.
Hammers, Mallets, and Drift Punches for Pin Removal and Alignment
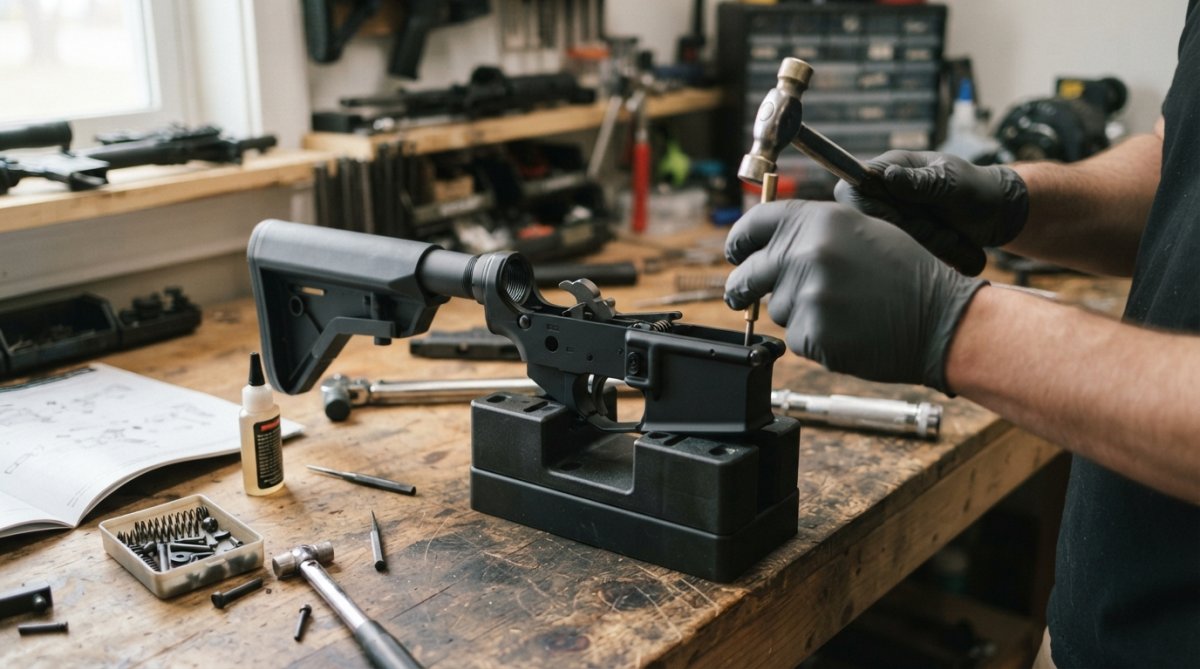
A gunsmithing hammer is not a framing hammer. You want light, controlled strikes, not force. Brass, nylon, and plastic-faced hammers absorb shock and protect the finish.
Here is how to pick:
- Brass hammer: firm strikes on steel pins without sparking or marring.
- Nylon or plastic mallet: softer touch for polymer frames and finished surfaces.
- Drift punch: your alignment tool when reinstalling pins.
The goal is small taps, not big swings. If a pin will not move with light taps, stop and check alignment before hitting harder.
Striking a pin too hard with the wrong punch bends the pin and cracks polymer around the hole. Once the frame is cracked, the fix is a new frame, not a new punch.
Holding the Frame: Pistol Bench Block and Vise Setup
A pistol bench block holds the frame steady so your strikes go where you aim. Its holes and slots let pins pass through while the frame stays supported.
For stubborn pins, add a vise. Pad the jaws with leather or soft jaws, clamp only the section you are working on, and never crush the frame.
- Bench block: best for most pin work, keeps the frame flat and supported.
- Padded vise: best when a pin is tight and you need both hands free.
- Receiver block: supports specific platforms and spreads clamping force.
A block alone covers 90% of jobs. The vise is for the pins that fight back.
Drivers, Hex Keys, and Threadlocker for Grip and Trigger Guard Screws
Grip screws, trigger guard screws, and some trigger housing screws need the right driver, not the closest one.
- Hollow-ground screwdrivers: match the slot width to the screw head.
- Hex keys and drivers: for hex-head grip and guard screws.
- Threadlocker: a small drop keeps screws from walking out under recoil.
Use a low-strength threadlocker on grip and guard screws. It holds under fire but still lets you remove the screw later.
A dedicated set like the Real Avid Smart Drive screwdriver set is built for firearm screws, so the bits match the heads you actually find.
The right driver prevents stripped screws. A stripped grip screw is one of the most common and most annoying mistakes in a trigger job.
Pistol Trigger Installation Safety Checks and Function Verification
After assembly, run pistol trigger installation safety checks before you load anything. They confirm the trigger, safety, and hammer work as designed and catch mistakes that only show up under live fire.
Step-by-Step Installation Sequence
The order of operations matters more than the tools. A pattern that works across most striker-fired and hammer-fired pistols:
- Verify the pistol is unloaded. Remove the magazine, lock the slide back, and visually and physically check the chamber. Do this every time.
- Remove the slide and set it aside on a bench block. The slide is not part of the trigger job on most platforms.
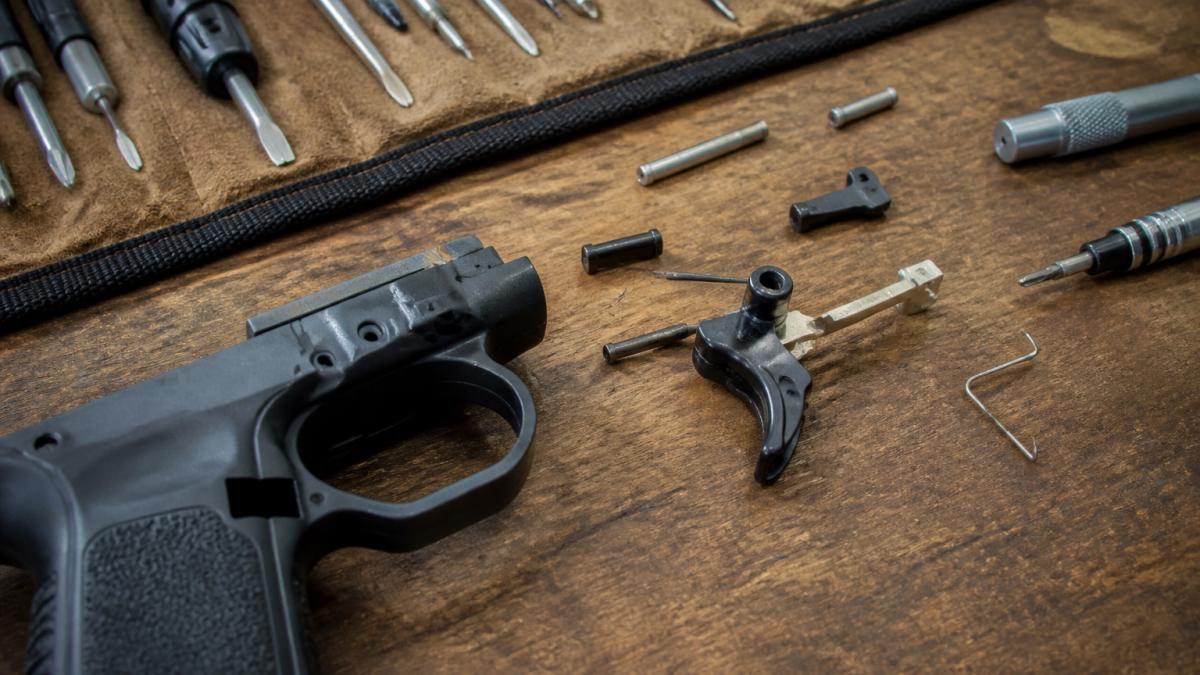
- Drive out the trigger pin with the correct roll pin punch. Support the frame on a bench block with the pin over a hole.
- Remove the trigger assembly and note the orientation of every spring, detent, and connector before it comes apart. A phone photo at this step saves an hour of guessing later.
- Install the new trigger in the same orientation. Do not force it. If it does not seat, stop and check alignment.
- Reinstall the trigger pin with a drift punch to align the holes, then a roll pin punch to seat the pin flush.
- Apply low-strength threadlocker to grip and trigger guard screws. A small drop on the threads, not the head.
- Reassemble the slide and cycle the action by hand to confirm the trigger resets.
Torque and Threadlocker Specifics
Screw torque on a pistol is light. Most grip and trigger guard screws are spec’d in the 15 to 25 inch-pound range, and some polymer-frame screws are lower. Use an inch-pound torque wrench; a foot-pound wrench is too coarse and will strip a polymer boss.
Threadlocker choice matters too:
- Low-strength (purple or blue): grip screws, trigger guard screws, and any screw you may need to remove again. Blue is the common choice for firearm screws.
- Medium-strength (blue, higher grade): trigger housing screws on some platforms.
- High-strength (red): do not use on a pistol you plan to service. Red compound requires heat to break, and heat near a polymer frame is a bad idea.
Function Verification Checklist
Run these checks in order, with the pistol unloaded and pointed in a safe direction:
- Trigger reset: Pull the trigger, hold it to the rear, cycle the slide, and release. The trigger should reset with an audible and tactile click.
- Safety engagement: Engage the safety and confirm the trigger will not release the striker or hammer. Disengage and confirm it will.
- Trigger pull weight: Measure with a trigger pull gauge before and after the install. A mechanical gauge like the Lyman trigger pull gauge gives a basic reading, while a digital unit is easier to read at a glance. Record both numbers so you know exactly what changed.
Live-Fire Verification
Dry-fire checks catch most problems, but not all. After the checklist passes, take the pistol to a range and fire five to ten rounds for a function check.
- Fire the first round from a bench rest, not from a holster.
- Confirm the trigger resets between every shot.
- Check the safety between strings.
If anything feels different from the dry-fire check, a light strike, a failure to reset, a gritty trigger, stop and re-inspect. Do not keep firing to see if it works itself out.
A trigger job is not done when the pin goes back in. It is done when the pistol passes a dry-fire checklist and a short live-fire function check. Skipping the live-fire step is how a range trip turns into a gunsmith bill.
When to Stop and Hand It to a Gunsmith
Some problems are not worth fixing at the bench. Stop and consult a qualified gunsmith if:
- A pin will not move after correct punch selection and firm strikes.
- You feel resistance during reassembly that should not be there.
- The trigger does not reset cleanly after two reassembly attempts.
A gunsmith has the fixtures, pin gauges, and experience to fix these without risking the frame. A cracked polymer frame is not a punch problem, it is a new frame.
Our own drop-in kits are built to reduce that risk. Polymer Pew offers flat triggers, super safety kits, and full metal kits with anodized aluminum housings and stainless steel internals.
Common Mistakes and When to Hand It to a Gunsmith
Most trigger installation problems trace back to a handful of avoidable mistakes:
- Using the wrong punch size and peening the pin
- Striking too hard and cracking the frame
- Losing a detent or spring during disassembly
If a pin will not move, you feel resistance that should not be there, or the trigger does not reset cleanly, stop and hand it to a gunsmith. A professional has the fixtures and experience to fix it without risking the frame.
Our own drop-in kits are built to reduce that risk. Polymer Pew offers flat triggers, super safety kits, and full metal kits with anodized aluminum housings and stainless steel internals.
Frequently Asked Questions
What tools are needed to install a pistol trigger?
A minimal pistol trigger installation kit covers a roll pin punch set, a brass or nylon gunsmithing hammer, a pistol bench block, a vise or receiver block, hex keys, and a correctly sized screwdriver for grip screws. Add a trigger pull gauge to verify pull weight afterward, and threadlocker for grip and trigger guard screws. Most striker-fired and hammer-fired pistols can be done with that list. Specialized tools like a sight pusher or a dedicated installation fixture are optional unless your platform requires them.
What size punches are used for pistol trigger installation?
Most pistol trigger and hammer pins sit in the 1/16 inch to 3/32 inch range, with some platforms using 1/8 inch pins. A punch set covering 1/16, 5/64, 3/32, 7/64, and 1/8 inch handles nearly every common pistol. Match the punch tip to the pin diameter as closely as possible. An undersized punch slips off the pin and dents the frame, while an oversized one will not seat on the pin head at all.
Can I install a pistol trigger with basic hand tools?
Sometimes, but the risk is marring the frame or bending a pin. A roll pin punch set and a brass or nylon hammer are the two items you should not substitute with hardware-store equivalents, because standard punches have flat tips that deform roll pins. A pistol bench block is also cheap insurance against scratching the frame while you drive pins. If you only have a hammer, a nail set, and a screwdriver, plan to buy the right punches first.
Do I need a bench block to install a pistol trigger?
A pistol bench block is not strictly required, but it solves the hardest part of the job: holding the frame steady while you drive a pin. Without one, the frame rocks, the punch walks off the pin, and you end up tapping the frame instead. Magnetic bench blocks hold pins as you remove them and keep the frame off your work surface. If you plan to install more than one trigger, a bench block pays for itself on the first job.
Swapping a trigger rewards patience more than force. Get the punches, hammer, block, and drivers right, verify the firearm is clear, and check function before you ever load it. When you are ready for parts that fit the first time, Polymer Pew builds drop-in trigger and safety kits with hardened stainless internals, anodized aluminum housings, and compatibility tested across popular clones. Get your Flatties here and upgrade with hardware that works.