Table of Contents
- Understanding Trigger Reset and Why It Fails
- When Your Trigger Not Resetting Happens: Initial Diagnostics
- AR Trigger Not Resetting: Platform-Specific Troubleshooting
- Glock Trigger Not Resetting: Striker-Fired System Fixes
- Forced Reset Trigger Troubleshooting and Reset Failure
- Step-by-Step Inspection and Repair Process
- Platform Compatibility and Component Tolerance Stacking
- When to Stop Troubleshooting and Seek Professional Help
- Frequently Asked Questions
Last Updated: October 8, 2026
Understanding Trigger Reset and Why It Fails
A trigger reset is the mechanical action that returns your trigger to its ready position after you fire, and when problems occur, trigger reset issues can leave your firearm unable to cycle for the next shot.
Most reset failures are fixable at home with basic tools, but diagnosing the wrong cause wastes time.
What Happens During a Proper Reset Cycle
During a normal firing cycle, your trigger engages the sear. Pressing it disengages the sear and releases the firing pin or striker.
A proper reset happens in milliseconds: the trigger spring pushes the trigger forward, the disconnector spring releases the sear, and everything snaps back into position.
Common Failure Points in the Reset Mechanism
Reset failures happen at predictable points. The most common culprits are:
- Trigger spring tension too weak, The spring can’t push the trigger forward with enough force
- Disconnector spring misplaced or damaged, The sear won’t reset properly without correct spring pressure
- Sear engagement worn or burred, Friction prevents smooth reset
Each creates a different failure pattern; identifying which one you have is the key to fixing it.
When Your Trigger Not Resetting Happens: Initial Diagnostics
Before you tear anything apart, run a simple test. The way your trigger fails tells you where to look.
Dry Fire Testing vs. Live Fire Testing
Start with dry fire testing: unload the firearm, point it in a safe direction, press the trigger and observe.
Dry fire testing shows:
- Does the trigger move forward at all after firing?
- Does it move partway and stop?
- Does it move smoothly or does it stick?
If dry fire resets but live fire doesn’t, the issue is likely bolt carrier group timing or recoil impulse. If it won’t reset in either test, the problem is in the trigger assembly itself.
Identifying Reset Failure Patterns
Different failure patterns point to different causes:
- Trigger stays fully forward, Usually a travel screw issue or severe sear engagement problem
- Trigger moves halfway and stops, Typically a disconnector spring or sear engagement issue
- Trigger resets only when you manually cycle the bolt, Points to bolt carrier group timing or sear re-engagement failure
Write down exactly what happens, it’s your diagnostic roadmap.
AR Trigger Not Resetting: Platform-Specific Troubleshooting
AR platforms have specific reset requirements because of how the bolt carrier group re-engages the sear. An AR trigger not resetting usually means wrong spring tension, a mispositioned disconnector, or mechanical interference in sear engagement.
Checking Trigger Spring Orientation and Tension
The trigger spring provides the forward force that resets your trigger. If it’s weak, misaligned, or installed backward, reset fails. Remove your trigger assembly and inspect the spring; it should push the trigger forward with consistent pressure, with no bending, kinking, or uneven compression.
Check these details:
- Spring sits flat against the trigger body
- Spring ends are seated in their pockets correctly
- Spring has no visible damage or deformation
Replace a weak spring or reposition a misaligned one, a spring installed backward or twisted will bind and prevent reset.
Verifying Disconnector Spring Placement
The disconnector spring holds the sear so it re-engages after the bolt carrier cycles. If it’s missing, misplaced, or weak, the sear won’t reset.
Verify:
- Spring is present and not missing
- Spring sits in the correct pocket or hole
- Spring isn’t bent or damaged
A missing disconnector spring is an instant reset failure; a misplaced one causes inconsistent reset; a weak one causes sluggish or partial reset.
Inspecting Sear Engagement and Travel Screw Settings
The sear is where your trigger assembly interfaces with the bolt carrier group. A damaged, burred, or misaligned sear won’t engage or disengage smoothly.
Remove your trigger assembly and inspect the sear under good lighting for:
- Burrs or rough spots on the sear surface
- Visible wear patterns or gouges
- Discoloration from heat or friction
A burr on the sear creates friction that prevents smooth engagement and reset. Manufacturing burrs are common on new components; light ones can be polished with a fine stone.
Glock Trigger Not Resetting: Striker-Fired System Fixes
Glock trigger reset works differently than AR platforms because Glock uses a striker-fired system instead of a hammer and sear. A Glock trigger not resetting usually means a weak striker spring, damaged connector, or mechanical interference in the firing pin channel.
Checking Striker Spring and Connector Condition
The striker spring provides the force that resets your Glock trigger; if it’s weak or damaged, reset fails.
Remove your slide and barrel. The striker spring should be intact with no visible damage, and the connector should sit flat and move freely.
Check:
- Striker spring has no cracks or deformation
- Connector is not bent or chipped
- Firing pin moves freely in its channel
A weak striker spring is the most common cause of Glock reset failure, and aftermarket springs sometimes have inconsistent tension.
Identifying Mechanical Interference and Slide Contact Issues
Glock triggers can fail to reset if the slide doesn’t cycle fully or something binds inside the firing pin channel, preventing proper striker reset.
Rack the slide several times. Sticky or rough movement points to lubrication issues or component wear.
Check the firing pin channel for:
- Debris or fouling buildup
- Burrs on the channel walls
- Bent or misaligned components
Fouling and lack of lubrication are common culprits: carbon buildup in the firing pin channel slows the striker, which then can’t reset the trigger quickly enough for reliable cycling.
Forced Reset Trigger Troubleshooting and Reset Failure
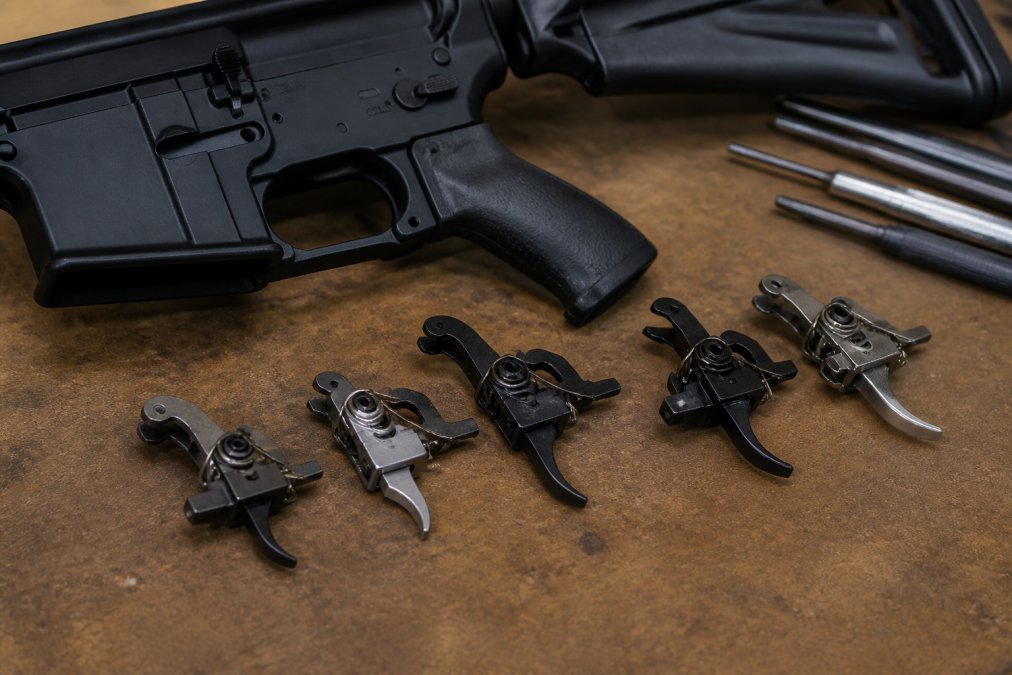
Forced reset triggers (FRT) use mechanical geometry to force the trigger to reset even if the sear doesn’t re-engage. Understanding this design helps diagnose FRT-specific failures.
Understanding Forced Reset Trigger Design
An FRT uses a secondary mechanical surface that pushes the trigger forward as the bolt carrier cycles, allowing reset even if the sear is slow to re-engage. The design relies on precise alignment and geometry; if components are misaligned or worn, the reset surface won’t contact the trigger.
Diagnosing Reset Failure in FRT Systems
FRT reset failures usually mean the reset surface isn’t contacting the trigger during cycling. This happens when:
- Components are misaligned due to tolerance stacking
- Wear has changed the geometry of contact surfaces
- The bolt carrier group isn’t cycling with enough force
Cycle the bolt manually and watch where the bolt carrier contacts the trigger assembly. The reset surface should make clear contact; if not, you’ve found your issue.
Tolerance stacking is common in FRT systems because they require tighter tolerances than standard triggers. Check that all components are properly seated and aligned.
Step-by-Step Inspection and Repair Process
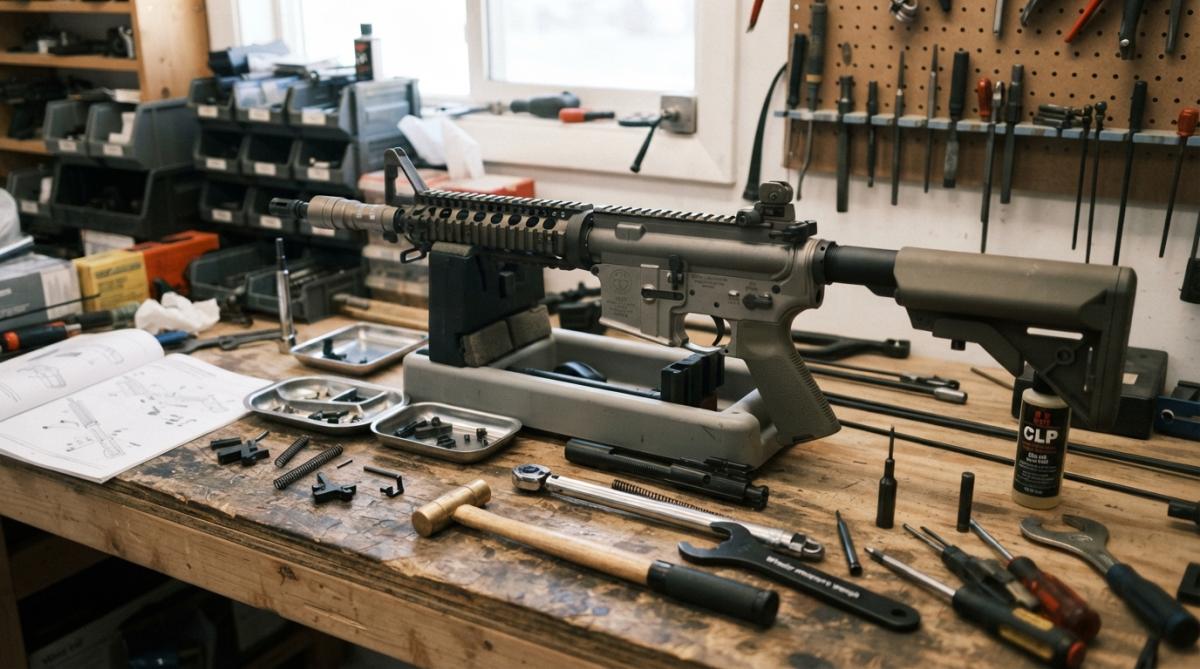
Now that you’ve diagnosed the general problem, it’s time to inspect and repair. This process works for most reset issues.
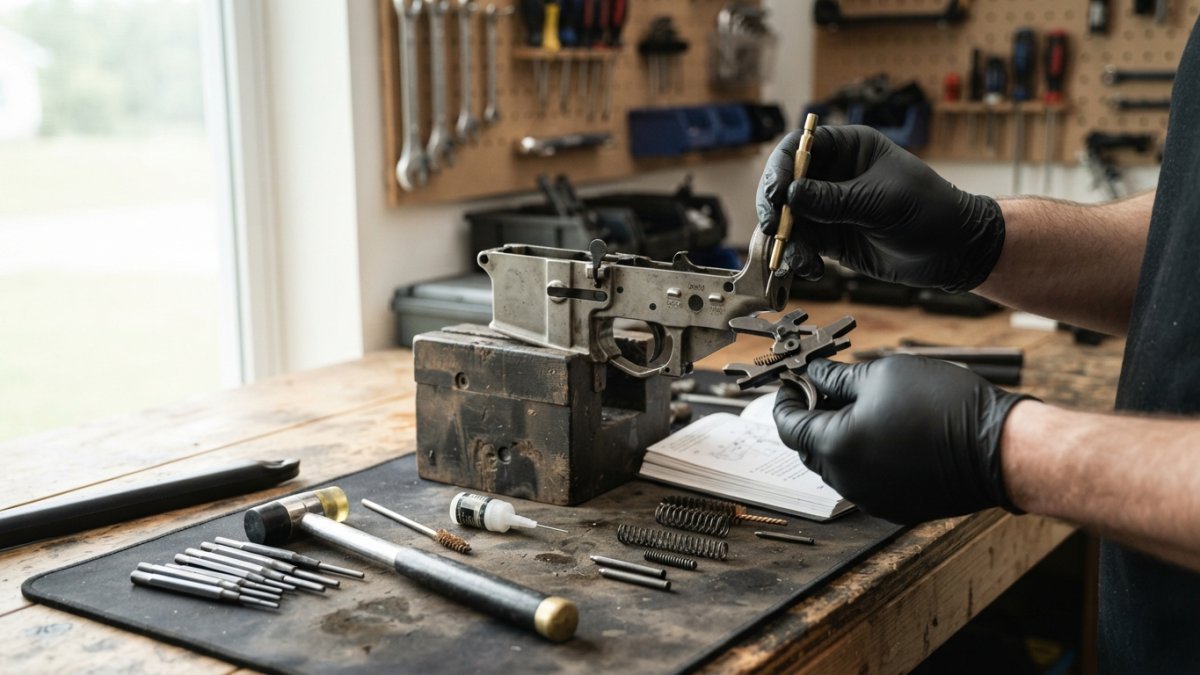
Step 1: Disassembly and Visual Inspection
Remove your trigger assembly carefully and take photos as you go so you remember how everything fits back together.
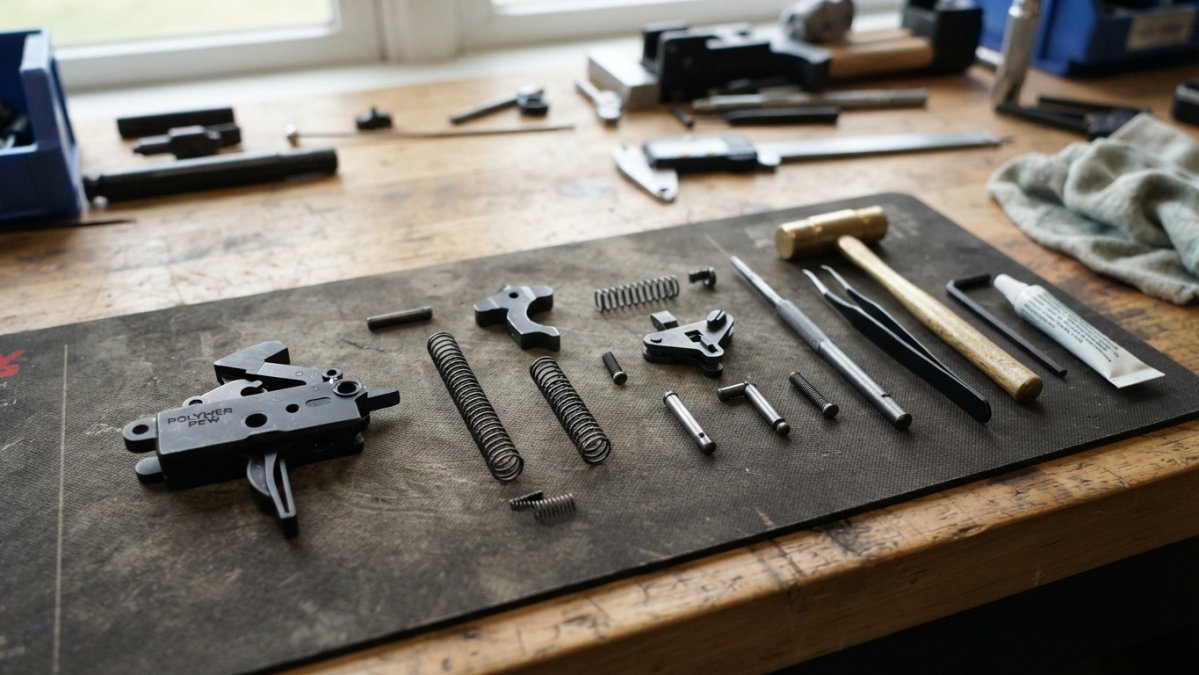
Lay out all components on a clean surface in removal order, and don’t mix parts from different triggers.
Inspect each component visually:
- Look for cracks, chips, or breaks
- Check for visible wear patterns
- Look for discoloration from heat or friction
Minor burrs on new components are normal, but cracks, bent surfaces, or missing material mean the component needs replacement.
Step 2: Checking for Manufacturing Burrs and Component Wear
Burrs are small rough edges left from milling that create friction and prevent smooth movement.
Wear patterns show where components rub; excessive wear means they’ve been cycling with binding or misalignment.
Component fatigue shows as stress marks or micro-cracks, usually from cycling under excessive stress or binding.
Step 3: Lubrication and Fouling Removal
Clean all components with a brush and solvent, especially the sear surface, trigger spring pockets, and disconnector contact areas.
Dry each component completely, moisture causes corrosion and binding.
Apply a light coat of quality gun oil to moving surfaces; excess oil attracts fouling and gums up the mechanism.
Work the components by hand to distribute the lubricant. The trigger should move smoothly with light pressure.
Step 4: Reassembly and Safety Verification
Reassemble your trigger using your photos as a reference, making sure each component sits exactly as before disassembly. Install the assembly back into your firearm, fully seated and aligned, misalignment creates binding and reset failure.
Perform a safety check before any firing:
- Unload your firearm completely
- Verify the chamber is empty
- Point in a safe direction
- Perform 10-15 dry fires
If the trigger resets smoothly in dry fire, move to live fire testing with a small amount of ammunition and verify reset under actual firing conditions.
Platform Compatibility and Component Tolerance Stacking
Reset failures often come from mixing components that weren’t designed to work together. Different platforms have different tolerances, so a trigger that works on one might fail on another.
Matching Trigger Assembly to Bolt Carrier Group
Your trigger assembly and bolt carrier group must be compatible so they re-engage the sear at the right moment in the cycling cycle. Check your platform’s specifications and make sure your trigger assembly is rated for your bolt carrier group, different weights and profiles affect reset timing.
When Tolerance Issues Cause Reset Problems
Manufacturing tolerances are measured in thousandths of an inch, and small variations add up when you stack multiple components.
Check component fit: the trigger should move smoothly without binding. If it feels tight or rough, tolerance stacking may be the issue.
Our components are manufactured to consistent tolerances that work across multiple platforms.
When to Stop Troubleshooting and Seek Professional Help
Sometimes a reset issue is beyond DIY repair. Knowing when to stop saves you time and money.
Stop troubleshooting and seek professional help if:
- The component has visible cracks or breaks
- You’ve replaced springs and adjusted screws but reset still fails
- The trigger assembly is damaged from over-tightening or forcing components
- You’re uncomfortable disassembling or reassembling the mechanism
A professional gunsmith has specialized tools and experience with unusual problems that are hard to spot at home.
Trigger reset issues are frustrating, but most are fixable with careful diagnosis.
Building with quality components from the start avoids most reset problems.
Frequently Asked Questions
Why is my trigger not resetting after firing?
Trigger reset failure usually stems from one of three causes: a weak or damaged trigger spring that can’t push the trigger forward, mechanical interference where internal components are binding against each other, or fouling and lubrication issues preventing smooth movement. Start by checking spring tension and inspecting for burrs or manufacturing defects. If the trigger physically feels stuck rather than just slow, you likely have mechanical interference that requires disassembly and inspection.
Can an incorrectly installed trigger cause reset problems?
Yes. Improper installation is one of the most common causes of reset failure. The trigger spring must be oriented correctly, the disconnector spring must sit in its proper position, and all components must align with the housing. Even small installation errors create binding or prevent the sear from fully engaging. Always verify component orientation against your platform’s specifications before reassembling, and double-check that the trigger assembly seats flush in the lower receiver or frame.
What’s the difference between trigger reset issues on AR platforms versus Glock pistols?
AR trigger reset involves a hammer-fired system where the disconnector spring and sear engagement directly control reset. Glock and other striker-fired systems use a completely different mechanism: the striker spring and connector govern reset instead. An AR trigger not resetting typically points to spring tension or disconnector placement, while a Glock trigger issue usually involves striker spring weakness or connector wear. Troubleshooting steps differ significantly between the two platforms.
When should I stop troubleshooting and contact a gunsmith?
Stop troubleshooting and seek professional help if you’ve completed a full disassembly inspection and found no obvious defects, if components show visible stress fractures or severe wear, if the trigger still fails after reassembly and adjustment, or if you’re uncomfortable performing disassembly yourself. A qualified gunsmith can identify tolerance stacking issues, internal geometry problems, or component fatigue that visual inspection might miss. Don’t force a repair that feels uncertain.