Table of Contents
- What You’ll Need Before Starting
- Safety First: Unload and Verify Your Firearm
- AR-15 Safety Selector Compatibility: Check Your Lower Receiver
- Remove the Pistol Grip for Safety Selector Installation
- Remove the Selector Spring and Detent
- Install Your Ambidextrous Safety Selector
- Function Check Your AR-15 Safety Selector After Installation
- Troubleshooting Common Installation Issues
- Frequently Asked Questions
Last Updated: October 10, 2026
What You’ll Need Before Starting
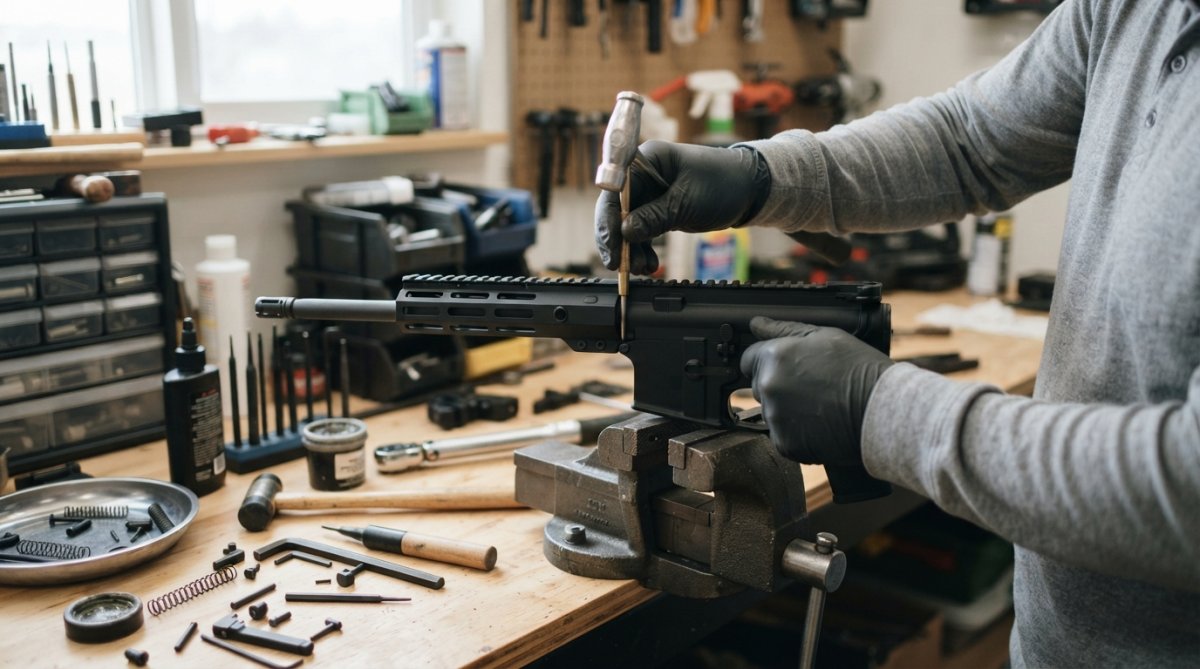
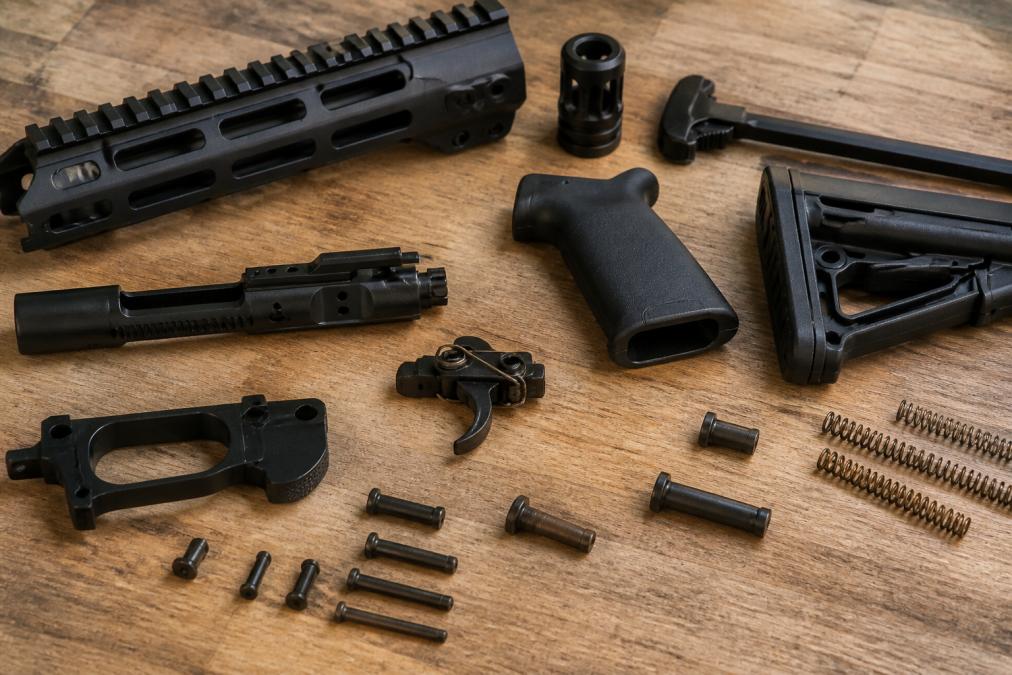
Installing an ambidextrous safety selector on your AR-15 requires just a few basic tools. Here’s what to gather:
- Your AR-15 lower receiver
- The new ambidextrous safety selector kit
- A punch set (roll pins and detents are small)
- Needle-nose pliers
- A small flathead screwdriver
- A workbench or clean, flat surface with good lighting
- A small container to hold tiny springs and detents (they roll away fast)
Lay out all parts before starting to prevent lost components. A magnetic tray keeps springs and detents organized. Read your selector’s manufacturer instructions, different designs use roll pins or screws, and knowing which applies saves time.
Keep a camera or phone nearby to snap photos as you disassemble. If you get stuck, those photos help you remember how everything went back together.
Safety First: Unload and Verify Your Firearm
Remove the magazine, lock the bolt carrier to the rear, and visually inspect the chamber by looking down the barrel from the back, you should see light. Verify twice. Keep the firearm pointed downrange throughout. Never work if you’ve had alcohol or are tired.
A loaded firearm during maintenance can fire accidentally. Even experienced shooters have had negligent discharges during routine work. Verify empty twice, then verify again.
AR-15 Safety Selector Compatibility: Check Your Lower Receiver
Not every ambidextrous safety selector fits every AR-15 lower receiver. Verify compatibility before purchasing or installing.
Identify Your Lower Receiver Platform
Most modern civilian lowers are mil-spec AR-15 pattern with a 0.154-inch selector hole diameter. Piston-driven variants, monolithic lowers, and clone-pattern receivers may have different selector geometry and require specific selector models. Check your lower’s manufacturer documentation.
Check the manufacturer’s name on the receiver and search their website for specifications. Contact the manufacturer if documentation is unavailable.
Check Selector Type and Fire Control Compatibility
Ambidextrous selectors come in two-position (safe/fire), three-position (safe/semi/full), and multi-position designs. Not all work with every fire control group. Count your current selector’s detent positions by rotating it and listening for clicks. Verify your trigger pack supports the new selector type before upgrading. The selector manufacturer’s website lists compatible fire control groups.
Verify Hole Diameter and Detent Channel Condition
Measure the selector hole diameter with calipers, standard mil-spec is 0.154 inches (±0.005 inches). Inspect the detent channel for cracks, chips, casting defects, or corrosion. Clean with a dry brush or compressed air. If the channel is damaged or the hole is oversized, stop, do not force an incompatible selector into a defective lower.
Consult the Selector Manufacturer’s Compatibility Guide
Visit the selector manufacturer’s website for a compatibility matrix listing tested lower receivers and fire control groups. If your lower is not listed, contact the manufacturer before proceeding.
When to Stop and Seek Professional Help
Do not proceed if your lower is not mil-spec, the detent channel is damaged, the selector hole is oversized, you’re unsure about fire control group compatibility, or the manufacturer doesn’t list your lower as compatible. Contact a qualified gunsmith in these cases.
Forcing an incompatible selector into a lower receiver damages both components and can create a safety hazard. If you are uncertain about compatibility, ask the manufacturer or consult a gunsmith before proceeding.
Remove the Pistol Grip for Safety Selector Installation
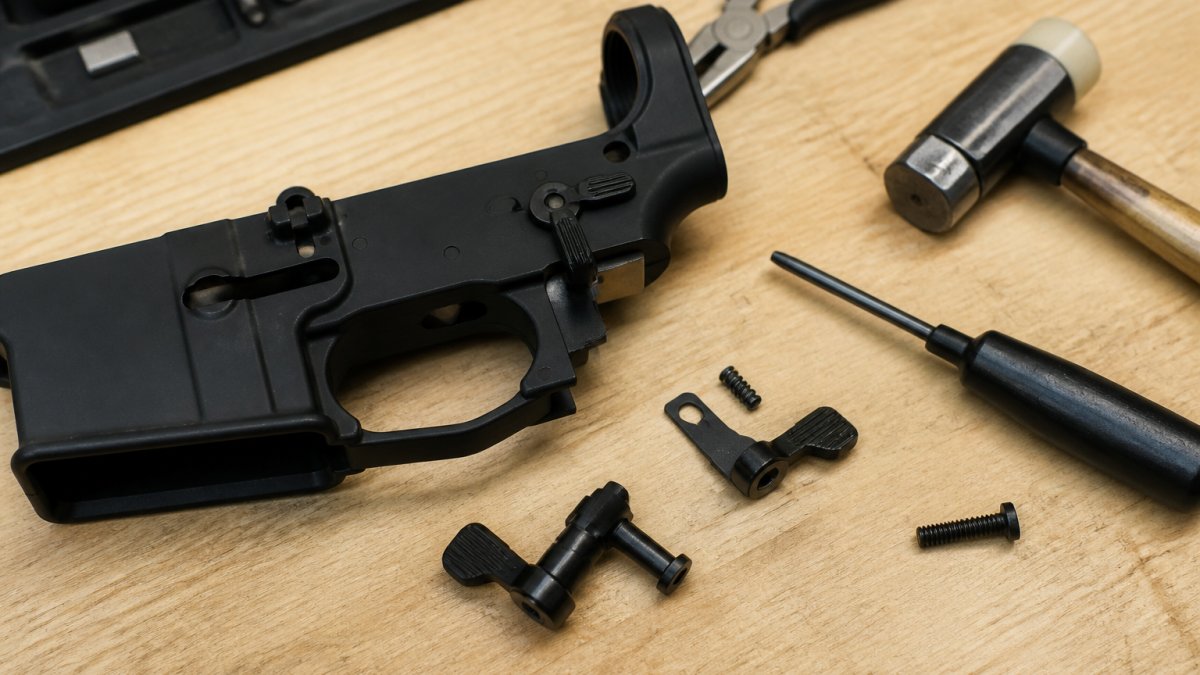
Locate the pistol grip screw on the right side of the lower, just behind the trigger guard. Use a flathead screwdriver to remove it slowly to avoid stripping. Gently pull the grip away from the lower. Set it aside with the screw. You’ll now see the selector spring and detent pin, keep them organized.
Before removing anything else, take a photo of this area. The spring and detent positions are easier to remember with a visual reference.
Remove the Selector Spring and Detent
Use needle-nose pliers to gently pull the spring straight up and place it in your container immediately. The detent pin is held by the selector itself and will come out when you remove the selector. Some selectors use a roll pin instead, if so, use your punch set with light, controlled taps to avoid damaging the lower.
Install Your Ambidextrous Safety Selector
This is where the ambidextrous selector goes in. The process is straightforward if you work carefully.
First, position your new selector in the detent channel. The selector lever should point downward (safe position). Slide it in gently. It should seat smoothly without forcing. If it binds or feels tight, stop and check alignment. Forcing a misaligned selector damages both the selector and the lower receiver.
Once the selector is positioned correctly, insert the detent pin. Use your needle-nose pliers to guide it into place. The pin should sit flush with the lower’s surface. If it sticks out, tap it gently with your punch until it’s level.
Now install the spring. Place it over the detent pin, making sure it seats properly. The spring should compress slightly when you press down. This compression is normal and necessary for proper function.
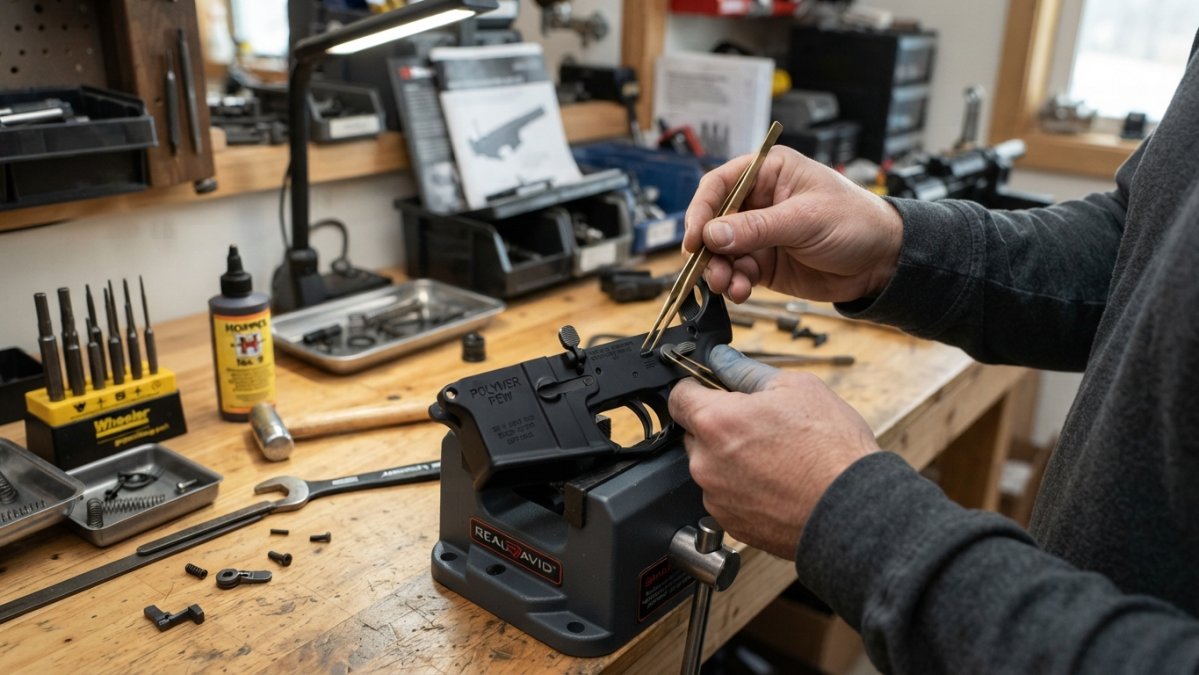
Test the selector movement by hand. Move it from safe to fire position. It should click distinctly and move smoothly without grinding or binding. If you feel resistance, remove the selector and check the spring and detent positions again.
Reinstall your pistol grip once the selector moves freely. Align the grip with the lower and slide it back into place. Insert the grip screw and tighten it firmly but don’t over-torque. Hand-tight plus a quarter turn is usually sufficient.
Function Check Your AR-15 Safety Selector After Installation
Before you fire a single round, verify that your new ambidextrous safety selector works correctly. A thorough function check catches problems before they become safety issues. Follow this structured checklist with your firearm unloaded and pointed downrange or in a safe direction.
Pre-Check: Verify the Firearm Is Unloaded
Remove the magazine, lock the bolt carrier to the rear, and visually inspect the chamber by looking down the barrel from the rear. You should see light. Repeat this inspection twice before proceeding.
Test 1: Selector Movement and Detent Engagement
Cycle the selector through all positions 20 times. Observe: smooth movement without grinding or binding, a distinct audible click at each position, and no excessive rattle or play. If the selector binds, grinds, or does not click, stop and diagnose before proceeding.
Test 2: Trigger Safety in Safe Position
Move the selector to safe and attempt to pull the trigger, it should not move at all. Repeat 10 times. If the trigger moves even slightly or the hammer releases, the selector has a safety defect. Stop and inspect the detent and spring positions, or consult a gunsmith.
Test 3: Trigger Function in Fire Position
Move the selector to fire and pull the trigger, it should move smoothly and the hammer should release. Release the trigger and verify the hammer resets. Cycle the action 10 times and test the trigger after each cycle. If the trigger feels stiff, does not reset, or the hammer does not release, stop and diagnose.
Test 4: Visual Inspection for Damage
Inspect the selector body for cracks or deformation, verify the detent pin is fully inserted and level, check that the spring is seated on the detent pin with no gaps, and look for new damage in the detent channel. Ensure the pistol grip screw is tight.
Test 5: Reassemble and Final Dry-Fire Check
Reinstall the pistol grip and tighten the screw firmly. Verify the firearm is unloaded, move the selector to safe and attempt to pull the trigger (it should not move), move to fire and pull the trigger (hammer should release), then cycle the action and repeat five times. If any test fails, diagnose before live fire.
What to Expect After Installation
A new selector may feel slightly different from your old one. This is normal. Different selector designs have different engagement surfaces and spring tensions. After installation:
- The selector may feel stiffer or looser than before. This is normal and usually improves after a few hundred rounds as components break in.
- The trigger may feel slightly different. This is expected and does not indicate a problem if all function checks pass.
- The selector may make a slightly different click sound. Variation in click tone is normal across different selector designs.
If the selector feels different but all function checks pass, shoot a few rounds and let it break in. If the selector fails any function check, if the trigger moves in safe position, if the selector does not click, or if the hammer does not release in fire position, stop immediately and diagnose the problem.
A properly installed ambidextrous safety selector must pass five tests: smooth movement with distinct clicks at each position, a completely locked trigger in safe position, free trigger movement and hammer release in fire position, no visible damage to the selector or detent channel, and consistent performance across repeated cycles. If any test fails, diagnose and correct the problem before firing.
Troubleshooting Common Installation Issues
Even careful installation sometimes reveals problems. Here’s how to fix the most common ones.
Selector binds or moves stiffly. This usually means the spring or detent is positioned incorrectly. Remove the grip and inspect the spring seating. Make sure the detent pin is fully inserted and level. Check that the selector hole isn’t obstructed by debris. Clean the channel if needed and reinstall.
Selector clicks but trigger still moves in safe position. The detent isn’t catching the selector properly. Remove the selector and verify the detent pin position. It should sit in the detent channel’s notch. If the channel is worn or damaged, the selector won’t lock. Some lower receivers have manufacturing defects here.
Spring keeps popping out. You’re not seating it fully. The spring must compress slightly when installed. Use your needle-nose pliers to guide it into position carefully. Make sure it’s seated on top of the detent pin. If it keeps escaping, the spring might be bent.
Selector moves too loosely or rattles. This usually happens with budget lower receivers that have oversized holes. The selector has too much play. You can shim the selector with small washers or tape to tighten the fit. Wrap electrical tape around the selector shaft where it enters the lower.
Detent pin won’t stay in place. Make sure it’s fully inserted. Sometimes the pin seats at an angle. Remove it completely and reinsert it straight. If it still won’t stay, the detent channel might be damaged or the pin might be bent. Inspect both carefully. A bent pin needs replacement.
Trigger feels different after installation. This is usually normal. A new selector has different engagement surfaces than the old one. Function-check it thoroughly. If the trigger is unsafe, if it moves when the safety is on, stop immediately and diagnose.
Installing an ambidextrous safety selector improves your AR-15’s usability and control. The process takes an hour or less if you work methodically. Take your time, verify everything twice, and your selector will function reliably for years.
If you’re building a clone or upgrading an existing rifle, Polymer Pew’s precision-engineered components, including our aluminum MKE lower receivers and specialized safety kits, are tested for compatibility and reliability. Get your ambidextrous safety selector and complete your build with confidence.
Frequently Asked Questions
Do you have to remove the pistol grip to install an ambidextrous safety selector?
Yes. Removing the pistol grip gives you access to the selector spring and detent pin, which must come out before you can install the new ambidextrous safety selector. Most builds require this step, attempting it without removal risks damaging internal components and creates a safety hazard.
Are AR-15 ambidextrous safety selectors compatible with all lowers?
Most ambidextrous safety selectors work with standard AR-15 lower receivers, but compatibility depends on your specific lower design. Some mil-spec lowers have tighter detent channels or different selector pin holes. Always verify your lower’s specifications against the manufacturer instructions for your selector before purchasing.
How do you test an AR-15 safety selector after installation?
With the firearm unloaded and pointed in a safe direction, cycle the selector lever through all positions (safe, semi, and full if applicable). The lever should move smoothly without grinding or catching. Verify the hammer does not fall when you pull the trigger in safe position. Check that the selector stays in each detent position without slipping.
What’s the most common mistake when installing an ambidextrous safety selector?
Reinstalling the selector spring and detent pin backwards or with incorrect tension. This causes the selector to bind or fail to hold detent position. Follow your manufacturer’s instructions carefully, spring orientation matters. If the selector feels gritty or won’t stay in position after reassembly, disassemble and check the spring direction.