Table of Contents
- What You’ll Need Before Adjusting Trigger Pull Weight
- How to Measure Trigger Pull Weight Accurately
- Step-by-Step: How to Adjust Trigger Pull Weight Safely
- Understanding Safe Trigger Pull Weight for Different Uses
- Firearm Trigger Safety Check After Adjustment
- Common Mistakes to Avoid When Adjusting Trigger Pull
- When to Consult a Gunsmith for Trigger Adjustment
- Conclusion: Adjusting Trigger Pull Weight Responsibly
- Frequently Asked Questions
Last Updated: October 8, 2026
What You’ll Need Before Adjusting Trigger Pull Weight
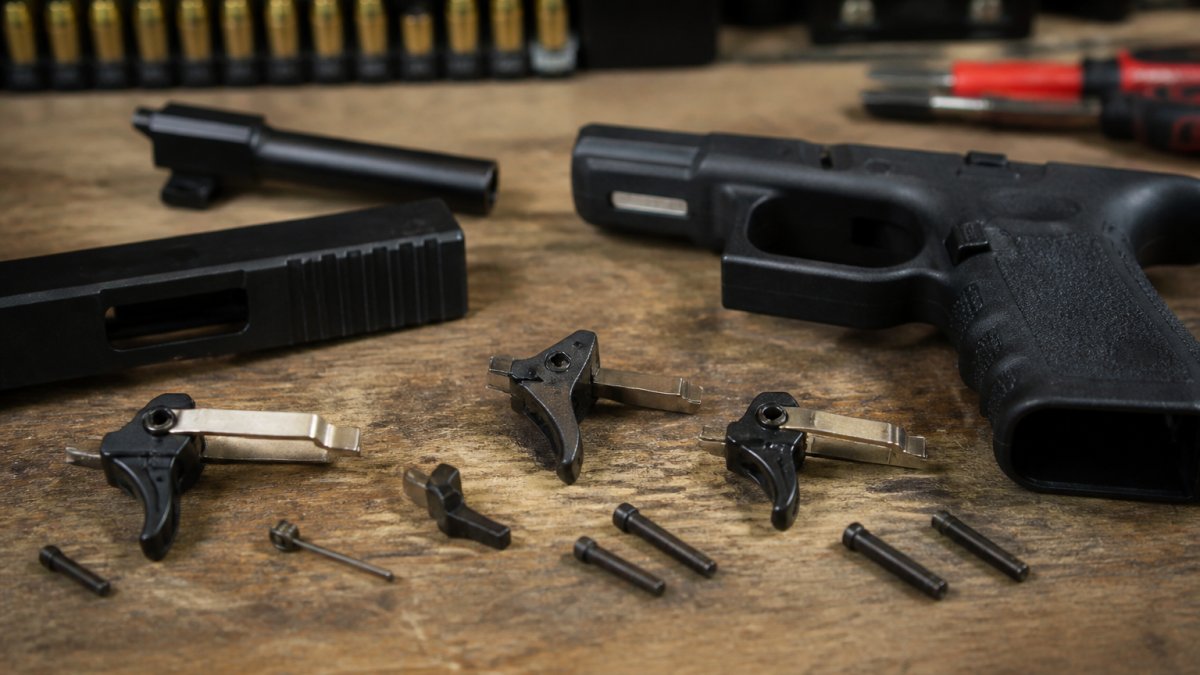
Learning how to adjust trigger pull weight safely starts with one rule: never touch the trigger mechanism until the firearm is completely unloaded and cleared.
Trigger pull weight is the amount of force, measured in pounds or ounces, required to release the sear and drop the hammer or striker.
Most factory triggers ship in a middle range that works for everyone and excels for no one, which is why so many shooters tune them.
Tools and Safety Gear
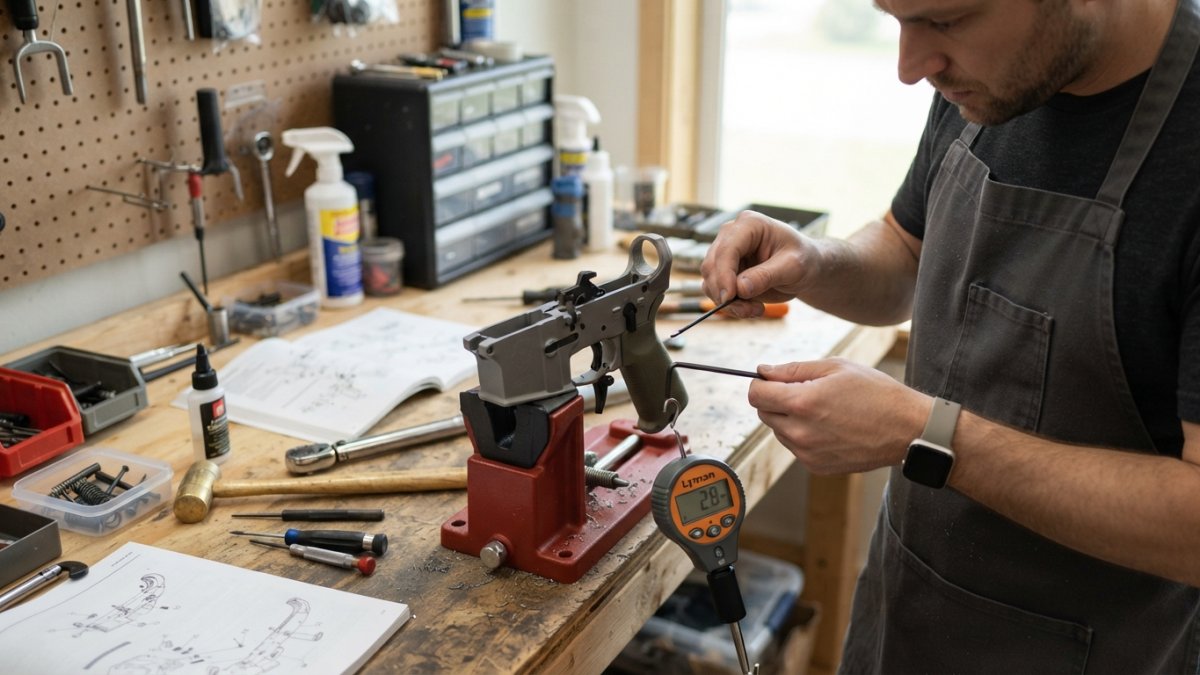
Before you start, gather the right gear. You need:
- A quality pull-weight gauge (mechanical or digital)
- The correct hex or Torx drivers for your firearm model
- A cleaning mat or bench block
A pull-weight gauge is not optional. Guessing at pull weight is how people end up with a dangerous trigger and no idea how it got that way.
Never adjust a trigger on a loaded firearm. Every year, avoidable discharges happen because someone skipped the clearing step. Clear the chamber, remove the magazine, and visually confirm the firearm is empty before you touch anything.
How to Measure Trigger Pull Weight Accurately
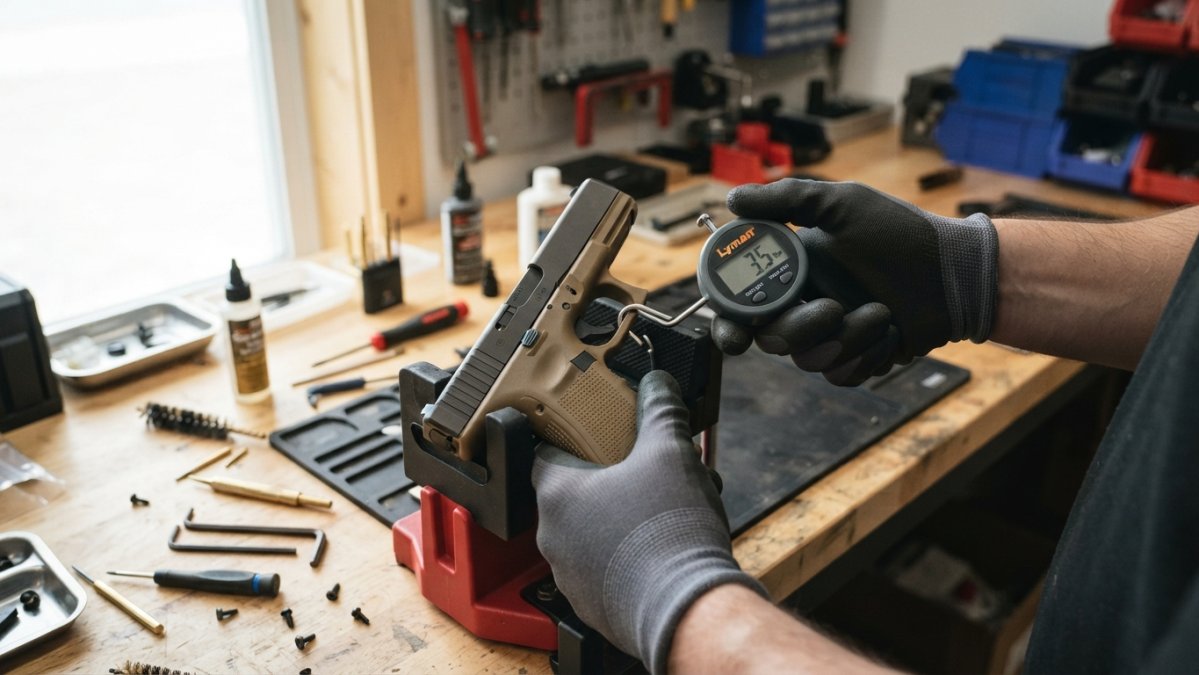
Measuring trigger pull weight accurately means using a pull-weight gauge, not your finger. A gauge gives you a repeatable number you can compare before and after any adjustment, and it is the only way to know whether you actually changed anything.
Gauge Types and What They Tell You
Two broad categories cover almost everything a home user will encounter:
- Mechanical spring gauges use a calibrated spring and a sliding indicator. They are inexpensive, need no batteries, and are accurate enough for before-and-after comparisons, but the reading depends on how steadily you pull.
- Digital load-cell gauges display a peak-hold number in pounds and ounces, removing most reading error and making one-handed use easier. They cost more and need a battery, but the peak-hold function makes them worth it.
Either type works. What does not work is estimating by feel and calling it a number.
Where to Hook the Gauge
Placement on the trigger face changes the reading. Hook the gauge at the same point every time, ideally the center of the trigger face, and pull straight back parallel to the bore.
For a two-stage trigger, the gauge shows a distinct first-stage take-up weight and a second-stage break weight. Record both, a single number hides the fact that the wall you feel at the end is what releases the sear.
A Repeatable Measurement Procedure
Follow this process every time you measure:
- Confirm the firearm is unloaded and pointed in a safe direction.
- Confirm the action is closed and the safety is in the fire position, per the owner’s manual.
- Hook the gauge on the center of the trigger face.
- Pull straight back, parallel to the bore, at a steady rate. Do not jerk.
- Watch for the moment the hammer or striker falls, and record the peak reading.
- Repeat three to five times and average the results. Note the high and low readings as well.
Consistency matters more than any single number. A trigger that breaks at five pounds every time is safer than one that varies between three and six. If your readings span more than about half a pound, do not adjust anything until you understand why.
Comparing Against Manufacturer Specifications
Before you adjust, find the manufacturer’s stated pull weight for your model in the owner’s manual or on the maker’s website.
If the manual does not list a pull weight, measure your factory setting, write it down, and treat that as your baseline.
For general firearm safety guidance and handling resources, the National Shooting Sports Foundation safety resources are a solid starting point.
Write your baseline numbers on a piece of tape and stick it inside the case. Six months from now, that note is the only reliable record of what the trigger felt like before you touched it.
Step-by-Step: How to Adjust Trigger Pull Weight Safely
Follow these steps in order and do not skip verification. “Adjust the trigger” means something different depending on the design in your hands, so the mechanism-specific notes tell you where your design diverges. Precision in these mechanical adjustments remains just as vital for the consistent performance required of trap shooting shotguns.
Step 1: Unload and Clear the Firearm
Remove the magazine, open the action, and visually and physically confirm the chamber is empty. Keep the muzzle pointed in a safe direction the entire time. This step is non-negotiable for every design.
Step 2: Identify Your Trigger Design Before You Touch Anything
The adjustment mechanism is determined by the design, not by the brand. The major categories behave differently:
- Single-action (SA) designs release the hammer from a cocked position with each pull. Adjustment is often a set screw that changes sear engagement or a spring that controls sear tension. Because the hammer is already cocked, small changes can produce large changes in break weight and safety margin.
- Double-action / single-action (DA/SA) designs have a long, heavier double-action first pull and a lighter single-action follow-up. Adjustment usually targets the mainspring or hammer spring, and the two modes must be measured separately.
- Striker-fired designs have no hammer. The striker is partially or fully pre-tensioned by the slide, and pull weight is governed by striker spring tension and connector geometry. Many are not user-adjustable beyond swapping a connector or spring, and some makers state the trigger group is not owner-serviceable.
Check your owner’s manual first. Some manufacturers publish factory settings and adjustment limits; others state the trigger is not user-adjustable, which is a hard stop, not a suggestion.
Step 3: Locate the Adjustment Mechanism
Where the adjustment lives depends on the design from Step 2. Common locations include:
- A spring leg that rests on a post inside the trigger housing
- A set screw that changes sear engagement
- A set screw that changes overtravel or take-up
If you cannot identify which your firearm uses, stop and consult the manual or a qualified gunsmith, adjusting the wrong screw is how a safe trigger becomes an unsafe one.
Photograph the mechanism before you change anything. If you lose track of the original spring position or screw depth, that photo is your way back to factory settings.
Step 4: Make Incremental Adjustments
Small changes only. Turn a screw a quarter-turn at a time, or move a spring leg one notch, then reinstall and measure. Big jumps are how people end up with a trigger that will not reset or fires when the bolt closes. On two-stage triggers, change one screw at a time and re-measure after each, because the screws interact.
Step 5: Test and Verify
With the firearm still unloaded, run a full function check:
- Confirm the trigger resets fully after each pull
- Check that the safety engages, disengages, and holds with the trigger pulled
- Confirm the disconnector or transfer bar functions as designed
If anything feels off, back the adjustment out and start again. Do not “shoot it in” to see if it settles.
If your firearm fails any function check after adjustment, stop. Do not load it. A trigger that will not reset or that fires on a bump test is not a tuning problem, it is a safety problem, and it belongs with a qualified gunsmith.
Understanding Safe Trigger Pull Weight for Different Uses
There is no single “safe” number. Safe trigger pull weight depends on the firearm, the design, and how you use it.
| Use Case | Typical Pull Weight Range | Why It Matters |
|---|---|---|
| Hunting rifles | Heavier, predictable break | Gloves and cold hands need margin |
| Precision target rifles | Lighter, crisp break | Accuracy depends on minimal disturbance |
| Defensive pistols | Moderate, consistent | Control under stress beats a light pull |
| Competitive pistols | Lighter, tuned to rules | Match rules often set a minimum |
| Tactical rifles | Moderate, duty-rated | Reliability and safety under hard use |
A light trigger does not automatically make you more accurate, it makes the gun less forgiving. Lighter pull can improve control on a stable range, but it shortens the margin between “ready” and “fired.” Many competitive shooters find a crisp, consistent break matters more than raw lightness; a predictable five-pound trigger often beats a mushy three-pound one.
Firearm Trigger Safety Check After Adjustment
Every adjustment ends with a firearm trigger safety check. Run this list before you load the gun again:
- Trigger resets fully after each pull
- Safety engages and holds with the trigger pulled
- No creep or overtravel beyond what you intended
If any item fails, stop. Do not load the firearm until the issue is resolved.
A trigger that passes every check on the bench is still not “proven” until it has run through live fire at the range. Test with a few rounds before you trust it for anything serious.
Common Mistakes to Avoid When Adjusting Trigger Pull
The biggest mistake is chasing a number instead of a feel. People read that a two-pound trigger is “better” and dial theirs down without understanding what changed. Other frequent errors:
- Adjusting sear engagement without understanding engagement angle
- Swapping springs without checking spring tension against the design
- Skipping the pull-weight gauge entirely
That last one trips up a lot of people: a single-action trigger with a set screw is a completely different animal from a striker-fired pistol with a spring leg, and instructions are not interchangeable between models. If you’re coming from a factory trigger, give the first adjustment a few dry-fire cycles before you judge it.
When to Consult a Gunsmith for Trigger Adjustment
Some jobs belong in a professional’s hands. Consult a qualified gunsmith if:
- Your firearm has no user-adjustable trigger
- The mechanism requires disassembly beyond field-stripping
- You need sear engagement or engagement angle work
A gunsmith has the gauges, fixtures, and experience to set pull weight to a target number and verify it. For a defensive firearm, that peace of mind is worth the cost.
Polymer Pew builds drop-in trigger components and full metal kits with anodized aluminum housings and stainless steel internals, tested for compatibility across common clone platforms. If you want a trigger upgrade without the guesswork of tuning a factory part, our flat triggers and super safety kits are designed to install cleanly.
Conclusion: Adjusting Trigger Pull Weight Responsibly
Adjusting trigger pull weight is a skill, not a shortcut. Measure first, change in small steps, and verify every time.
If you want parts that perform reliably, Polymer Pew offers flat triggers, super safety kits, and MKE lowers built from hardened stainless steel and anodized aluminum. Check our current lineup and find the right fit for your build.
Frequently Asked Questions
What is a safe trigger pull weight?
A safe trigger pull weight depends on the firearm’s design and intended use. For self-defense, many manufacturers recommend 4.5 to 6.5 pounds to prevent unintended discharge under stress. Target and competition firearms may use 2 to 4 pounds. Always follow the manufacturer’s specifications and test thoroughly after any adjustment. Never go below the minimum weight specified for your model.
Can trigger pull weight be adjusted on every firearm?
No, not all firearms have user-adjustable trigger pull weight. Some models feature adjustment screws or replaceable springs, while others require gunsmith intervention or parts replacement. Check your owner’s manual for adjustment capabilities. If your firearm lacks user adjustment, consult a qualified gunsmith for options like spring replacement or trigger kit installation.
How can you test trigger pull weight safely?
To test trigger pull weight safely, ensure the firearm is completely unloaded and pointed in a safe direction. Use a trigger pull gauge attached to the trigger’s center. Pull slowly and steadily until the hammer or striker releases, then read the gauge. Repeat several times for consistency. Never test with live ammunition. For a firearm trigger safety check, also perform a function check after any adjustment.
When should a trigger adjustment be handled by a gunsmith?
Consult a gunsmith if your firearm lacks user-adjustable features, if you need to replace springs or sear components, or if you are unsure about safe pull weight limits. Also seek professional help if adjustments cause reliability issues like failure to reset or unsafe light pulls. A qualified gunsmith can ensure proper sear engagement and safety function, especially for carry or competition firearms.
The hard part of trigger work isn’t turning a screw. It’s knowing when to stop and when to hand it off. Polymer Pew builds components with consistent pull weight, tested compatibility, and durable materials so your build performs the way you expect. Browse our flat triggers, super safety kits, and MKE lowers, and get your Flatties here.