Table of Contents
- Why Reliability Testing for Aftermarket Carry Triggers Matters
- OEM vs Aftermarket Handgun Trigger: Baseline Differences
- How to Run an Aftermarket Trigger Function Test
- Handgun Trigger Safety Testing: What to Check Before Carry
- Carry Trigger Pull Weight: Measuring Consistency
- What to Ignore in Aftermarket Carry Trigger Marketing
- Conclusion: Test Before You Trust
- Frequently Asked Questions
Last Updated: October 6, 2026
Why Reliability Testing for Aftermarket Carry Triggers Matters
Reliability testing for aftermarket carry triggers is the process of confirming that a replacement trigger group fires, resets, and safeties correctly across hundreds of rounds before you trust it in a defensive firearm.
Here is the uncomfortable truth most trigger reviews skip. The NRA gun safety rules put it plainly: never assume a firearm is safe or functional without verification.
Below, we walk through a repeatable test protocol, the OEM baseline you are measuring against, and the specific checks that separate a proven carry trigger from a parts-bin gamble.
The single most important insight: trigger feel and trigger reliability are separate properties. You can only confirm reliability through documented live-fire testing, not by dry-firing a few times on the couch.
OEM vs Aftermarket Handgun Trigger: Baseline Differences
The OEM trigger is the factory-installed trigger your handgun shipped with, engineered as a compromise between cost, safety margins, and shootability across a huge production run. An aftermarket trigger is a replacement designed to change pull weight, reset distance, or trigger feel.
Factory triggers typically prioritize drop safety and a heavier pull weight over a light, crisp break. It is a deliberate margin. Aftermarket triggers trade some of that margin for a shorter reset and a cleaner break, which is exactly why they need more testing, not less.
A few baseline differences worth measuring before you swap anything:
- Pull weight: Record your factory pull weight with a trigger gauge so you have a number to compare against.
- Reset distance: Note how far the trigger travels forward before it resets. This changes with aftermarket geometry.
- Safety engagement: Confirm your factory drop safety and any firing-pin block function as designed.
SAAMI standards for ammunition and firearms publishes the voluntary standards that reputable manufacturers build to. Knowing your platform meets those baseline specs gives you a fair starting comparison.
How to Run an Aftermarket Trigger Function Test
An aftermarket trigger function test is a structured sequence of dry-fire and live-fire checks that confirms your new trigger fires, resets, and engages its safeties every single time.
Stage 1: Dry-Fire and Reset Verification (50 cycles minimum)
Start with the firearm unloaded, ammunition stored in another room, and the muzzle pointed in a safe direction. Rack the slide, then press the trigger and hold it to the rear while you cycle the slide.
You are checking for two failure modes: failure to reset and a mushy or inconsistent reset point. A useful pass/fail standard is simple, 50 out of 50 clean resets, with the reset point landing in the same place every time.
Stage 2: Live-Fire Protocol and Round Counts
A practical live-fire protocol uses a defined round count so results are comparable across triggers and across range sessions. A staged approach works well:
- Break-in (200 rounds): Fire slow, deliberate shots in five-round strings, checking reset and safety function between every magazine. This is the period where most geometry issues surface.
- Cadence (100 rounds): Fire at a faster, defensive-practice cadence, controlled pairs and rapid strings, to stress the reset under recoil and slide velocity.
- Carry-ammunition validation (100 rounds): Repeat the same drill using the exact defensive load you intend to carry, not range ball. Primer sensitivity and pressure curves differ, and a trigger that runs on cheap range ammo can still light-strike a harder-primed defensive round.
A common pass/fail standard for a carry trigger is zero safety-related failures and zero failures to reset across the full 400-round sequence. Occasional ammunition-related failures to fire can be logged separately, but any pattern of light primer strikes points at the trigger or striker assembly, not the ammo.
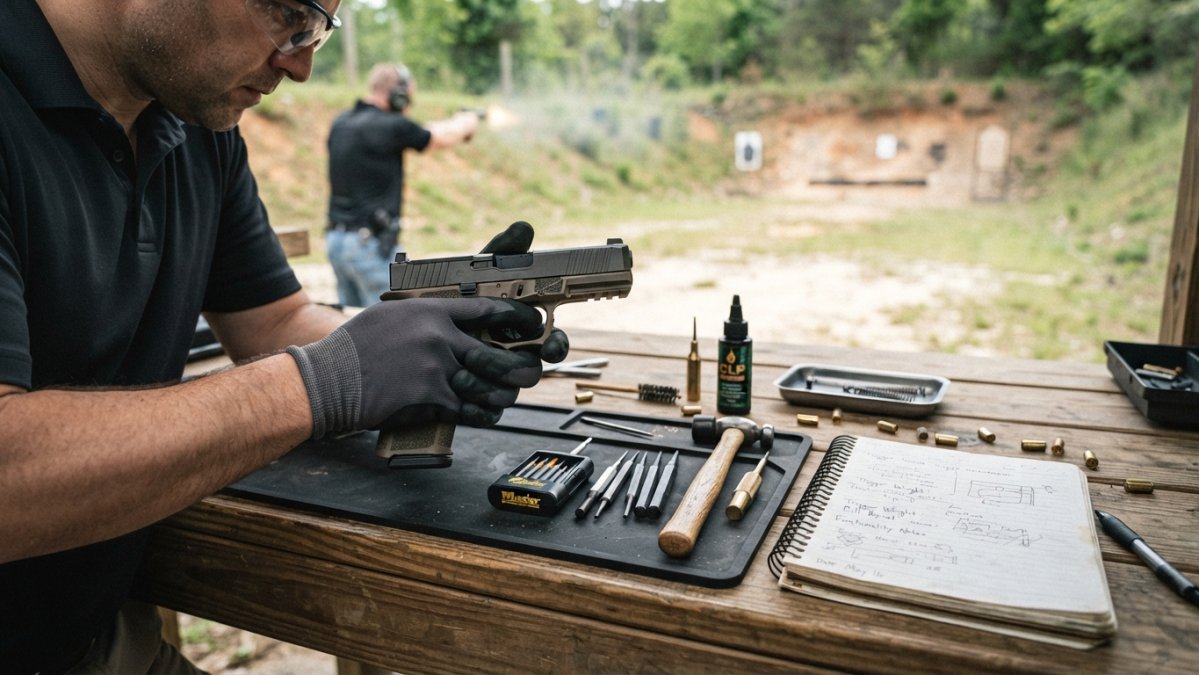
Stage 3: Document Every Round in a Test Log
A test log is what separates evidence from anecdote. Record, at minimum:
- Date, ambient temperature, and approximate round count
- Ammunition brand, bullet weight, and lot if known
- Every malfunction by type: failure to fire, failure to reset, light primer strike, unintended safety movement
Track every malfunction in a notebook as you go, not from memory afterward.
Control the Confounding Factors
A trigger is only one variable in the system. Before you blame the trigger for a failure, rule out the others:
- Ammunition: Switch to a known-good load and repeat the string. If the failure follows the ammo, it is not the trigger.
- Magazines: Mark and rotate magazines so a bad follower or spring does not get logged as a trigger problem.
- Other modifications: Connectors, striker springs, and recoil assemblies all interact with trigger geometry. Change one part at a time.
The most common mistake is judging a trigger after one or two magazines. A trigger that passes 20 rounds and fails at 200 has not passed anything. Log every round and every malfunction, or you have no data.
A trigger only earns carry status when it clears a defined round count, with zero safety-related failures, using your actual carry ammunition, and with every round documented. Anything less is a range impression, not a reliability result.
Handgun Trigger Safety Testing: What to Check Before Carry
Handgun trigger safety testing confirms that every safety mechanism still works after your trigger swap. The ATF firearms regulations and guidance govern how firearms are sold and transferred, and while they do not test your trigger for you, they underline why safety function is non-negotiable.
Run these checks on an unloaded firearm:
- Drop test: With the firearm cleared and pointed in a safe direction, confirm the trigger does not release the hammer or striker when the gun is bumped or dropped a short distance onto a padded surface. Follow your platform’s manufacturer guidance for this.
- Safety engagement: Confirm the manual safety, if your platform has one, engages and disengages cleanly and blocks the trigger as designed.
- Firing-pin block: Verify the firing-pin block or equivalent drop safety prevents forward movement of the firing pin unless the trigger is pulled.
If any safety check fails, the trigger comes out. There is no “it mostly works” with a carry gun.
Carry Trigger Pull Weight: Measuring Consistency
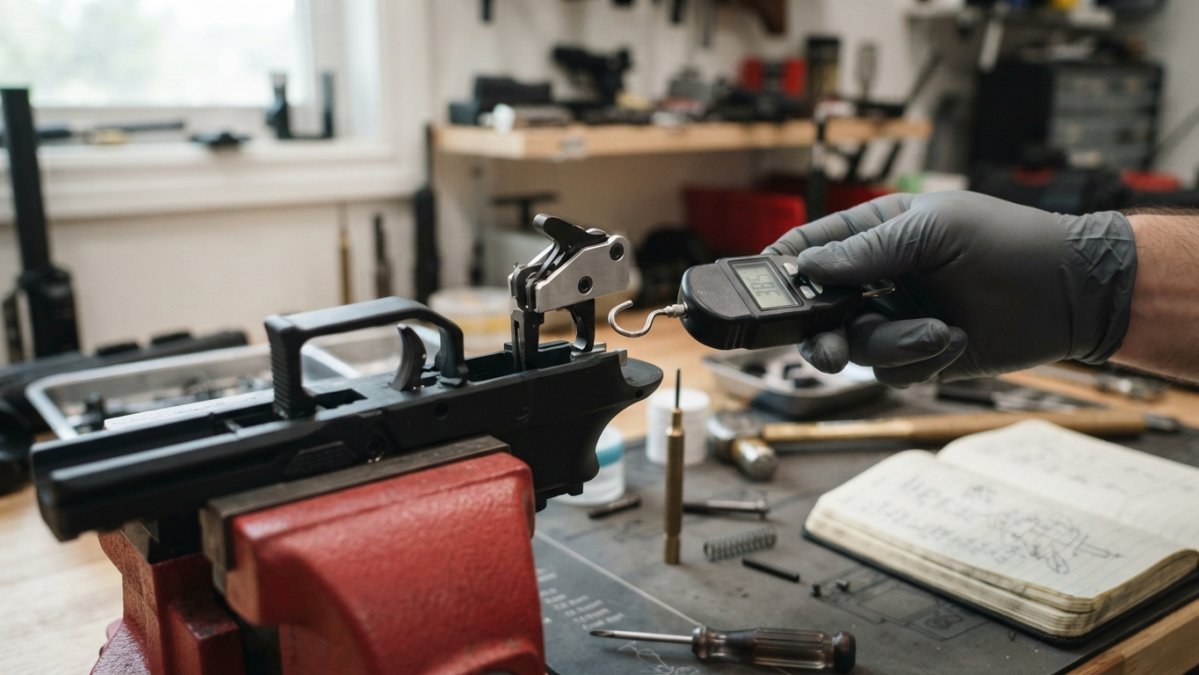
Carry trigger pull weight is the force required to break the trigger, measured in pounds with a trigger gauge. Consistency matters as much as the number itself. A trigger that averages four pounds but swings between three and five is worse for defensive use than one that holds steady at five, because a defensive trigger needs to be predictable under stress, not just light on a good day.
How to Measure Pull Weight the Same Way Every Time
- Use the same trigger gauge for every measurement, and note the gauge model in your log.
- Measure at the same point on the trigger face, the center of the shoe, every time.
- Take at least 10 readings in a row without stopping to adjust anything.
- Record each reading individually, then calculate the high, low, average, and spread (high minus low).
- Re-measure after your live-fire break-in period, and again after several hundred rounds of carry use.
A practical reporting standard is to publish all three numbers, average, high, and low, rather than a single figure. A trigger advertised at “4 pounds” that actually ranges from 3.2 to 4.8 is a different product than one that holds 3.9 to 4.1, even though both might round to 4.
What Pull Weight Variation Tells You About Reliability
Pull weight is not just a feel metric. A rising or erratic pull weight across a test session can signal:
- Geometry wear or galling between the trigger bar and connector
- Spring fatigue or binding in the trigger return or striker spring
- Inconsistent sear engagement that may eventually produce a failure to reset or an unsafe release
If the spread widens noticeably between your pre-break-in and post-break-in measurements, that is a signal to inspect the parts, not to keep shooting and hope it settles.
Pull Weight and Carry Suitability
A lighter trigger is not automatically a better carry trigger. Many defensive-firearm trainers and agencies favor a trigger that is heavy enough to resist an unintentional press under stress but consistent enough to shoot accurately.
Polymer Pew flat triggers and full metal kits use hardened stainless steel internals and anodized aluminum housings, built to hold their geometry through use. That construction is what supports consistent pull weight over time, and it is a big part of why we test components before they ship.
| Test Check | What to Measure | Reporting Standard | Why It Matters |
|---|---|---|---|
| Pull weight | 10 consecutive readings | Average, high, low, spread | Confirms the trigger matches your intended carry weight and holds it |
| Reset consistency | Reset point across 50 dry cycles | 50/50 clean resets, same reset point | Prevents failure to reset under stress |
| Safety function | Drop, manual safety, firing-pin block | Pass/fail per manufacturer guidance | Confirms the gun is safe to carry |
| Malfunction log | Every failure across round count | Count by type, with round number | Gives you real data, not a feeling |
| Post-break-in re-measure | Pull weight after 200+ rounds | Compare to pre-test baseline | Detects wear or spring fatigue early |
Photograph or scan your test log and keep it with the firearm’s records. If you ever sell the gun or the trigger, documented test data is worth more than a verbal “it runs great.”
What to Ignore in Aftermarket Carry Trigger Marketing
Marketing copy is not test data. When you see a trigger advertised as “match-grade” or “competition-ready,” ask what that actually means for a carry gun. Competition triggers are tuned for speed and a light pull, which is often the opposite of what a defensive firearm needs.
Ignore these claims unless they come with documentation:
- Vague “improved reliability” statements with no round count behind them.
- Pull weight numbers that are not measured with a gauge.
- “Drop-in” claims that do not specify model and generation compatibility.
What most guides miss is that compatibility is where drop-in triggers actually fail. A trigger that fits one generation of a platform may bind or fail to reset in another.
If you are building a clone for the first time, test the trigger in the lower before you assemble the whole gun. Catching a binding issue on the bench is far cheaper than catching it at the range.
Conclusion: Test Before You Trust
The challenge with any aftermarket carry trigger is that you cannot know it is reliable until you have proven it, and proving it takes structured testing, not a quick range trip. Polymer Pew builds flat triggers, super safety kits, and full metal kits with hardened stainless steel internals and anodized aluminum housings, tested for compatibility and reliability. If you want components backed by real construction and honest testing, get your Flatties here!!!
Frequently Asked Questions
Can an aftermarket trigger cause a handgun to malfunction?
Yes. Poorly fitted or low-quality aftermarket carry triggers can cause failure to fire, failure to reset, or light primer strikes. Issues usually trace back to incorrect sear engagement, out-of-spec springs, or tolerance stacking between the trigger and the frame. Before trusting any trigger upgrade for defensive use, run a documented function test: at least 200 dry-fire cycles checking reset, then 200 to 500 rounds of your intended carry ammunition. If you see one malfunction, stop and have a gunsmith inspect the install.
What is the best trigger pull weight for concealed carry?
Most defensive trainers and holster makers recommend a carry trigger pull weight between 4.5 and 6 pounds. Lighter pulls can feel faster on the range but increase the risk of an unintended discharge under stress, especially during a draw or reholster. Heavier pulls slow your splits but add a margin of safety. Whatever weight you choose, verify it with a trigger gauge across at least 10 pulls. Consistency matters more than the number itself: a trigger that varies by more than a pound between pulls is a reliability problem.
How should you test a replacement trigger for reliability?
Use a repeatable protocol. First, confirm model and generation compatibility with your firearm. Then do a bench check: safety mechanisms function, sear engagement is correct, and the trigger resets every time. Move to dry-fire: 200 to 500 cycles, watching for failure to reset or a mushy break. Then live-fire with your carry ammunition: at least 200 rounds minimum, 500 preferred. Log every malfunction, note the round count, and re-test after any cleaning or parts change. If the trigger passes all stages, only then carry it.
Are aftermarket handgun triggers reliable for concealed carry?
Quality aftermarket triggers from makers with a proven track record can be as reliable as OEM, but the burden is on you to verify it. The variables that matter most are parts quality (hardened steel internals, not cast pot metal), drop-in fit without hand-fitting, and compatibility with your exact model and generation. Budget drop-in kits can work well, but they deserve the same testing protocol as premium options. Skip the marketing claims and judge on documented function testing and live-fire results with your carry ammunition.