Table of Contents
- Safety First: Clearing the Firearm and Setting Up Your Workspace
- AR-15 Trigger Installation Tools You Actually Need
- Removing the Factory Trigger Assembly and Pistol Grip
- Installing Your Drop-In Trigger Housing and Securing Pins
- Anti-Walk Pin Installation Guide for Drop-In Triggers
- How to Perform a Function Check on a Firearm After Trigger Install
- Post-Installation Maintenance and Compatibility Verification
- Frequently Asked Questions
Last Updated: September 25, 2026
Safety First: Clearing the Firearm and Setting Up Your Workspace
Installing drop-in triggers safely starts before you touch a tool. A drop-in trigger is a self-contained fire control group that replaces your factory trigger, hammer, and springs as one unit. It saves time, but not safety steps.
The rule: clear the gun first, every time.
Here is your pre-work checklist:
- Remove the magazine and lock the bolt back
- Visually and physically check the chamber is empty
- Point the muzzle in a safe direction the whole time
- Remove all live ammo from the workspace
- Clear a well-lit bench with a non-slip mat
Never work on a firearm with a loaded magazine nearby. A single live round on the bench is how “empty” guns go off. Clear the room of ammo before you start.
AR-15 Trigger Installation Tools You Actually Need
The right AR-15 trigger installation tools make this a 20-minute job instead of a two-hour frustration session. You don’t need a full armorer’s kit, just the basics.
Gather these before you start:
- A set of roll pin punches (1/16, 3/32, and 1/8 inch)
- A small brass or nylon hammer
- A 3/32 inch Allen wrench for most grip screws
- A punch block or bench block to support the lower receiver
- A set of anti-walk pins if your kit doesn’t include them
- A clean rag and a light gun oil
Put a small magnet tray on the bench. Detent springs and safety selector detents launch across the room and vanish. A magnet catches them before they disappear into the carpet.
Removing the Factory Trigger Assembly and Pistol Grip
Start by removing the pistol grip, because the safety selector detent spring lives inside it. This is the step most people rush, and where parts go flying.
Follow this order:
- Back out the grip screw with your Allen wrench.
- Pull the grip away slowly and watch for the detent spring and detent pin.
- Cup your hand over the grip as it comes off to catch the spring.
- Push out the safety selector once the grip is clear.
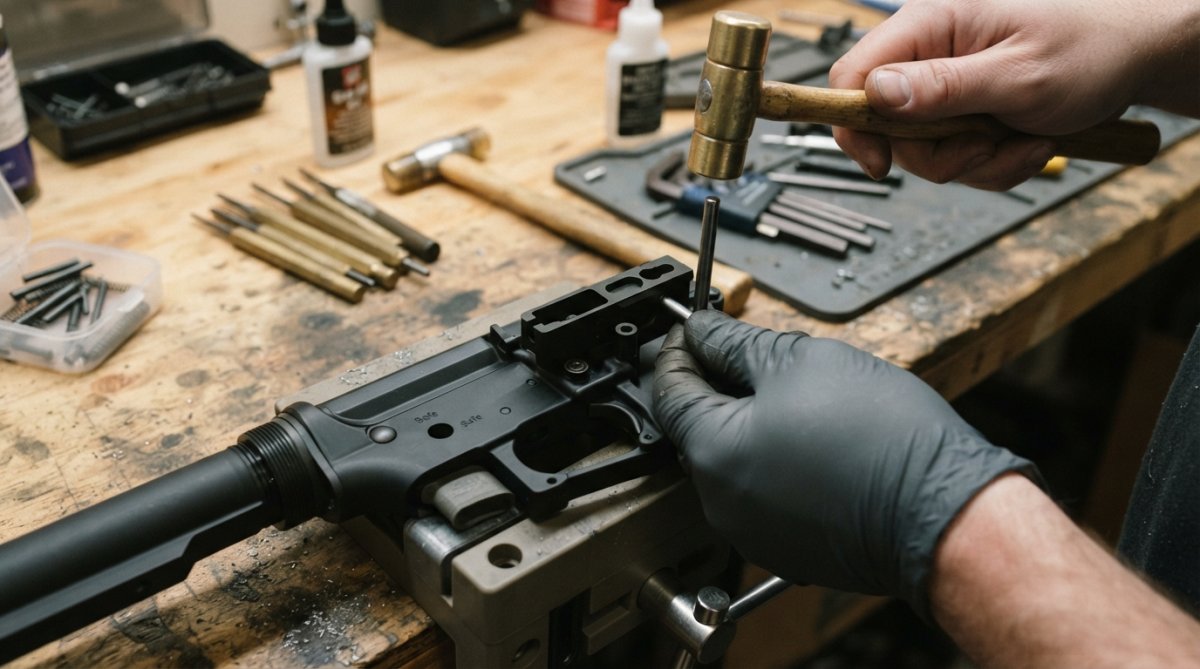
- Drive out the hammer pin and trigger pin with your punches.
- Lift out the factory trigger, hammer, and disconnector as one group.
The safety selector detent spring is the number one lost part in this job. Remove the grip slowly and keep your hand over it. Lose that spring and your safety won’t click into place.
Installing Your Drop-In Trigger Housing and Securing Pins
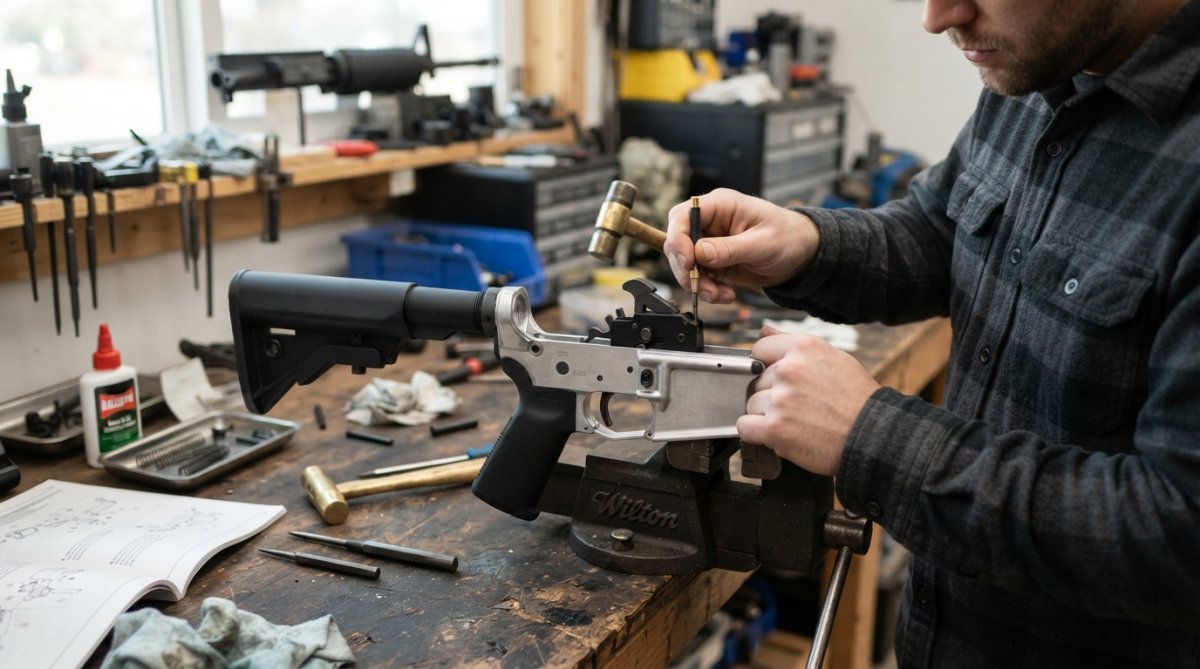
A drop-in unit installs as a single trigger housing, the main reason builders choose them. Lower the housing into the lower receiver and secure it with two pins, no spring juggling, no sear engagement guesswork.
Here’s how to seat it:
- Lower the housing into the receiver with the hammer facing rearward.
- Line up the trigger pin hole first and start the pin by hand.
- Tap it through with your punch until it’s flush.
- Repeat for the hammer pin.
- Check that the housing sits flat with no rocking.
Anti-Walk Pin Installation Guide for Drop-In Triggers
An anti-walk pin installation guide matters because factory pins can drift under recoil. On a MIL-SPEC trigger, the hammer and trigger pins are held by spring tension; a drop-in housing changes that geometry, and on some lowers the pins sit looser. Anti-walk pins solve this with small set screws that mechanically lock the pins to the receiver so they cannot slide out during a range session.
The two anti-walk pin designs
- Screw-on cap design. The pin passes through the receiver, and a small cap with a set screw threads onto each exposed end, bearing against the receiver wall to clamp the pin. Most common on drop-in kits.
- Threaded-pin design. The pin is threaded at both ends, and a low-profile screw threads directly into it, bearing against the receiver. Sits flusher; preferred on slim-handguard builds where cap clearance matters.
Both work. The screw-on cap design is easier to install and re-torque; the threaded-pin design is cleaner but easier to cross-thread.
Step-by-step install
- Confirm pin diameter. Most AR-15 trigger and hammer pins are 0.154 inch (“small pin”); some older and clone lowers use 0.170 inch (“large pin”). Measure before you buy, a large-pin lower won’t accept small-pin anti-walk pins, and forcing them wallows out the holes.
- Fit the pins dry first. Slide the trigger and hammer pins through the housing and receiver without set screws. They should pass with light thumb pressure. If you have to tap them, the holes are misaligned, fix that first.
- Install the caps or screws by hand. Thread each set screw or cap screw in by hand until it contacts the receiver, no driver yet. Hand-threading prevents cross-threading, the number one way people ruin anti-walk pins.
- Snug with a hex key. Turn each screw until it contacts the receiver and stops, contact plus a light snug, not torque. On most kits that’s roughly a quarter-turn past first contact. If it bottoms out hard, back it off a quarter-turn.
- Check pin rotation. With screws snugged, try rotating each pin with your fingers. It should not spin freely. If it does, the set screw isn’t bearing on the pin, recheck that the cap sits flat against the receiver.
- Cycle the action ten times. Recheck pin rotation. If either pin loosened, re-snug and cycle again. A pin that won’t stay snug usually means the receiver wall is out of spec or the set screw is too short for the cap.
Do not overtighten anti-walk set screws. The receiver wall on a forged or billet lower is thin at the pin bosses, and a set screw torqued past snug can dimple the wall or crack it. Snug is enough. The goal is to stop lateral movement, not to crush the receiver.
Torque and re-torque
There’s no published torque spec for anti-walk set screws, it depends on receiver material and screw size. The practical rule most armorers use: snug plus a quarter-turn, then recheck after the first range session. Heat cycling settles the screws, and a pin tight on the bench can develop a few thousandths of play once the rifle warms up.
Re-torque schedule:
| When | What to check |
|---|---|
| Immediately after install | Pin rotation, screw contact |
| After first range session (100-200 rounds) | Re-snug all set screws |
| Every 500 rounds | Pin rotation, screw contact |
| Every 1,000 rounds | Remove and inspect pins for wear at the receiver interface |
When anti-walk pins are worth it
On a range rifle that sees a few hundred rounds a year, factory pins held by spring tension are usually fine. Anti-walk pins earn their place on:
- Competition builds where a pin walking out mid-stage ends your day.
- Hard-use rifles that see high round counts and heat.
- Clone or aftermarket lowers where pin hole tolerances are looser than a MIL-SPEC forging.
- Any build running a drop-in housing that does not use spring-loaded retention on the pins.
After the first range session, recheck your anti-walk set screws. They often settle slightly once the rifle heats up and cycles. A quick snug-up prevents a pin from backing out later. Keep the correct hex key in your range bag so you can do this check without hunting for tools.
How to Perform a Function Check on a Firearm After Trigger Install
Learning how to perform a function check on a firearm separates a safe build from a dangerous one. Most guides give a five-bullet list and move on, not enough. A drop-in trigger changes the geometry of the hammer, disconnector, and safety interface at once, so you need a sequenced check with a clear pass/fail at each stage.
Stage 1: Bench checks (no cycling)
- Safety engagement. With the hammer cocked, rotate the safety selector to SAFE. Pull the trigger firmly. The hammer must not fall. If it does, the selector or its detent is not interfacing with the trigger tail, stop.
- Safety disengagement. Rotate to FIRE. The selector should click into both positions with a positive detent, not mush. Mush usually means the detent spring is kinked or the pistol grip is over-torqued and pinching it.
- Sear lockup. Cock the hammer by hand and press its rear with your thumb. It should not slip off the sear. Any movement means the sear engagement is too shallow.
- Pin retention. Push each pin laterally with your thumb. It should not walk. If it moves, your anti-walk set screws aren’t snugged or the housing holes are out of tolerance.
Stage 2: Reset and disconnector checks (cycling)
- Reset test. Cycle the charging handle to cock the hammer, pull the trigger and hold it rearward, cycle the action again, then release the trigger slowly. You should hear and feel a distinct click as the disconnector hands the trigger back to the sear. No click means the disconnector spring is installed wrong or the disconnector is binding.
- Disconnector hold test. With the trigger held fully rearward, cycle the action. The hammer must not drop when the bolt closes. If it does, the disconnector isn’t catching the hammer, the failure mode that produces a runaway or doubling firearm. Stop immediately.
- Hammer-follow test. Release the trigger, cycle the action slowly, and watch the hammer. It should stay locked rearward until you pull the trigger. If it rides forward with the bolt carrier, the disconnector or hammer spring is wrong.
Stage 3: Feel and break
- Pull weight consistency. Dry-fire ten times. The break should feel the same on rep one and rep ten. A single-stage trigger should break cleanly with a short reset; a two-stage should have a distinct take-up wall before the break. Gritty or inconsistent feel usually means a burr on the sear or insufficient lubrication on the contact points.
- Creep check. With the hammer cocked, apply light pressure without breaking the trigger. Any perceptible movement before the break is creep. Some is normal on a MIL-SPEC trigger; none on a quality drop-in.
- Over-travel. After the break, the trigger should stop within a short distance. Excessive over-travel means the housing isn’t seated flat or the trigger pin is walking.
If the hammer drops when you release the trigger, if the hammer follows the bolt, or if the safety fails to block the trigger, do not load the firearm. These are the three failure modes that cause unintended discharges. Tear the unit down and recheck every part before you try again.
What a passing function check looks like
A properly installed drop-in should pass all ten checks on the first pass, no re-tightening, no re-seating, no “it works if I hold it this way.” If you’re compensating for the trigger, the install isn’t done.
Run the function check twice: once right after install, and once again after your first range session. Heat and recoil settle pins and set screws, and a trigger that passed on the bench can fail after 100 rounds. The second check is the one that catches it.
Post-Installation Maintenance and Compatibility Verification
Two things most guides skip: ongoing maintenance and compatibility verification. Get these right and your trigger lasts for years.
For compatibility, confirm:
- Your bolt carrier group and upper receiver match your lower’s pattern
- Your drop-in kit is rated for your specific lower, including clone builds
- Your MIL-SPEC pin sizes match the housing
For maintenance, follow this simple schedule:
| Task | Frequency | Why It Matters |
|---|---|---|
| Check pin tightness | Every range session | Catches walking pins early |
| Light oil on contact points | Every 500 rounds | Keeps reset crisp |
| Inspect sear and disconnector | Every 1,000 rounds | Spots wear before it fails |
| Re-torque set screws | Every 1,000 rounds | Prevents anti-walk pin drift |
Frequently Asked Questions
Do you have to remove the safety selector to install an AR trigger?
Yes, the safety selector must be removed because it passes through the receiver and blocks the trigger pin. You will need to remove the pistol grip first to access the detent spring and pin that hold the selector in place. Once the grip is off, pull the selector out, install your drop-in triggers, then reinstall the selector and grip. Always perform a function check afterward to confirm the safety works correctly.
What are the essential safety checks after installing a new trigger?
After installing drop-in triggers, perform a function check: confirm the safety engages and disengages properly, the trigger resets with tactile feedback, and the hammer does not follow the bolt carrier group. Also verify the disconnector catches the hammer on reset. Check that anti-walk pins are secure and the trigger pull weight is consistent. Do this with the firearm cleared and pointed in a safe direction before live fire.
Is it necessary to use anti-walk pins with drop-in triggers?
Anti-walk pins are not always required, but they prevent the trigger and hammer pins from walking out under recoil, which is a common issue with drop-in triggers that use set screws. If your lower receiver has oversized pin holes or you shoot frequently, anti-walk pins add reliability. Many drop-in trigger housings include them. Installing them is straightforward and covered in our anti-walk pin installation guide.
Can an improper trigger installation cause a firearm to malfunction?
Yes. If the trigger housing is not seated correctly, the disconnector or sear engagement can be off, causing the hammer to follow the bolt carrier group or the trigger to fail to reset. Overtightening set screws can also bind the trigger. Always follow the manufacturer’s torque specs, use the correct tools, and perform a function check before firing. A proper installation prevents these issues.
Building a reliable rifle comes down to the details most people skip: clearing the firearm, seating pins correctly, and running a real function check. Polymer Pew makes that easier with drop-in kits built from anodized aluminum housings and hardened stainless steel internals, plus MKE lowers tested for clone compatibility. If you want a trigger that holds consistent pull weight without the guesswork, get your Flatties from Polymer Pew and build with parts that fit the first time.