Table of Contents
- Ignoring Tolerance Stacking in Aftermarket Parts
- How to Verify Firearm Part Compatibility Before Installing
- Skipping the Firearm Function Test Checklist After Upgrades
- Installing Controls Without Essential Gunsmithing Tools for Beginners
- Overlooking Legal and Liability Implications of Trigger Modifications
- Common Installation Errors That Compromise Firearm Safety
- Testing and Validation: Ensuring Reliability After Control Upgrades
- Frequently Asked Questions
Last Updated: September 22, 2026
Ignoring Tolerance Stacking in Aftermarket Parts
Tolerance stacking, the cumulative effect of multiple aftermarket parts’ manufacturing tolerances, is the most overlooked mistake when upgrading firearm controls. It can push your firearm outside safe operating parameters, which is why some drop-in kits work flawlessly in one build but fail catastrophically in another.
A lower receiver machined to ±0.005 inches, combined with a trigger group at ±0.003 inches and a safety lever at ±0.004 inches, can create binding, excessive play, or unpredictable sear engagement, individually acceptable tolerances that become dangerous when stacked.
Verify your platform’s baseline tolerances before installation. Different firearm clones have wildly different internal dimensions despite compatibility claims. Testing your own parts remains essential.
Installing multiple aftermarket controls without verifying compatibility can result in unsafe sear engagement, unintended discharge, or complete firearm malfunction. Always measure and test before live fire.
How to Verify Firearm Part Compatibility Before Installing
Compatibility verification is the foundation of safe upgrading firearm controls. Document your firearm’s manufacturer, model, production year, and existing modifications, tolerances shift across production runs.
Step 1: Check the Parts Manufacturer’s Specifications
Review technical documentation for specific compatibility statements, not vague claims like “universal fit.” Contact the manufacturer directly if documentation is missing or unclear.
Step 2: Measure Critical Dimensions
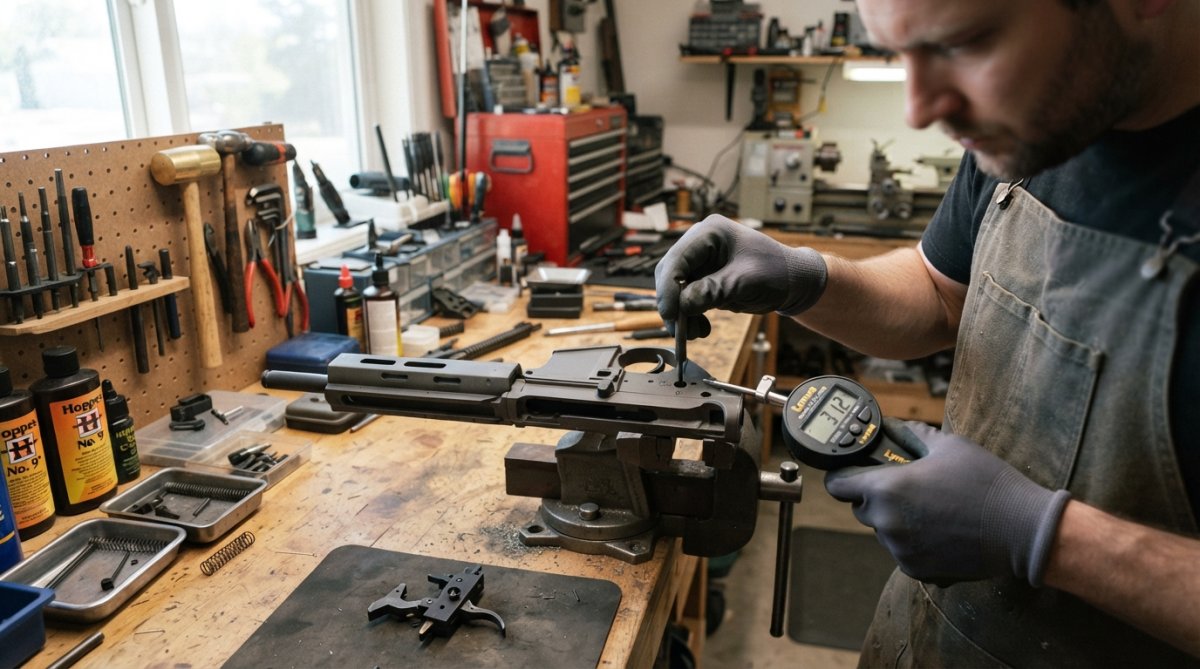
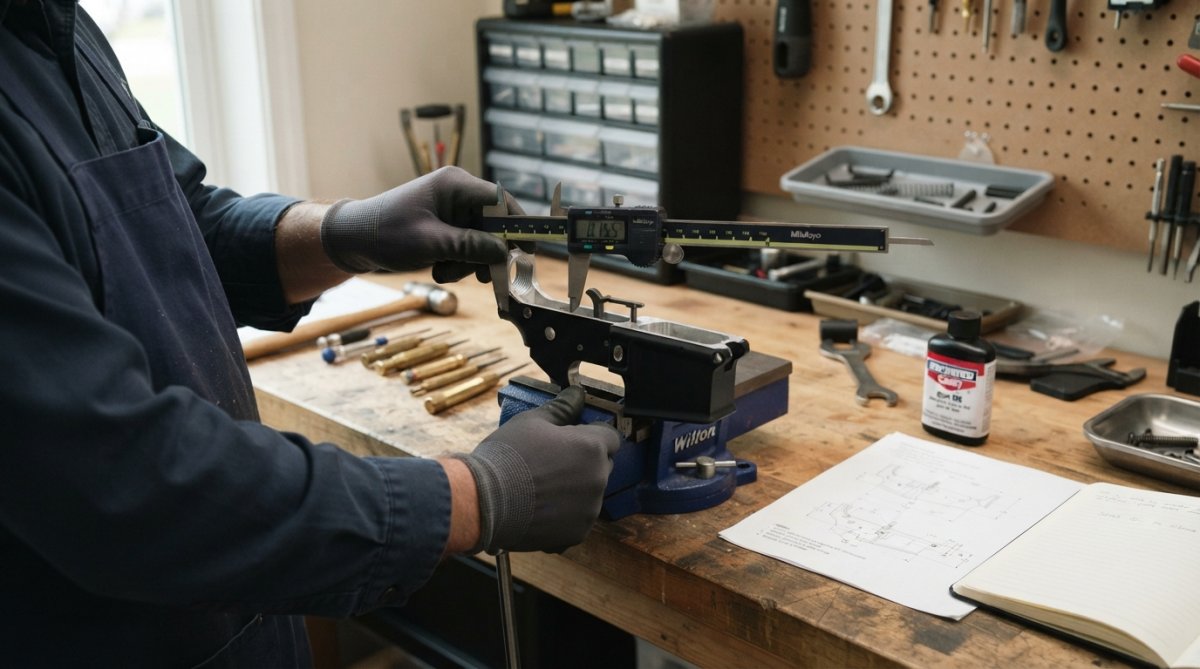
Use calipers to measure trigger group pin hole spacing, sear engagement surfaces, safety lever pivot diameter, and load-bearing surfaces. Compare to the aftermarket part’s specifications.
Step 3: Dry-Fit the Components
Install the part without ammunition and manipulate controls through their full range of motion. Listen for grinding, feel for binding, and watch for uneven wear patterns. Stop immediately if anything feels wrong.
Step 4: Document Your Findings
Photograph installed components from multiple angles and note gaps, misalignment, or concerns. This documentation is critical for troubleshooting or contacting the manufacturer.
Skipping the Firearm Function Test Checklist After Upgrades
A firearm function test checklist is the documented sequence that separates safe builds from dangerous ones. After upgrading firearm controls, you must methodically verify that every safety mechanism works as designed.
Begin with the firearm completely unloaded and all ammunition removed from the work area. Your work area should be clear of distractions, well-lit, and organized.
Pre-Test Inspection Phase
Visually inspect for gaps between trigger group and receiver, misaligned pins or springs, burrs on contact surfaces, or backwards installation. A visual defect almost always indicates a functional problem.
Phase 1: Dry Fire Cycling (Unloaded)
Cycle the action 50-100 times. Engage and disengage the safety lever slowly, it should move smoothly without grinding. Press the trigger slowly and feel for a smooth break point and audible reset. Cycle the bolt or slide after each trigger press and watch for uneven wear patterns. Listen for rattling or clicking. If anything feels wrong, stop and disassemble to investigate.
Phase 2: Trigger Pull Weight Measurement
Use a calibrated trigger pull gauge to measure pull weight at least five times. Variation greater than 0.5 pounds indicates improper installation. If measurement is more than 1 pound from spec, the installation is incorrect. Do not proceed to live fire if pull weight is outside specification.
Phase 3: Safety Engagement Verification
Engage the safety and attempt to press the trigger, it should not move or move only a fraction of an inch. If it moves more than 1/8 inch, the safety is not functioning. Repeat 10 times. If the safety does not prevent trigger movement, do not fire the firearm.
Phase 4: Firing Pin or Striker Lock Verification
Engage the safety and attempt to move the firing pin or striker forward, it should not move at all. Disengage the safety and verify it can now move freely. Repeat 5 times. If the firing pin moves with safety engaged, do not proceed to live fire.
Phase 5: Hammer or Striker Reset
Press the trigger slowly and release it. Observe whether the hammer or striker returns to its original position and listen for an audible click. Repeat 20 times. If reset is slow, incomplete, or inconsistent, disassemble and verify component alignment.
Phase 6: Magazine Release and Bolt Catch Function
If your upgrade included a new magazine release or bolt catch, insert an empty magazine and verify smooth function. Verify the magazine drops freely. Cycle the bolt to the rear and engage the bolt catch, it should lock open. Repeat 10 times for each control.
Documentation and Interpretation
Record date, time, trigger pull weight measurements, anomalies, safety engagement results, firing pin lock results, and reset observations. If any test fails, do not proceed to live fire. Disassemble, verify installation, and retest.
If any safety-critical test fails (safety engagement, firing pin lock, or trigger reset), do not fire the firearm. Disassemble, verify installation, and retest. A single failed safety test indicates a critical malfunction that must be resolved before live fire.
Keep a written log of all function tests for every firearm you upgrade. Over time, this log becomes a reference that helps you identify patterns in your installation technique and catch errors before they become dangerous.
Installing Controls Without Essential Gunsmithing Tools for Beginners
Attempting to install aftermarket controls with improvised tools damages firearms. The right tools are the difference between a successful upgrade and a ruined receiver.
Critical Tools for Control Upgrades:
A hollow-ground screwdriver set like the Wheeler Engineering Professional Gunsmithing Screwdriver Set prevents screw head damage. Standard screwdrivers slip in the slot and mar the finish. Hollow-ground bits grip the screw precisely, distributing pressure evenly across the slot.
A bench block like the Real Avid Smart Bench Block protects your firearm’s finish while you work. It holds components steady and features a magnetic surface to prevent losing small springs and pins. Without one, parts roll across your workbench and disappear into oblivion.
A torque wrench ensures that fasteners are tightened to specification, not guessed at. Over-tightening strips threads and cracks receivers. Under-tightening allows parts to shift during use. The Vortex Optics Torque Wrench handles the smaller fasteners common in trigger upgrades.
The cost of proper gunsmithing tools is a fraction of the cost of a ruined receiver. Buy once, use for a decade.
Overlooking Legal and Liability Implications of Trigger Modifications
Trigger modifications exist in a complex legal landscape that varies by jurisdiction, firearm type, and intended use. Ignoring the legal dimension can result in criminal and civil liability.
Federal Legal Restrictions on Trigger Modifications
Federal law prohibits modifications that allow a firearm to fire more than one round per trigger press, including sear modifications and disconnector removal. The ATF has classified some forced reset triggers (FRTs) as illegal. Bump stocks are explicitly prohibited under the Bump Stock Rule (2019). Before installing any aftermarket trigger, verify that the specific model has not been classified as illegal by the ATF and request written confirmation from the manufacturer that it complies with federal law.
State and Local Trigger Modification Laws
Many states impose additional restrictions: minimum trigger pull weight (some require 2.5 pounds for hunting rifles), specific platform restrictions, licensing and registration requirements, and prohibitions on hair triggers for self-defense firearms.
Liability Exposure: Criminal and Civil
Documentation as a Liability Shield
Use-Case-Specific Legal Considerations
Before installing any aftermarket trigger, verify its legal status with the manufacturer in writing. Ask the manufacturer to confirm that the specific model complies with federal law and does not appear on any ATF prohibited list. Keep this written confirmation with your documentation. If the manufacturer cannot provide this confirmation, do not install the trigger.
Consult a firearms attorney in your state before modifying any firearm you intend to carry for self-defense. The cost of a brief consultation ($200-500) is far less than the cost of defending yourself in court if your firearm is ever used. An attorney can advise you on the specific legal implications of your modification in your jurisdiction.
Common Installation Errors That Compromise Firearm Safety
Incorrect Pin Orientation: Pins lock components in place. Installing a pin backwards creates binding or allows parts to shift. Photograph the original configuration before disassembly.
A common mistake is assuming that “tighter is safer.” Excessive torque damages components and creates binding that compromises safety. Use a torque wrench and follow specifications.
Testing and Validation: Ensuring Reliability After Control Upgrades
Phase 1: Dry Fire Testing verifies mechanical function. Cycle the action hundreds of times and listen for grinding or binding.
Frequently Asked Questions
What are the risks of improper trigger installation when upgrading firearm controls?
Improper trigger installation can compromise drop safety, create unintended sear engagement issues, and result in unpredictable trigger behavior. Over-tightening screws may strip internal components or damage the sear engagement surface. Under-tightening can cause the trigger to shift during firing, affecting accuracy and safety. Testing trigger pull weight with a gauge after installation verifies the modification meets safety specifications. Any deviation from manufacturer specs indicates installation error requiring correction before firing.
How do you ensure compatibility when upgrading firearm controls?
Verify that aftermarket parts match your specific firearm platform and generation. Check manufacturer documentation for tolerance specifications and fit requirements. Test fit components before final installation, drop-in parts should seat without forcing. Account for tolerance stacking when combining multiple upgrades; small variations across parts compound into binding or loose fits. Research user reports for your exact platform combination. When in doubt, contact the manufacturer with your firearm’s serial number and model to confirm compatibility before purchasing.
Why is function testing critical after modifying firearm controls?
Function testing confirms that your upgrades perform as intended without introducing mechanical failures. Testing verifies trigger pull weight consistency, reset distance, and drop safety operation. Dry fire practice after installation reveals binding, creep, or unexpected behavior before live fire. Use a trigger pull gauge to measure pull weight objectively; inconsistent readings indicate installation problems. Function testing also catches tolerance stacking issues that may not be visible during assembly. This step is non-negotiable for safety and reliability.
What tools are essential for safe firearm control upgrades?
Hollow-ground screwdriver sets prevent marring screws during removal and installation. A bench block safely holds components while driving out pins without damaging the firearm finish. A torque wrench ensures fasteners are tightened to specification without over-tightening. A trigger pull gauge measures pull weight objectively to verify safety compliance. An armorer’s wrench handles larger fasteners on rifle platforms. Quality tools reduce installation errors, protect your firearm’s finish, and ensure proper mechanical function. Investing in correct tools upfront saves costly mistakes and damage.