Table of Contents
- Why the Trigger Group Needs Its Own Cleaning Routine
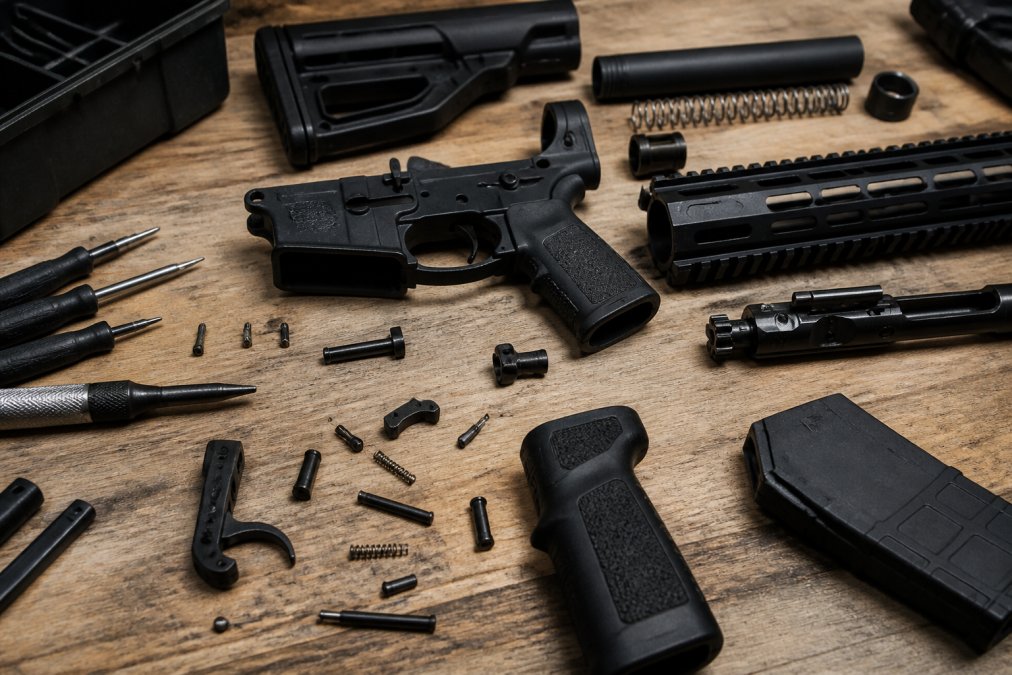
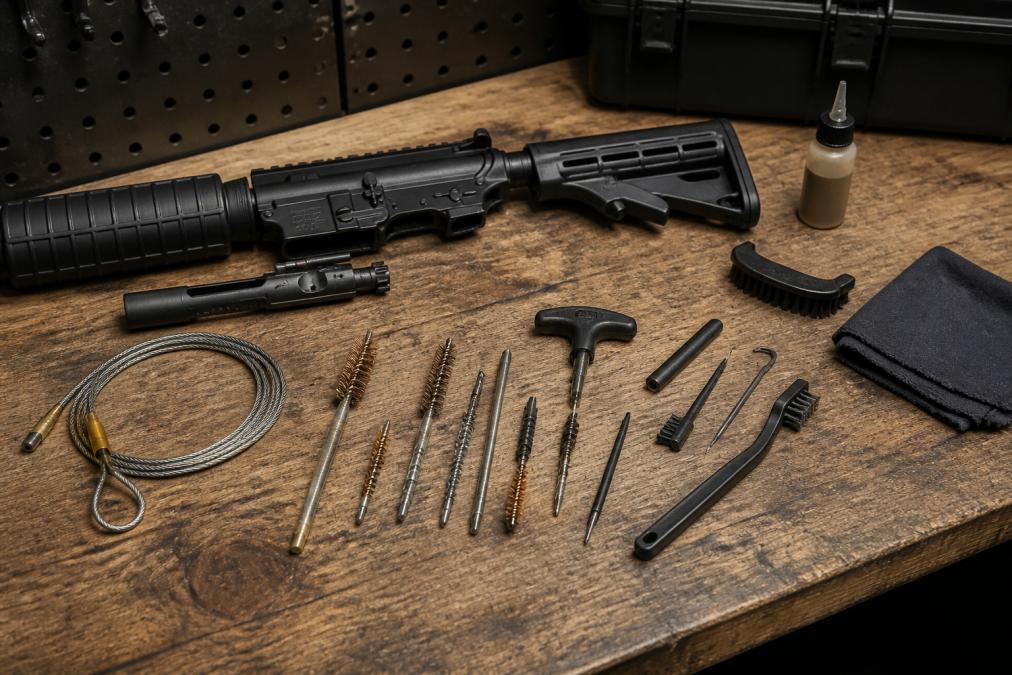
- Tools and Solvents You Actually Need
- How to Remove an AR-15 Trigger Group Safely
- Step-by-Step Trigger Group Cleaning
- The Best Gun Oil for AR-15 Triggers (and Where to Apply It)
- AR-15 Trigger Maintenance Schedule
- Drop-In vs. Mil-Spec: Maintenance Differences That Matter
- Visual Inspection Guide for Safety and Wear
- Frequently Asked Questions
Last Updated: September 21, 2026
Why the Trigger Group Needs Its Own Cleaning Routine
The fire control group is the most neglected part of most rifles. Shooters scrub the bolt carrier group until it shines, then ignore the hammer, sear, and disconnector inches away.
Treat the trigger group as a separate maintenance job, not an afterthought. A clean, properly lubed fire control group gives you a consistent trigger pull and reliable reset.
Tools and Solvents You Actually Need
You don’t need a gunsmith’s bench to clean a trigger group well, just the right small tools and chemicals. The wrong solvent or a steel brush does more harm than good.
The essentials:
- Nylon brush set (never use a steel brush on sear surfaces)
- Aerosol cleaner or dedicated gun solvent
- Degreaser for heavy carbon buildup
- Synthetic oil for lubrication
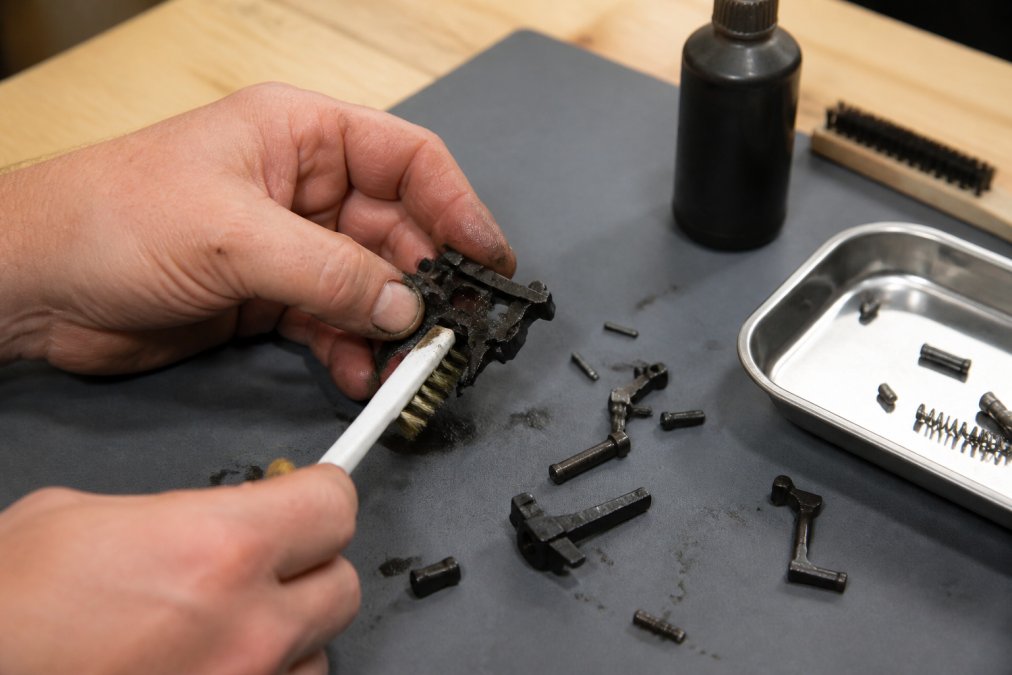
- Small parts tray with dividers
- Roll pin punches sized for trigger and hammer pins
- Lint-free cloths and cotton swabs
- A bright work light
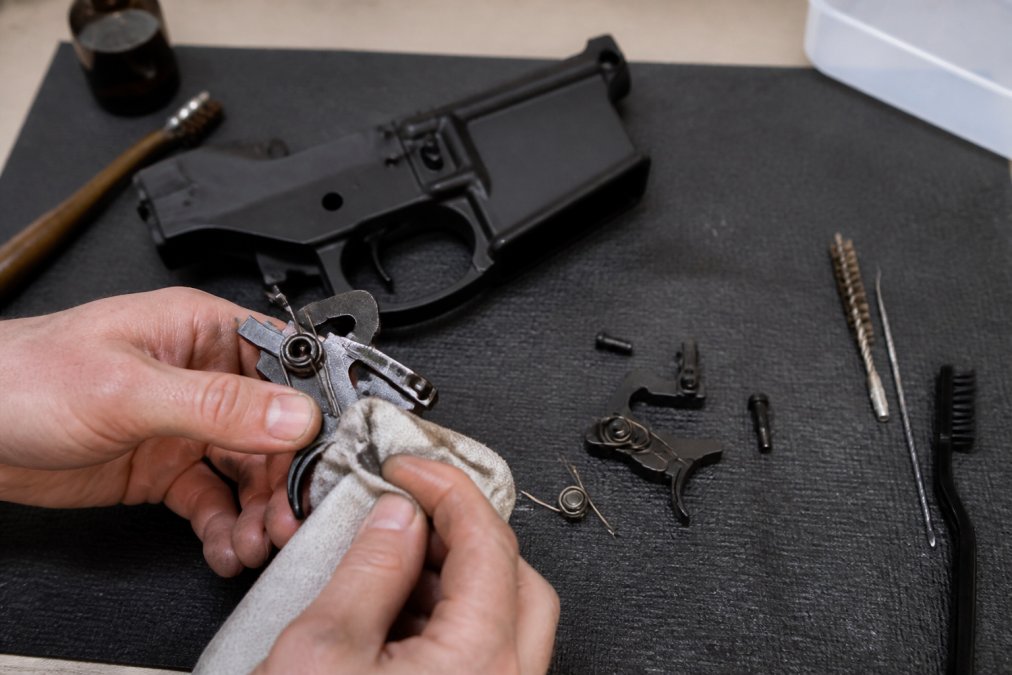
Never use a steel brush or abrasive pad on the sear, hammer hooks, or disconnector. Those surfaces control your trigger pull. Scratches there create an inconsistent pull and can cause unsafe engagement.
How to Remove an AR-15 Trigger Group Safely
Learning how to remove an AR-15 trigger group starts with clearing the rifle and confirming it’s empty.
Removal steps:
- Clear the chamber and visually confirm it’s empty
- Remove the upper receiver from the lower
- Push out the hammer pin and trigger pin with a roll pin punch
- Lift out the hammer, then the trigger and disconnector assembly
- Remove the safety selector if your setup requires it
- Keep the springs and pins in a labeled tray
Step-by-Step Trigger Group Cleaning
Cleaning a trigger group is a small-parts job. Work over a tray, keep your light angled across the parts, and go slow. The whole process usually takes 20 to 30 minutes once you know the drill.
Step 1: Clear the Firearm and Confirm It’s Safe
Safety comes before any tool touches the rifle. Drop the magazine, check the magazine well, rack the charging handle, and look into the chamber with your own eyes.
Safety checklist:
- Magazine removed
- Chamber visually confirmed empty
- Bolt locked to the rear
- Rifle pointed in a safe direction
- Ammo stored away from the work area
Step 2: Strip Carbon Fouling from the Hammer, Sear, and Disconnector
Carbon fouling builds up on the hammer face, sear surfaces, and disconnector tip, where trigger feel degrades. Apply solvent, let it sit a minute, then work the carbon loose with a nylon brush.
Step 3: Clean the Receiver, Magazine Well, and Pivot Points
The receiver and magazine well collect grit that migrates into the trigger group. Wipe down the interior walls and the trigger and hammer pin holes; cotton swabs reach the pivot points where pins ride.
The Best Gun Oil for AR-15 Triggers (and Where to Apply It)
What to look for in a trigger group lubricant:
- Viscosity: A light oil in the 5W-20 to 10W-30 equivalent range flows into pin holes and sear engagement without pooling. Grease is too thick for sear surfaces, it bridges the gap and changes engagement geometry.
- Base stock: Synthetic base stocks (PAO or ester) resist oxidation and don’t varnish the way conventional petroleum oils do. Varnish on a sear surface is a slow-motion trigger job you didn’t ask for.
- Additives: Look for anti-wear (ZDDP-type) and corrosion inhibitor packages. Avoid oils with heavy detergent packages, detergents are designed to suspend carbon, which is the opposite of what you want in a trigger group where you’re trying to keep surfaces clean.
- Temperature behavior: A lubricant that thickens below freezing will slow your reset in cold-weather matches. A lubricant that thins too much at summer range temperatures migrates off the sear and leaves it dry.
Where to apply oil, and how much:
| Location | Application Method | Amount |
|---|---|---|
| Trigger pin and hammer pin contact points | Needle applicator, one drop per pin | Thin film, no drip |
| Sear engagement surfaces | Lightly oiled swab, wiped across | Microscopic film only |
| Disconnector contact point | Needle applicator, touch-off | One small drop |
| Safety selector detent | Needle applicator into channel | One small drop |
| Hammer spring contact area | Lightly oiled swab | Thin film |
| Trigger pin holes in receiver | Needle applicator, one drop each | Thin film |
What to avoid:
- WD-40 as a lubricant. It’s a water displacer, not a lubricant. It evaporates and leaves a gummy residue that attracts carbon.
- Heavy grease on sear surfaces. Grease is for high-load, low-speed applications like bolt lugs. On a sear, it changes engagement and collects debris.
- Silicone spray. It migrates, doesn’t stay where you put it, and provides almost no wear protection under the pressure a sear sees.
- CLP as a sole lubricant. CLP is a compromise product. It cleans, lubricates, and protects, but it doesn’t excel at any of the three. For a trigger group you’re cleaning separately, use a dedicated lubricant after cleaning.
If you shoot in cold weather, test your lubricant at the lowest temperature you expect to encounter. A trigger that resets fine at 70°F can feel like it’s dragging at 20°F if the oil thickens. Some shooters run a dry-film lubricant (molybdenum disulfide or tungsten disulfide) on sear surfaces for cold-weather reliability.
Re-lubrication interval: After a full cleaning, re-lube every contact point. Between cleanings, a single drop on the trigger pin and hammer pin every 500 rounds keeps the action smooth. Don’t re-lube the sear between cleanings, if it needs more oil, it needs cleaning first.
AR-15 Trigger Maintenance Schedule
An AR-15 trigger maintenance schedule depends on how much you shoot. Here’s a practical baseline.
| Use Level | Rounds Between Service | What to Do |
|---|---|---|
| Light range use | 1,000-1,500 rounds | Wipe down, light lube |
| Regular shooting | 500-1,000 rounds | Full clean, inspect sear |
| Competition or heavy use | 300-500 rounds | Deep clean, check pull weight |
| Storage or long gaps | Every 6 months | Inspect for rust, re-lube |
Drop-In vs. Mil-Spec: Maintenance Differences That Matter
Mil-spec maintenance:
- Disassemble fully to clean each spring and pin
- Inspect spring tension and sear engagement individually
- Re-lube each contact point by hand
- Replace individual springs and pins as they wear
- Adjust or tune sear engagement if you know what you’re doing (and accept the liability)
Drop-in maintenance:
-
Remove as one unit, clean the exterior and pin holes
-
Avoid soaking the housing in solvent, which can trap liquid inside
-
Check the housing for cracks or loosening
-
Do not disassemble the housing unless the manufacturer explicitly supports it
-
Do not attempt to adjust sear engagement, most drop-in units are set at the factory and are not user-serviceable
-
Soaking the housing in solvent or degreaser
-
Using an ultrasonic cleaner on the assembled unit
-
Disassembling the housing to access internal components
-
Applying grease or heavy oil to internal surfaces
-
Modifying or polishing any internal surface
What you can safely do to a drop-in unit:
- Remove the unit from the lower receiver per the manufacturer’s instructions
- Wipe the exterior housing with a lightly oiled cloth
- Clean the pin holes with a cotton swab and a small amount of solvent on the swab, not poured into the housing
- Blow out any debris with compressed air if the manufacturer allows it
- Apply a light film of oil to the exterior contact points and pin holes
- Reinstall and function test
What you should not do to a drop-in unit:
- Submerge it in solvent
- Run it through an ultrasonic cleaner
- Spray aerosol cleaner directly into the housing
- Disassemble it unless the manufacturer provides instructions and supports the procedure
- Polish or stone any internal surface
Ultrasonic cleaning is a common question for drop-in trigger owners, and the answer is almost always no. Ultrasonic cavitation can strip factory-applied dry lubricants and coatings from sear surfaces, and the cleaning action can dislodge internal components that aren’t user-serviceable. Unless the manufacturer explicitly states that ultrasonic cleaning is approved, don’t do it. The same applies to aerosol cleaners sprayed directly into the housing, they can carry debris into the internals and leave solvent trapped where it causes corrosion.
Mil-spec vs. drop-in: which needs more attention?
When you run a drop-in unit, keep a spare set of manufacturer pins on hand. Some housings use proprietary pins, and losing one mid-match ruins your day. Also keep the manufacturer’s cleaning instructions with your range bag, if you ever need warranty service, being able to show you followed the documented protocol helps.
Function testing after cleaning a drop-in unit. After reinstalling a drop-in trigger, do a full function check with an empty chamber: confirm the safety selector moves through all positions, the trigger resets positively, the hammer locks back, and the disconnector catches the hammer on reset. Drop-in units sometimes need a few dry-fire cycles to settle back in. If the trigger feels heavier, lighter, or mushy, stop and inspect before firing.
Visual Inspection Guide for Safety and Wear
What to check:
- Sear and hammer hooks: look for rounding, chipping, or galling
- Disconnector tip: check for wear that causes hammer follow
- Pins: look for bending, scoring, or loose fit in the receiver
- Springs: check for kinks, rust, or lost tension
- Trigger pull weight: compare against your baseline
A trigger that suddenly feels lighter or has a mushy reset is a red flag. Stop and inspect before firing again. Do not try to “shoot it in.”
After cleaning and inspection, function test with an empty chamber: confirm the safety selector works, the trigger resets, and the hammer locks back. Then dry fire a few times to check reset and sear engagement.
Frequently Asked Questions
How often should you clean an AR-15 trigger group?
Most shooters can go 500 to 1,000 rounds between full trigger group cleanings, but that number shifts with ammo type and range conditions. Cheap steel-cased ammo and dirty suppressors push carbon into the fire control group faster. If you shoot suppressed, inspect every 300 to 500 rounds. Wipe down the hammer, sear, and disconnector with a solvent-damp cloth after every range trip, then do a full disassembly and trigger group cleaning every few sessions.
Do you need to remove the trigger group to clean it properly?
Not always. A quick wipe-down of the hammer and disconnector with the lower still assembled handles light carbon fouling. For deep cleaning, though, you need to know how to remove an AR-15 trigger group so you can reach the sear engagement surfaces, trigger pin, and hammer pin. Carbon hides in those contact points and builds up until trigger pull weight creeps up or reset gets gritty. Pull the group every 1,000 rounds or whenever the trigger feels off.
Can over-lubricating an AR-15 trigger cause malfunctions?
Yes. Too much oil in the fire control group attracts carbon and grit, which gums up the sear and disconnector. That can cause a sluggish reset or, in cold weather, a trigger that won’t reset at all. Apply synthetic oil in small drops to the trigger pin, hammer pin, and sear contact points only. Wipe off excess. A dry trigger group runs better than a drowned one, especially in a mil-spec setup where spring tension and clean engagement matter more than slickness.
A clean trigger group is the difference between a rifle that runs and one that fights you. If you’re tired of inconsistent pulls and worn-out parts, Polymer Pew builds components meant to last: hardened stainless steel internals, anodized aluminum housings, and drop-in kits tested for compatibility. Get your Flatties here and give your build the trigger group it deserves.