Table of Contents
- What You’ll Need: AR-15 Trigger Installation Tools and Safety Gear
- Safety First: Clearing the Firearm and Pre-Installation Checks
- Step-by-Step: How to Install a Drop-In Trigger Kit
- The Trigger Installation Function Check Every Builder Should Run
- Troubleshooting Trigger Reset Issues and Other Common Problems
- Post-Installation Maintenance and Long-Term Reliability
- Frequently Asked Questions
Last Updated: October 1, 2026
What You’ll Need: AR-15 Trigger Installation Tools and Safety Gear
Installing a drop-in trigger kit takes about 30 minutes with the right tools ready.
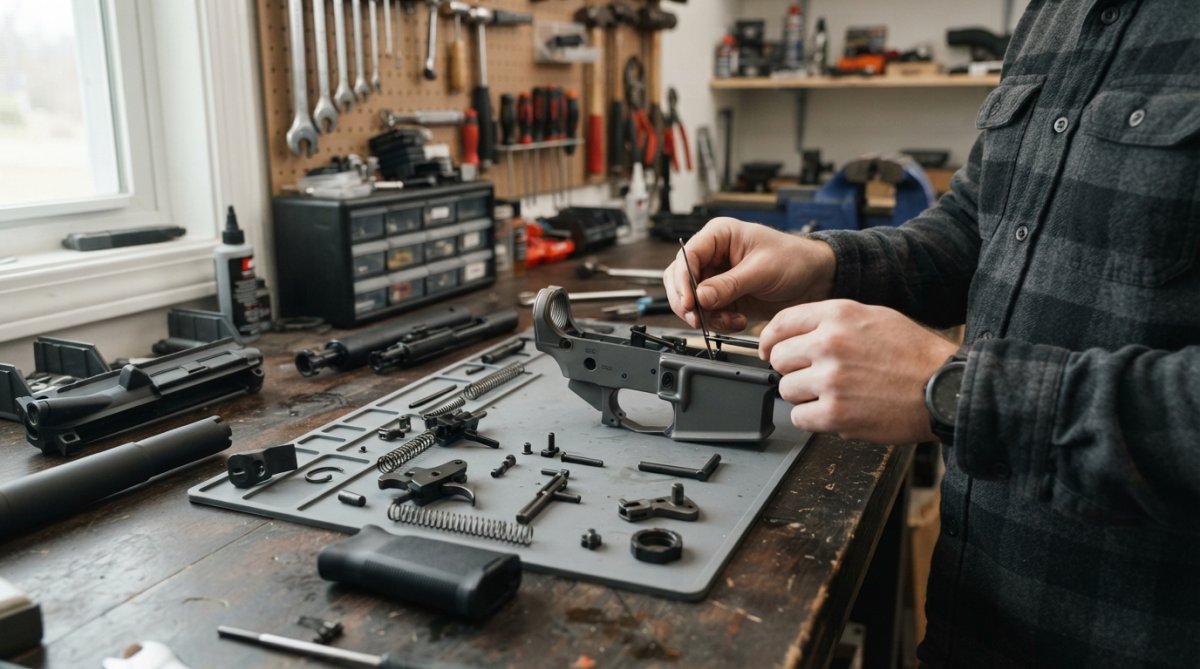
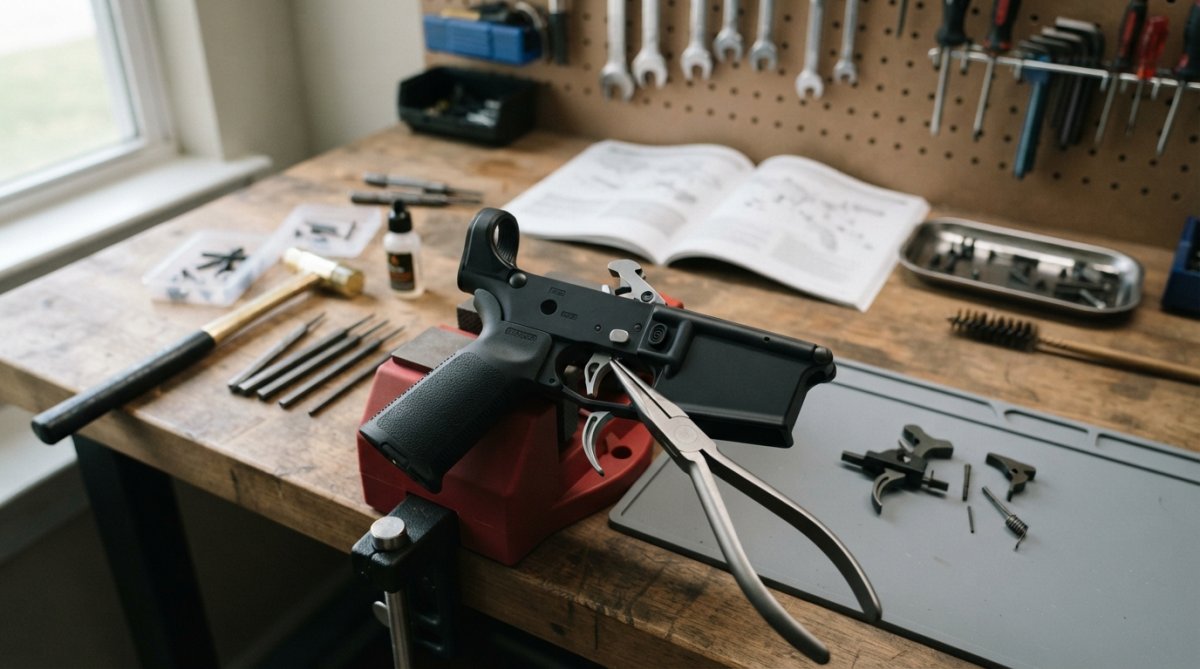
Gather these AR-15 trigger installation tools first:
- Brass punch set (for drifting out factory pins)
- Non-marring hammer or nylon mallet
- Roll pin punch set
- Allen wrench set (for set screws)
- Torque wrench (inch-pound)
- Small parts tray or magnetic mat
- Needle-nose pliers
- Gun oil and blue thread locker
- Safety glasses
- Cleaning rod or punch for function testing
- Calipers or a pin gauge set (to verify pin hole diameter)
Missing a roll pin punch and using a standard punch instead will flatten the pin head. Once that happens, you’ll need to drill it out, which risks damaging your lower receiver.
Work on a clean, well-lit bench. Small detent springs and pins disappear fast on carpet.
Compatibility Matrix: Billet vs. Forged vs. Mil-Spec Lowers
Most guides assume a standard mil-spec lower, the biggest source of failed installs. Before buying or installing, confirm your lower falls into one of these categories:
| Lower Type | Pin Hole Diameter | Common Fits | Watch-Outs |
|---|---|---|---|
| Mil-spec forged (7075-T6) | 0.154 in | Nearly all drop-in kits | None typical |
| Billet (6061 or 7075) | 0.154 in or 0.156 in | Most kits, verify pin size | Some billet pockets run tight; housing may bind |
| Polymer (e.g., carbon-filled) | 0.154 in | Kits with polymer-safe housings | Over-torquing set screws can crack the pocket |
| Large-frame (.308 / AR-10 pattern) | 0.154 in or 0.156 in | .308-specific kits only | AR-15 kits will not fit; DPMS vs. Armalite pattern differs |
| 9mm / pistol-caliber | Varies | PCC-specific kits | Blowback uppers change hammer spring needs |
Torque Specifications You Should Have on Hand
Torque values are the detail most guides skip. Keep these ranges handy for most AR-pattern drop-in installs:
- Grip bolt: 15-20 inch-pounds. Over-torquing cracks polymer grips and can compress the safety detent spring.
- Set screws (housing retention): 15-25 inch-pounds, tightened in a star pattern. Follow the kit maker’s spec if it differs.
- Anti-walk pin screws: 8-12 inch-pounds. These are small and strip easily.
- Safety selector detent spring: no torque, it seats by hand.
Blue (medium-strength) thread locker on set screws prevents backing-out under recoil. Red (high-strength) thread locker requires heat to remove, skip it unless the trigger is permanent.
Safety First: Clearing the Firearm and Pre-Installation Checks
Clear the firearm before anything else. Remove the magazine, lock the bolt to the rear, and visually and physically check the chamber. Do this twice.
Once cleared:
- Remove the bolt carrier group
- Separate the upper from the lower receiver
- Set the upper aside
- Confirm the lower is empty and the hammer is down
Confirming Compatibility With Your Lower Receiver
Not every drop-in kit fits every lower. Check these before buying or installing:
- Pin size: Mil-spec lowers use 0.154-inch pins. Some billet or forged lowers use different sizes.
- Housing dimensions: The trigger housing must fit inside the trigger pocket without binding.
- Safety selector clearance: Some housings interfere with certain selector detents.
- Grip bolt length: A longer grip bolt can contact the trigger housing and cause function issues.
Step-by-Step: How to Install a Drop-In Trigger Kit
The install is straightforward; the details matter more than the steps.
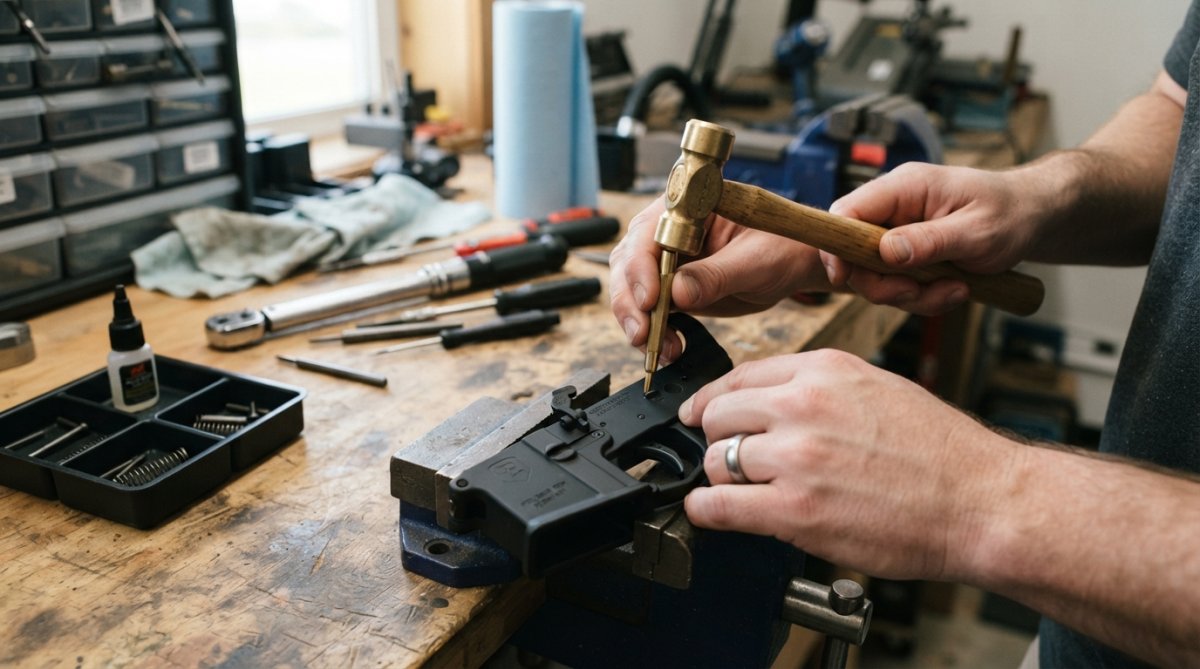
Removing the Factory Trigger Assembly
Start by removing the pistol grip, which exposes the safety selector detent spring and grip bolt.
- Remove the grip bolt with an Allen wrench
- Pull the pistol grip off slowly
- Catch the safety selector detent spring and pin as they come free
- Set them in your parts tray
Installing the Drop-In Trigger Housing and Pins
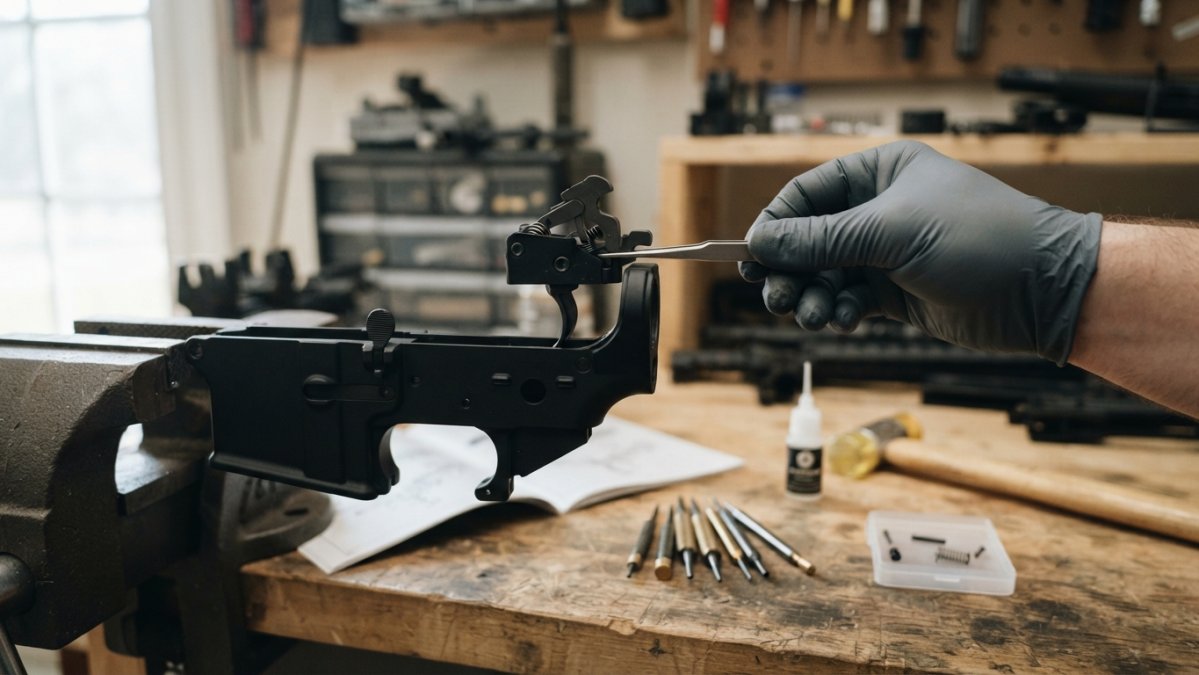
Slide the drop-in trigger housing into the trigger pocket. It should sit flat with no wobble.
Securing Set Screws, Anti-Walk Pins, and Torque Specs
Many drop-in kits use set screws to lock the housing in place. Others rely on anti-walk pins.
The Trigger Installation Function Check Every Builder Should Run
With the upper removed and the lower cleared:
- Safety check: Move the safety selector through all positions. It should click firmly and block the trigger when engaged.
- Hammer drop: Cock the hammer, pull the trigger, and confirm the hammer falls. Listen for a clean, single click.
- Reset check: Hold the trigger back, cock the hammer, then release the trigger. You should hear and feel a distinct reset click.
- Sear engagement: With the hammer cocked, press on the hammer with your thumb. It should not slip.
- Pull weight check: Use a trigger gauge. Pull weight should match the kit’s stated range and stay consistent across five pulls.
- Pin walk check: After 20-30 dry fires, inspect the trigger and hammer pins. If either has moved even a fraction of an inch, you have a pin-walk problem, see below.
Dry fire the trigger 20-30 times during the function check. This seats the sear surfaces and reveals reset issues before you take the build to the range.
If any step fails, stop and diagnose. Do not load the firearm until every check passes.
Anti-Walk Pins: When You Actually Need Them
Anti-walk pins aren’t mandatory on every build, but they are on more builds than most builders realize.
You likely need anti-walk pins if:
- Your lower is billet or has out-of-spec pin holes (0.156 in instead of 0.154 in)
- You run a lightweight or high-recoil build (short-barreled, suppressed, or large-frame)
- Your kit uses set screws only and no retention bar
- You’ve already seen pins migrate after a range session
Standard pins are usually fine if:
- Your lower is mil-spec forged with tight, in-spec pin holes
- Your kit uses a retention bar or captured pin design
- You’re running a low-round-count range build
Post-Installation Maintenance Schedule
Every 500-1,000 rounds:
- Check set screw torque with an inch-pound wrench (re-torque to 15-25 inch-pounds if loose)
- Inspect anti-walk pins for movement
- Wipe the housing and pins with a light oil
- Confirm the safety selector still functions
Every 2,000-3,000 rounds:
- Full function check again
- Inspect sear surfaces for wear or rounding
- Check spring tension (compare pull weight to the original reading)
- Look for pin hole elongation in the lower
- Inspect the housing for cracks (rare, but possible on billet units)
Anti-walk pins and thread locker on set screws are the two cheapest upgrades that prevent the most common drop-in trigger failures. Skip them and you’ll be chasing problems within a few hundred rounds.
Polymer Pew builds its drop-in kits with anodized aluminum housings and hardened stainless steel internals. That combination handles high round counts without the wear you see in cheaper kits. If you’re coming from a $50 trigger that fell apart, the difference in materials shows up fast.
Troubleshooting Trigger Reset Issues and Other Common Problems
Troubleshooting trigger reset issues starts with the disconnector. If the trigger won’t reset, the disconnector spring is usually the cause.
Common problems and fixes:
| Problem | Likely Cause | Fix |
|---|---|---|
| Trigger won’t reset | Weak or missing disconnector spring | Replace spring, check tension |
| Hammer follows bolt | Worn sear engagement | Inspect sear, contact manufacturer |
| Safety won’t engage | Selector detent spring misaligned | Reseat spring and pin |
| Pins walk out | No anti-walk pins installed | Add anti-walk pins or set screws |
| Heavy or gritty pull | Debris in housing | Clean and re-oil |
| Housing wobbles | Loose set screws | Re-torque in star pattern |
Post-Installation Maintenance and Long-Term Reliability
Polymer Pew builds its drop-in kits with anodized aluminum housings and hardened stainless steel internals. That combination handles high round counts without the wear you see in cheaper kits. If you’re coming from a $50 trigger that fell apart, the difference in materials shows up fast.
Frequently Asked Questions
What tools are required to install a drop-in trigger kit?
You’ll need a brass punch, a non-marring hammer, a small flathead screwdriver, and a torque wrench for the set screws. A vise block or receiver block keeps the lower steady, and a pin punch set helps with the hammer pin and trigger pin. Thread locker is worth having on hand for the set screws, and a headlamp makes it easier to see the safety selector detent spring. Total cost for the tools is modest, and most builders already own half of them.
Are drop-in trigger kits compatible with all lower receivers?
No. Drop-in kits fit mil-spec and most forged lower receivers, but billet or clone lowers with non-standard trigger pockets can cause fitment issues. Check whether your lower is forged or billet, confirm the pin hole diameter, and verify the safety selector clearance before buying. Polymer Pew’s aluminum MKE lowers are tested for variant compatibility, so if you’re building a clone, start there rather than guessing.
Do I need to perform a function check after installation?
Yes, always. A trigger installation function check confirms the disconnector catches the hammer, the safety selector moves through all positions, and the trigger resets cleanly. Do this with the firearm cleared, no ammunition nearby, and the upper removed or pointed in a safe direction. Dry fire a few times to feel sear engagement and pull weight. If the hammer follows the bolt carrier group or the trigger fails to reset, stop and diagnose before loading anything.
Why does my trigger fail to reset after installing a drop-in kit?
Reset issues usually trace back to a few culprits: a bent or misaligned trigger pin, a detent spring that’s pinched or installed backward, or set screws that are over-tightened and binding the housing. Back the set screws off a quarter turn and retest. If the problem persists, pull the housing and inspect the disconnector spring and sear engagement. Anti-walk pins can also solve reset problems caused by pins walking out under recoil.
Drop-in trigger kits only work as well as the lower they sit in. A mismatched housing, walked pins, or a weak disconnector spring will ruin an otherwise solid build. Polymer Pew makes aluminum full-size MKE lower receivers tested for variant compatibility, plus full metal drop-in kits with anodized aluminum housings and stainless steel internals. If you want a trigger that holds pull weight and resets cleanly, get your Flatties from Polymer Pew and build it right the first time.