Last Updated: November 9, 2026
Quick Summary
Super Safety kit binding is usually caused by lever clearance, receiver variance, or trigger fitment rather than one single fault. Check the selector lever, lower receiver pocket, and cam and trip bar interfaces in order to find the real cause. A swap test in a known-good lower separates a part defect from receiver variation.
- Start by testing whether the selector lever rotates freely with the upper removed.
- Lever thickness and rough receiver pockets are common causes of binding.
- A trip bar that contacts the trigger tail causes drag, light strikes, or reset failure.
- If the kit binds in both lowers, the part is defective and should go back to the maker.
- Never function-check with live ammunition, and stop if you feel a hard dead stop.
Table of Contents
- Super Safety Kit Binding Causes: A Symptom-to-Cause Diagnostic Path
- Checking Selector Lever Rotation, Clearance, and Orientation
- Lower Receiver Interference and Receiver Variance
- Cam, Trip Bar, and Trigger Compatibility Fitment
- Glock Trigger Upgrade Compatibility by Model
- Super Safety Installation Troubleshooting: Bolt Carrier Group and Cycling Issues
- Separating Part Defects from Installation and Receiver Variation
- Function-Check Limits and Safety-First Diagnostic Boundaries
- Frequently Asked Questions
Super Safety Kit Binding Causes: A Symptom-to-Cause Diagnostic Path
Binding in a Super Safety kit is mechanical resistance that stops the bolt, trigger, or selector from moving freely. It is almost never one single fault. At Poly Pew, we see the same handful of causes repeat across builds: lever clearance, receiver variance, and trigger fitment.
Most guides tell you to file one part and hope. That advice fails because it treats every symptom as the same problem.
Below, we walk through a diagnostic path that separates symptoms from causes. You will learn how to check each interface in order, so you fix the real issue instead of guessing.
A quick warning first. Binding can mask an unsafe condition. Stop and reassess if you feel a hard dead stop, not just tightness. The ATF guidance on firearm parts and configurations is worth reading before you modify anything.
Checking Selector Lever Rotation, Clearance, and Orientation
Start with the simplest test: does the selector lever rotate freely with the upper removed? If it drags, the problem is in the lower, not the bolt cycle.
Check three things in order:
- Rotation: The lever should move through its full arc without catching.
- Clearance: Look for shiny wear marks where the lever meets the receiver wall.
- Orientation: A lever installed backwards or upside down will bind every time.
Lever Thickness and Receiver Contact
Lever thickness is where many kits fail. A lever that is slightly too thick will rub the receiver wall before it ever reaches full travel. That rub shows up as a bright scuff line.
Measure the lever at its widest point. Then check the receiver pocket for burrs or coating buildup. A common mistake is filing the lever when the real culprit is a rough receiver pocket.
For a focused walkthrough on this exact fault, see our guide to preventing Super Safety selector binding.
Lower Receiver Interference and Receiver Variance
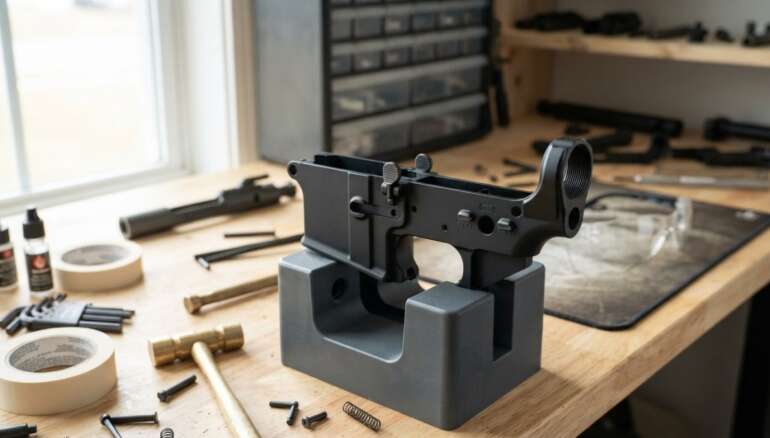
No two lowers are identical. Receiver variance means the same kit can fit one lower perfectly and bind in the next one off the same line.
Common interference points:
- The safety pocket cut
- Pin hole alignment
- Internal wall thickness
- Coating thickness in the pocket
A quick check is to install the kit with the upper off and cycle the lever by hand. If it binds there, the receiver is the suspect, not the bolt.
When binding traces to the lower, our MKE lower receiver fitment guide covers tolerance checks and pin alignment.
Cam, Trip Bar, and Trigger Compatibility Fitment
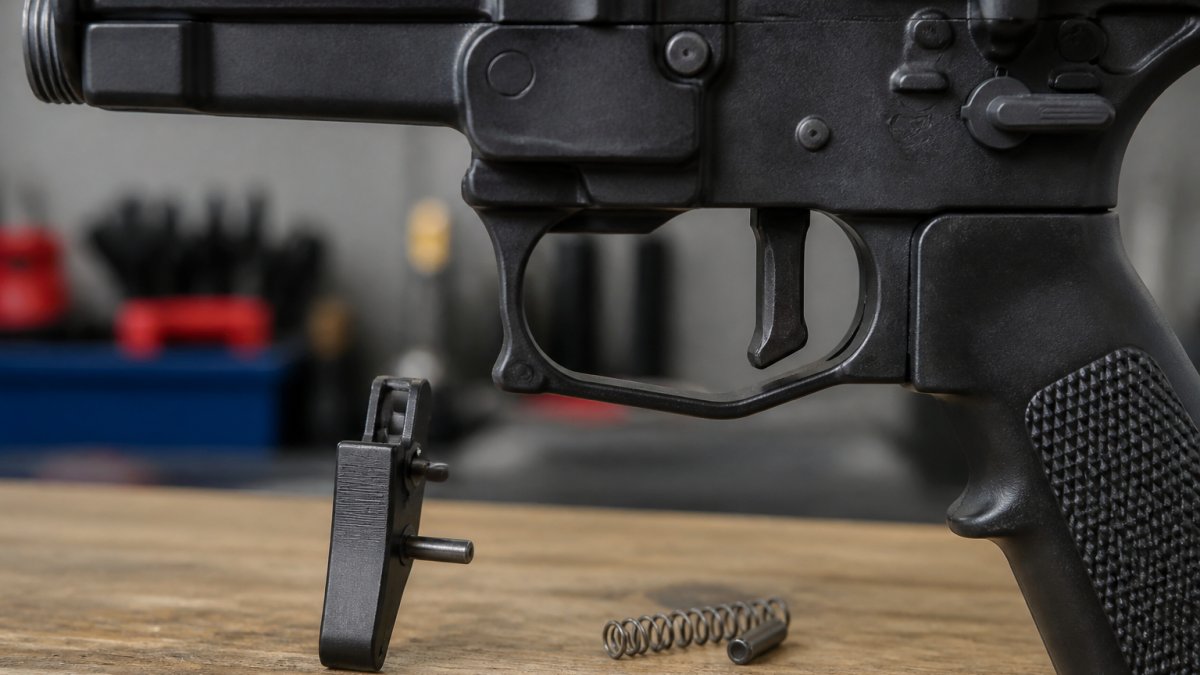
The cam and trip bar must move without contacting the trigger group. If they touch, you get drag, light strikes, or a trigger that will not reset. The reason is timing: the cam rotates on the safety axis and the trip bar translates that rotation into a push on the trigger tail. If the bar is even slightly out of plane, it loads the trigger tail sideways instead of pushing it straight, and the trigger group absorbs that side load as friction.
Check these interfaces in order, because each one can mask the next:
- Cam rotation: With the upper off, rotate the cam through its full range by hand. It should turn smoothly with no tight spot at either end of travel. A tight spot at the start of rotation usually means the cam is contacting the receiver pocket; a tight spot at the end usually means it is contacting the trigger housing.
- Trip bar clearance: Confirm the trip bar clears the trigger and disconnector through the whole arc, not just at rest. Slide a feeler gauge or a strip of paper between the bar and the trigger tail and cycle the lever; if the strip drags, you have contact.
- Trigger interaction: Look for wear marks on the trigger tail and on the underside of the disconnector. A single bright line means a point contact; a broad polished patch means the bar is rubbing along its length, which points to a geometry mismatch rather than a clearance issue.
A trigger with a different tail height or a different disconnector profile can push the trip bar out of time. That creates a bind that looks like a safety problem but is really a trigger problem. The tell is that the bind appears only when the trigger is installed, and disappears when you cycle the safety with the trigger group removed.
Watch out: do not file the trip bar to clear a trigger that is simply the wrong geometry. The bar is timed to the cam, and shortening it changes when the trigger is released. Swap the trigger first, then recheck.
If you want to confirm cam and trip bar fitment before buying, look at the actual Super Safety Kit D2 Flat 2 configuration. Compare the cam profile and bar length against the trigger you plan to run, and confirm the maker lists that trigger as supported. A configuration the maker does not list is unsupported, and no amount of fitting will make it reliable.
Glock Trigger Upgrade Compatibility by Model
Glock trigger upgrade compatibility by model is not one-size-fits-all. Generations differ in trigger bar geometry, housing shape, and connector angle, and those differences are exactly what turn a drop-in part into a binding part.
1. Generation match. Confirm the trigger is built for your specific generation. The trigger bar’s cruciform and its relationship to the safety plunger changed across generations, and a bar cut for one generation can sit at the wrong height in another.
2. Trigger bar clearance at the safety plunger. With the slide off, look at where the trigger bar meets the safety plunger.
3. Connector angle. A bent connector changes reset timing. If the connector is over-bent, the trigger bar drops late and the reset feels long or sticky; if it is under-bent, the bar can drag on the connector through the whole pull.
A trigger that binds in one model often drops into another without issue. That is why model-specific documentation matters more than general advice. Keep your parts paperwork with the build, and record the generation, the connector angle, and the trigger bar part number so the next swap starts from known values.
Watch out: if the trigger binds in a frame that is known good with the factory trigger, do not assume the frame is out of spec. Swap the factory trigger back in first.
To separate a defective part from a compatibility problem, run the swap test: install the upgrade in a second known-good frame of the same generation. If it binds in both, the part is defective or out of spec and should go back to the maker.
Super Safety Installation Troubleshooting: Bolt Carrier Group and Cycling Issues
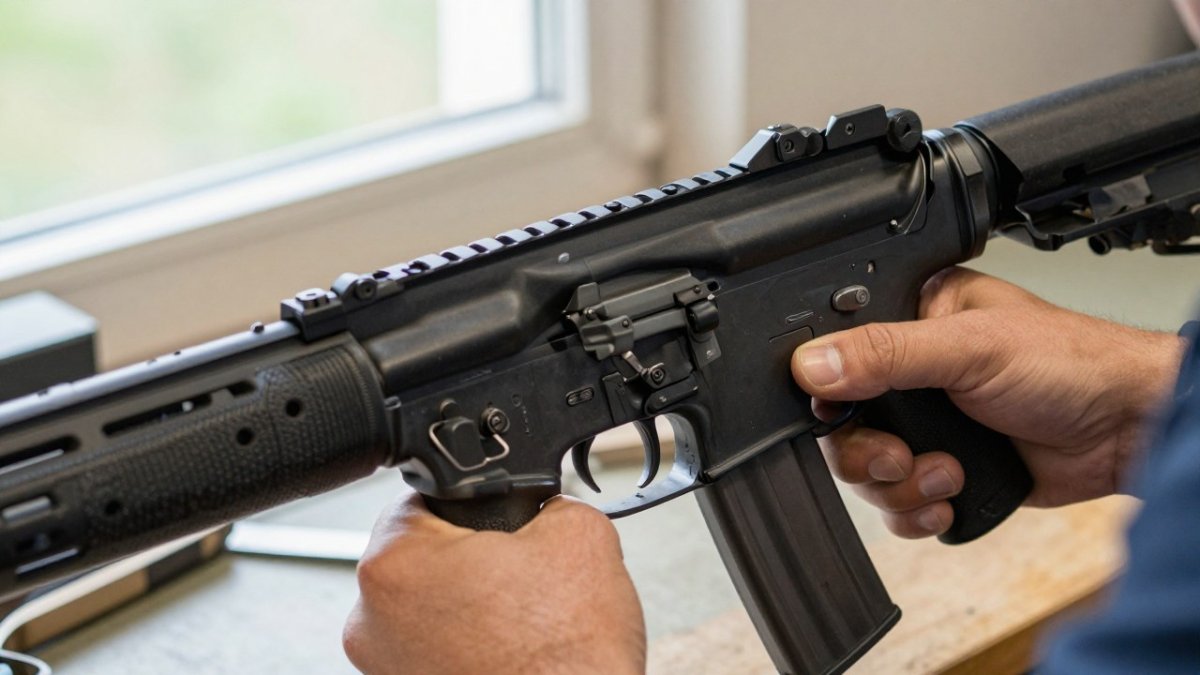
Most cycling complaints trace to the bolt carrier group, not the safety itself. Binding during the bolt cycle usually means the carrier is contacting the safety lever or the trip bar at the wrong point in travel.
Run this sequence:
- Remove the upper and inspect the lever for wear.
- Reinstall and cycle slowly by hand.
- Note exactly where resistance starts.
If resistance starts as the bolt unlocks, suspect carrier contact. If it starts at reset, suspect the trigger group.
Charging Handle Resistance and BCG Contact
Charging handle resistance is a strong clue. If the handle feels heavy only in “super safe” mode, the bolt carrier group is likely rubbing the safety mechanism.
Check for:
- Scuff marks on the carrier tail
- Wear on the safety lever face
- Buffer weight and spring condition
Failure to reset often comes from gas pressure, buffer weight, and timing rather than the safety. That distinction matters. For the full install method that avoids binding from the start, read how to install Super Safety without binding.
Separating Part Defects from Installation and Receiver Variation
The hardest question is whether the kit is bad or the build is off. Answer it with a swap test.
Install the same kit in a known-good lower. Then install a known-good kit in your lower.
| Test Result | Likely Cause | Next Step |
|---|---|---|
| Binds in both lowers | Part defect | Contact the maker |
| Binds in one lower only | Receiver variance | Check pocket and pins |
| Binds only after install | Installation error | Recheck orientation |
| Binds only when firing | Timing or gas issue | Check buffer and ammo |
This matrix saves you from filing a good part. If the kit binds in both lowers, stop modifying it. For a deeper look at preventing binding in Super Safety kits, our prevention guide walks through each cause.
Function-Check Limits and Safety-First Diagnostic Boundaries
A function check confirms movement. It does not confirm safe live-fire operation. That limit is where a lot of hobbyists get overconfident.
Set these boundaries:
- Never function-check with live ammunition.
- Never assume a smooth hand cycle means a safe cycle under pressure.
- Stop if you feel a hard dead stop or hear metal grinding.
- Have a qualified gunsmith inspect anything you cannot explain.
Watch out: filing a part to “fix” a bind can remove material that controls timing or safety engagement. That damage is permanent and can create an unsafe condition.
Legal context matters too. Patent litigation around forced reset and Super Safety technology has affected parts availability and documentation. Check the consolidated Super Safety patent litigation record if you need current status. When in doubt, follow official guidance on firearm safety and compliance and get a professional inspection.
Binding rarely has one cause. It has a chain of interfaces, and you have to test each one in order. At Poly Pew, we build our kits and lowers around that reality, with tested fitment and clear documentation. Our Super Safety kits are designed for compatibility, and our aluminum MKE lowers hold consistent tolerances. Get started with Poly Pew and build a platform that cycles clean.
Frequently Asked Questions
What are the most common problems with the Super Safety?
The most frequent issues are binding during the bolt cycle, light primer strikes, a dead trigger, and failure to reset. Reset failures often trace to gas system pressure, buffer weight, and timing rather than the safety mechanism alone. Binding usually comes from lever clearance, lower receiver interference, or trigger compatibility. Start by confirming the lever rotates freely before blaming the kit itself.
How does improper trigger compatibility lead to Super Safety binding?
The Super Safety interacts directly with the trigger and hammer, so a trigger with different geometry or a wider profile can create metal-on-metal contact that stops the lever from rotating. These systems are highly sensitive to the host firearm’s specific trigger parts and manufacturing tolerances. Test with a known-compatible fire control group, then reintroduce your trigger to isolate whether it is the source of the interference.
Can incorrect spring tension cause a Super Safety to stick?
Yes. Weak or mismatched springs can leave the safety lever without enough force to return, while overly stiff springs add mechanical resistance that feels like binding. Check that the springs you installed match the kit’s specification and are seated correctly. If the lever moves freely by hand but sticks during live fire, spring tension and buffer weight are worth checking alongside gas system pressure before you file or modify any part.
What role does receiver shelf height play in Super Safety binding?
Lower receiver variance is one of the most overlooked causes. A shelf that sits slightly high or a fire control pocket cut to a different tolerance can contact the safety lever or trip bar, producing a dead stop. Because Super Safety kits are sensitive to receiver variance, compare your lower’s shelf height against the kit manufacturer’s guidance. If the lever clears on one lower but binds on another, the receiver, not the kit, is the variable to address.