Last Updated: November 5, 2026
Quick Summary
To maintain safety selector spring tension on a Super Safety, first check the cheaper causes: clean the selector channel and contact surfaces, look for burrs, and confirm the selector seats and moves freely. Only if the feel persists should you inspect the spring itself for wear, set, or contamination. Always work on an unloaded rifle.
- Always start with the rifle unloaded, magazine removed, and chamber checked.
- Many spring problems disappear after cleaning the selector channel and contact surfaces.
- Stiff feel often comes from debris, friction, or contact surface problems, not the spring.
- Inspect detent spring free length, straightness, end coils, contamination, and corrosion.
- Replace a worn detent spring and plunger as a matched pair rather than modifying them.
Table of Contents
- Why Safety Selector Spring Tension Matters on a Super Safety
- What Spring Tension Can and Cannot Explain
- Super Safety Installation Issues That Affect Selector Feel
- Diagnosing an AR-15 Safety Selector Loose or Stiff Feel
- Checking the Safety Selector Detent Spring
- Super Safety Troubleshooting: A Symptom-to-Cause Checklist
- Inspection Intervals, Compatibility Checks and Safe Handling
- Booking Your Parts Check: Next Steps With Poly Pew
- Frequently Asked Questions
Maintaining the right tension in a Super Safety selector spring is one of those small details that quietly decides whether your rifle feels right. When the selector suddenly feels loose, or stiff enough to fight your thumb, most shooters assume the spring is the culprit. Sometimes it is. Often it isn’t. This guide from Poly Pew walks through how to tell the difference, using a practical, safety-first approach that avoids guesswork.
A selector is a simple part, but it sits at the center of how your rifle is controlled. Before you touch anything, know this: any work on a firearm’s safety mechanism should start with the rifle unloaded, with the magazine removed, and with the chamber checked. If you are unsure about any step, stop and have a qualified gunsmith look at it.
Why Safety Selector Spring Tension Matters on a Super Safety
The selector’s job is to hold a position firmly and return to it reliably. Spring tension is what provides that positive feel. Too little tension and the selector may drift or feel vague. Too much and it can be hard to move, which makes manipulating it under stress more difficult.
A common mistake is assuming “more tension” always means “better.” It doesn’t. Tension that falls outside the design range can cause just as many problems as too little.
- Loose feel: often points to a worn or weakened spring, or a part that is not seated correctly
- Stiff feel: often points to debris, friction, or a contact surface problem
- Inconsistent feel: often points to alignment or installation issues
What Spring Tension Can and Cannot Explain
Here is where most guides get it wrong. Spring tension is only one of several possible causes for a selector that feels off. A stiff selector does not automatically mean the spring is the problem.
So before you blame the spring, check the cheaper and more common causes first: cleanliness, burrs, and fit. Spring tension should be the last thing you suspect, not the first.
Super Safety Installation Issues That Affect Selector Feel
Installation is a frequent source of selector trouble. If you are considering a replacement, browse super safety products for multiple platforms. A Super Safety that is not fully seated, or that is binding against the receiver, will change how the selector feels regardless of spring condition.
When you install a kit, check:
- That the part sits flush and does not bind against the receiver
- That the selector moves freely through all positions before final assembly
- That nothing has been pinched or misaligned during pin installation
Watch out: forcing a binding part into place can damage the receiver or the safety itself. If you want a step-by-step walkthrough of seating the kit without binding, see how to install a super safety without binding. If it resists, back out and find the cause rather than applying more force.
Diagnosing an AR-15 Safety Selector Loose or Stiff Feel
Work through the problem in order. Start with the simplest explanations and move toward the more involved ones.
- Clean the selector channel and contact surfaces, then retest the feel.
- Inspect the selector and the surrounding surfaces for burrs or rough spots.
- Confirm the selector is seated correctly and moves freely.
- Only then evaluate the spring itself.
Many “spring” problems disappear after cleaning. If the feel improves, you have your answer without touching the spring at all.
Work through the problem in order, starting with the simplest causes and moving toward the more involved ones.
| Step | What to do | Note |
|---|---|---|
| 1 | Clean the selector channel and contact surfaces, then retest | Many spring problems disappear after cleaning |
| 2 | Inspect the selector and surrounding surfaces for burrs or rough spots | Check before evaluating the spring |
| 3 | Confirm the selector is seated correctly and moves freely | Installation issues change selector feel |
| 4 | Evaluate the spring itself | Only after the cheaper causes are ruled out |
Checking the Safety Selector Detent Spring
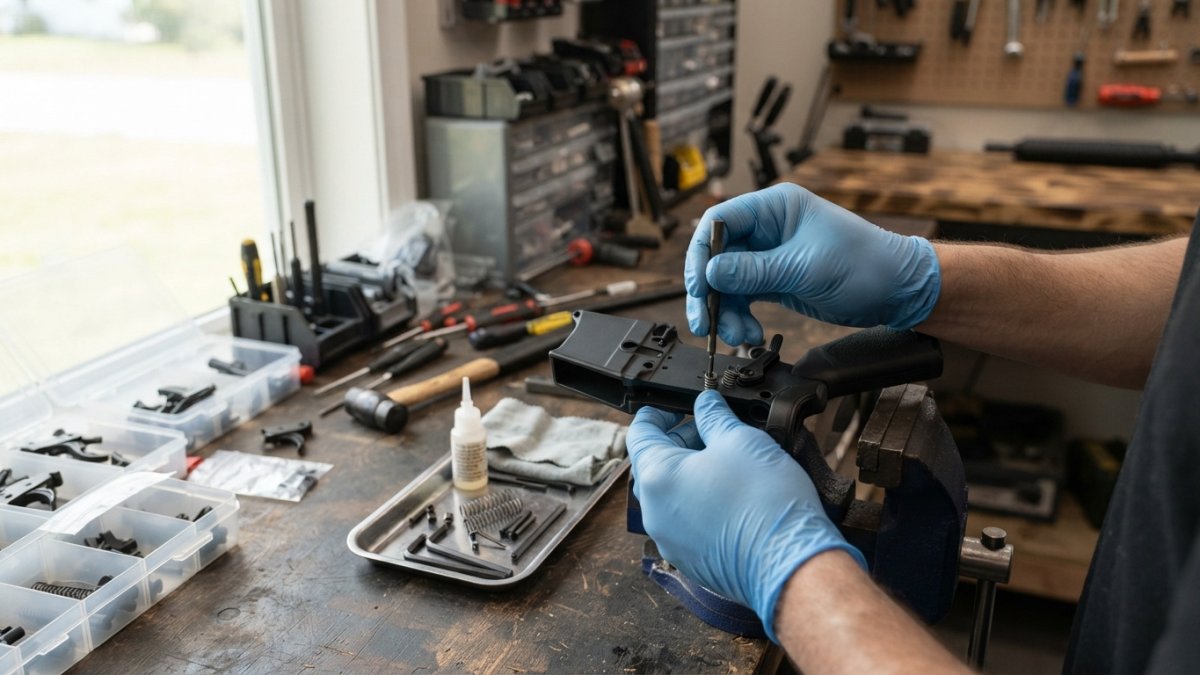
The detent spring is a small compression spring that presses the detent plunger into the notches on the selector. That plunger-to-notch engagement is what produces the positive clicks and holds the selector in position.
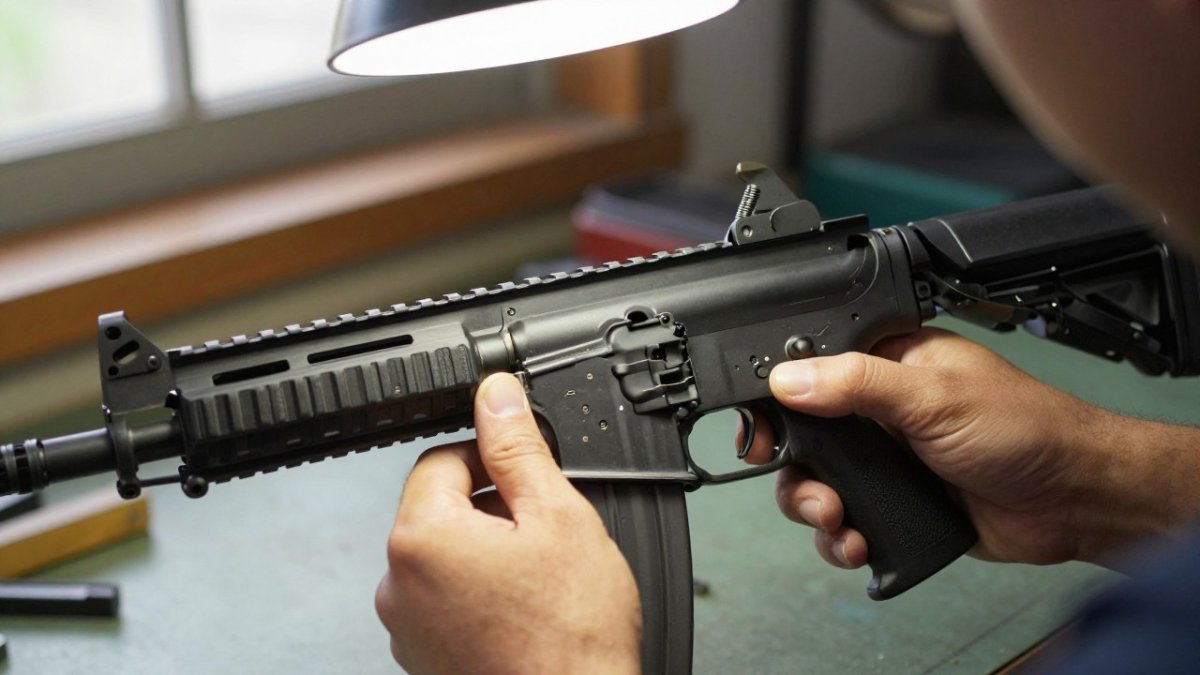
Start with the rifle unloaded, magazine removed, and chamber checked. Remove the selector and detent according to your platform’s procedure, and keep the small parts contained so the spring and plunger do not launch across the room.
Inspect the spring against these specific criteria:
- Free length: compare the spring to a known-good replacement of the same specification. A spring that has taken a permanent set is shorter than spec and will not seat the plunger with the same force.
- Straightness: roll the spring on a flat surface. A bent spring binds in its channel and produces inconsistent feel rather than uniformly light feel.
- End coils: look for collapsed or ground-flat end coils that no longer sit square against the plunger or channel floor.
- Contamination: oil, carbon, and debris trapped between coils reduce travel and can make a healthy spring behave like a weak one.
- Corrosion: pitting or rust on a spring wire is a replacement trigger, not a cleaning project.
Inspect the detent plunger at the same time.
Watch out: do not try to change tension by bending, stretching, clipping, or heat-treating a detent spring. Those adjustments produce unpredictable engagement and can leave the selector without a positive stop.
A practical sequence most armorers follow: clean and inspect first, replace the spring and plunger as a matched pair if either shows wear, then retest function with the rifle unloaded before any live use.
Super Safety Troubleshooting: A Symptom-to-Cause Checklist
Most selector problems fall into four symptom families. Work through the family that matches what you feel, and rule out the cheap causes before the expensive ones. For more on fixing clearance, shim, and alignment issues, read our guide to preventing binding in super safety kits. All checks below are done on an unloaded rifle with the magazine removed and the chamber verified clear. Do not live-fire to “see if it works” while function is still uncertain.
Symptom 1: Selector is stiff or hard to move.
- Confirm the selector moves freely through all positions before final assembly; if it binds during assembly, stop and find the interference.
- Clean the selector channel, detent bore, and contact surfaces, then retest. Contamination and dried lubricant are the most common causes of a suddenly stiff selector.
- Inspect for burrs on the selector, detent plunger, and receiver channel. A burr acts like a brake regardless of spring condition.
- Check for binding against the receiver or grip. A part that contacts the receiver under torque will feel stiff even with a correct spring.
- Only after the above, evaluate the spring and plunger against the criteria in the inspection section.
Symptom 2: Selector feels loose, vague, or drifts out of position.
- Verify the detent plunger is present, correctly oriented, and seated in its bore.
- Check spring free length against a known-good replacement; a spring that has taken a set is the usual cause of a vague feel.
- Inspect the selector notches for rounding or burrs; a worn notch will not hold the plunger even with a fresh spring.
- Confirm the selector is fully seated and the pin is properly installed. A partially seated selector changes detent engagement geometry.
Symptom 3: Feel changed after installation.
- Recheck clearance between the Super Safety components and the receiver; binding after installation usually points to interference, not spring tension.
- Confirm nothing was pinched or misaligned during pin installation.
- Verify the components are the correct specification for your lower receiver and trigger. Mismatched parts are a frequent cause of fit problems that get misdiagnosed as spring issues.
- Retest function unloaded through the full range of selector positions before any live use.
Symptom 4: Feel changed after cleaning or a range session.
- If the feel improved after cleaning, the cause was contamination, not the spring. Note the interval and conditions so you can adjust your maintenance schedule.
- If the feel worsened after cleaning, check for displaced detent parts, over-lubrication attracting debris, or a spring that was reinstalled incorrectly.
- After heavy use in dusty or wet conditions, inspect and clean the selector area before the next session.
A simple decision rule: if cleaning and fit checks do not resolve the symptom, and the spring or plunger fails inspection, replace the worn part with a correctly matched component. If the symptom persists after replacement, the cause is almost always compatibility or installation geometry, not tension. Verify applicable laws and use only lawful configurations for your platform before making any changes.
Inspection Intervals, Compatibility Checks and Safe Handling
Build a simple routine. Inspect and clean the selector area at regular intervals, especially after heavy use or range sessions in dusty or wet conditions. For a dedicated guide to preventing super safety selector binding, see our maintenance advice. Check that the selector still moves freely and returns to its positions cleanly.
Before installing any Super Safety kit, confirm compatibility with your lower receiver and existing parts. Mismatched components are a common source of fit problems. Always verify function with the rifle unloaded before any live use, and recheck the selector after any reassembly.
Keep safe handling front of mind throughout. Treat every disassembly as if the firearm could be loaded, keep the muzzle pointed in a safe direction, and never rely on the selector alone to confirm the rifle is safe.
Booking Your Parts Check: Next Steps With Poly Pew
If you have worked through the checklist and the selector still does not feel right, the next step is to have the parts looked at by someone who can verify fit and function. If a kit is the right fix, you can browse our Super Safety products. For current prices and availability, check the Poly Pew website or contact us for a quote, since pricing depends on quantity, dates, and delivery.
Get your Flatties here!!!
Frequently Asked Questions
Why is my safety selector loose on my Super Safety?
A loose safety selector usually comes from a worn or weak detent spring, debris in the selector channel, or a poorly seated selector cam. Start by confirming the selector is fully seated and that the detent spring sits correctly in its channel. Clean the channel and inspect the spring for flattening or cracks. If the selector still moves freely after a clean and visual check, the spring or detent may need replacement. Do not run the rifle with a selector that you cannot confirm is holding its position.
Can a worn detent spring cause a loose safety selector?
Yes. The detent spring pushes the detent into the notches of the selector, and a fatigued spring loses that push, letting the selector drift between positions. Compare the spring against a new one if you have one, and look for shortened length or a loss of stiffness when compressed. Replace the spring as a unit rather than trying to bend it back into shape, since a repaired spring rarely restores original tension.
What should I do if a Super Safety selector binds or will not move?
Binding usually points to debris, burrs, or a misaligned selector rather than spring tension alone. Disassemble the parts you are comfortable handling, clean the selector channel, and inspect the contact surfaces for rough spots. Do not force the selector or file metal without knowing exactly what you are removing. If the selector still binds after cleaning and inspection, stop and contact Poly Pew for guidance on the next step.
When should I stop troubleshooting and contact the manufacturer?
Stop and contact the manufacturer if the selector binds after cleaning, if you see cracks or deformation in any part, or if you are unsure how a component fits. Do not keep cycling a firearm with a selector that will not hold its position or that feels unsafe. Poly Pew can confirm compatibility and point you to the correct replacement parts for your build. For current parts pricing and availability, check the Poly Pew website or request a quote, since prices vary by quantity and delivery.