Last Updated: October 31, 2026
Quick Summary
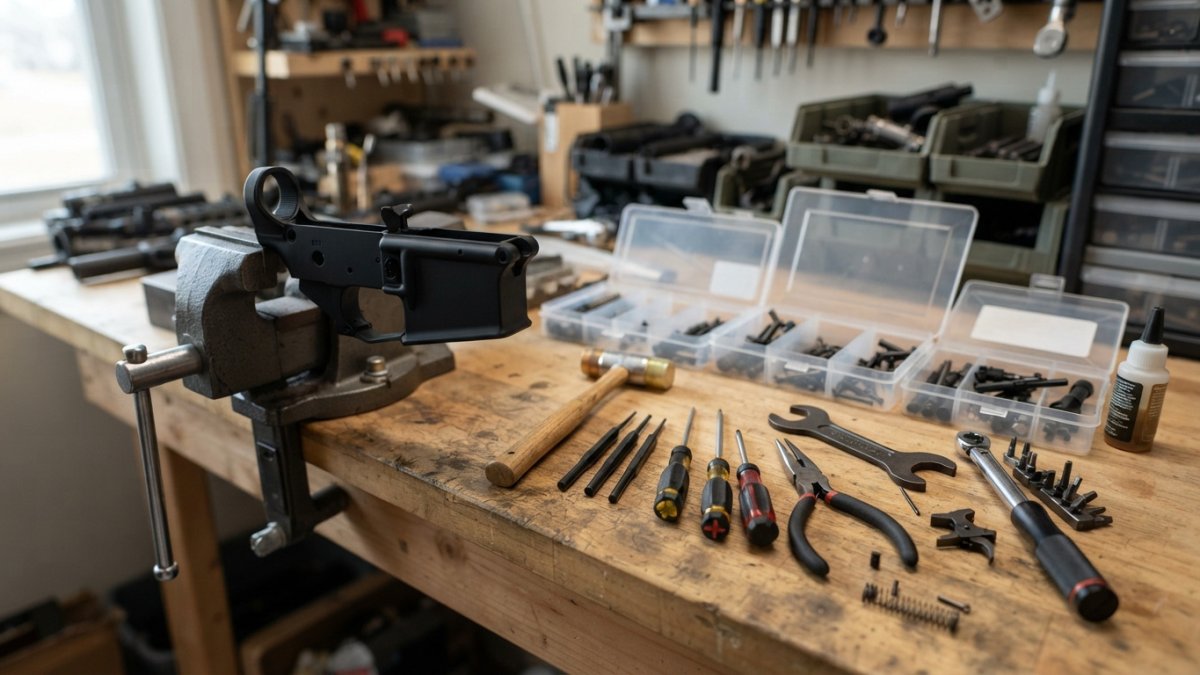
The essential tools for installing lower parts kits are a roll pin punch set, a lower receiver vise block, and a few support tools such as a brass hammer, an armorer’s wrench, needle-nose pliers and a bright light. A punch set with several diameters lets you match each pin, while the vise block holds the lower steady so pins and the finish are not damaged.
- Choose a roll pin punch set with several diameters matching the pins in your kit.
- Start with a slightly smaller punch and step up only if a pin needs it.
- Clamp the lower in a vise block and tighten just enough to hold it still.
- Use a brass or nylon hammer, since brass is less likely to mar the pins than steel.
Table of Contents
- What a Lower Parts Kit Installation Involves
- Roll Pin Punches: Choosing the Right AR-15 Roll Pin Punch Set
- Using an AR-15 Lower Receiver Vise Block to Hold the Lower Steady
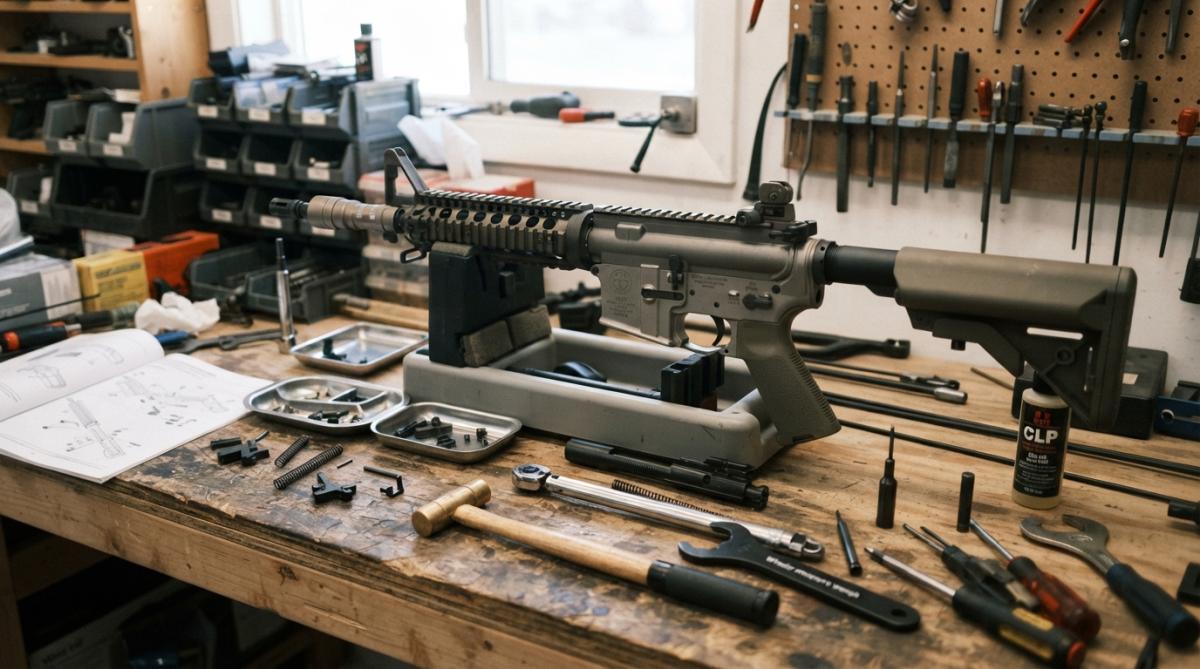
- Hammers, Armorer’s Wrenches and Other Support Tools
- Protecting Finishes and Keeping Small Parts Organized
- Step-by-Step: Following an AR-15 Lower Parts Kit Installation Guide
- Stocking Your Bench and Ordering Poly Pew Parts
- Frequently Asked Questions
What a Lower Parts Kit Installation Involves
Installing a lower parts kit, often called an LPK, means fitting the trigger group, hammer, safety selector and related pins into an AR-15 lower receiver, and the steps below show how to do it cleanly. Most of the work is small pins and springs that need to sit in the right place. The right tools make that job cleaner and safer.
A proper kit setup usually comes down to three things: holding the lower steady, driving pins without marring the finish, and keeping small parts from disappearing. Each of the sections below covers one of those needs.
Roll Pin Punches: Choosing the Right AR-15 Roll Pin Punch Set
A roll pin punch set is the tool you will use most. Roll pins hold the hammer, trigger and safety in place, and driving them out or in takes the right size and shape of punch.
- Pick a set with several diameters that match the pins in your kit
- Choose punches with flat tips so they grip the pin without slipping
- Look for a set that includes a starter punch for stubborn pins
A common mistake is using a punch that is too wide. For a complete gear list covering the specific punches and blocks this job needs, see sourced gear list for pistol trigger installation. It can chip the pin hole or scratch the receiver. Start with a slightly smaller punch and step up only if needed.
Here is a quick summary of the punch selection points and common mistake covered above.
| Punch choice | What to look for | Common mistake |
|---|---|---|
| Set size | Several diameters matching kit pins | Using a punch that is too wide |
| Tip shape | Flat tips that grip the pin | Punch slipping off the pin |
| Extras | Starter punch for stubborn pins | Chipping the pin hole or scratching the receiver |
| Sizing approach | Start slightly smaller, step up if needed | Starting with the largest punch |
Using an AR-15 Lower Receiver Vise Block to Hold the Lower Steady
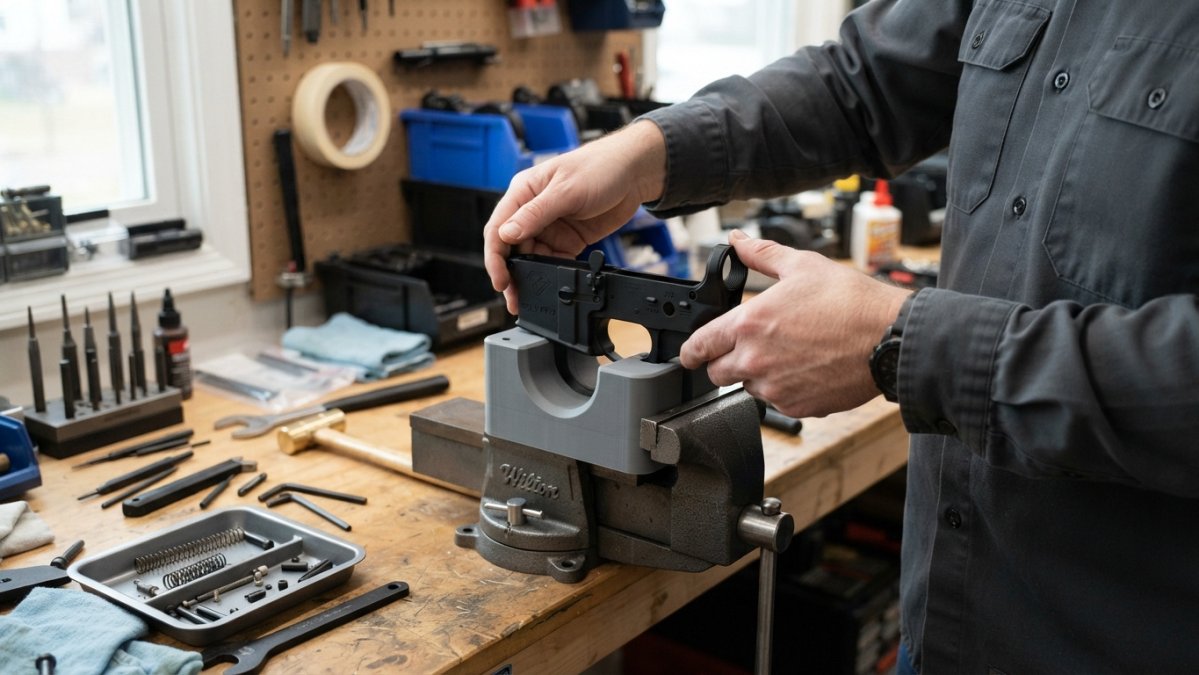
A lower receiver vise block holds the lower firmly while you work. Without one, the lower can rock or slip, and that is when pins get bent or the finish gets damaged.
Clamp the block in a bench vise, seat the lower with the magazine well facing you, and tighten just enough to hold it still. You can buy centering blocks directly from the product page if you need one. Over-tightening can crack an aluminum lower, so go slow.
Hammers, Armorer’s Wrenches and Other Support Tools
Beyond punches and a block, a few support tools make the job go smoothly:
- A small brass or nylon hammer for tapping pins without marking metal
- An armorer’s wrench for the takedown pin and grip screws
- A pair of needle-nose pliers for retaining springs
- A bright light to spot small parts in the lower
Brass hammers are less likely to mar the pins than steel ones. A light tap usually does the job, so avoid swinging hard.
Protecting Finishes and Keeping Small Parts Organized
Small parts like springs, detents and pins are easy to lose. Set up a tray or a magnetic mat before you start, and lay parts out in the order you remove them. That way reassembly goes faster.
Protect the finish with a soft mat under the lower and tape or a cloth on the vise jaws. For more on looking after trigger components, read the guide to drop-in trigger kits and their trade-offs. Scratches are hard to undo on anodized aluminum.
Step-by-Step: Following an AR-15 Lower Parts Kit Installation Guide
Follow the instructions that come with your lower parts kits first. Then work through these steps:
- Secure the lower in the vise block and check that it does not rock.
- Install the trigger pin and check that the trigger moves freely.
- Seat the hammer and drive its roll pin with the correct punch.
- Install the safety selector and test that it moves through each position.
- Reassemble the grip and confirm all parts move as expected before you function-test.
Watch out: never dry-fire a lower with a pin still loose or missing. Check every pin is seated before you test.
Stocking Your Bench and Ordering Poly Pew Parts
Once your bench is set, stock the consumables you will use most: spare roll pins, a few springs and a cleaning brush. Keep them in labeled bins so they are easy to find.
When you are ready to order, check the Poly Pew website for current prices and availability before you buy.
Get your Flatties here!!!
Frequently Asked Questions
What tools do you need to install an AR-15 lower parts kit?
At minimum you need a set of roll pin punches, a small hammer, a lower receiver vise block or padded vise, and a few hand tools for the pins and springs. Many builders also use an armorer’s wrench for the takedown components. Having all of these on the bench before you start prevents you from stopping partway through. Check the kit’s instructions for any specific tool it calls for, since requirements can vary by design. Work on a clean, well-lit surface so small parts stay visible and accounted for.
Do you need a vise to install a lower parts kit?
A vise is not strictly required, but a lower receiver vise block is strongly recommended. It holds the lower firmly so you can use both hands for the pins and springs without the receiver shifting. Clamping directly on bare aluminum can mar the finish, so a block with padded jaws protects the surface. If you do not own a vise block, a padded bench setup can work, but stability is the main reason to use one.
What size punches are used for AR-15 lower parts kits?
Most AR-15 work uses a set of roll pin punches in several diameters, with the correct size chosen for each pin in the kit. Using a punch that is too large can deform the pin hole, while one that is too small can slip and scratch the finish. Check the diameter of each pin before you start and match it to the punch set. A punch set with a range of sizes covers most builds, and a brass or nylon-tipped punch reduces the risk of marking the parts.
Can you install a lower parts kit without a specialized armorer’s tool?
In many cases yes, because standard punches and a vise block handle most of the work. An armorer’s wrench is useful for certain takedown and assembly steps, so it is worth having if you plan to service the rifle regularly. Read the kit’s installation guide first to see which steps truly need a specialized tool. Improvising with the wrong tool is the most common way to damage parts, so do not force a step that does not fit your setup.